Standing at the trailhead, the air feels crisp, and the path ahead looks promising. But as soon as the incline begins, that cozy jacket starts to feel like a portable sauna. Twenty minutes later, the wind picks up at the ridge, and suddenly, those damp clothes turn into an ice pack against the skin.
This "stop-and-start" struggle with temperature is the classic hiker’s dilemma. Mastering the science of layering isn't just about staying warm; it’s about maintaining a steady internal climate so the focus stays on the surroundings rather than physical discomfort.
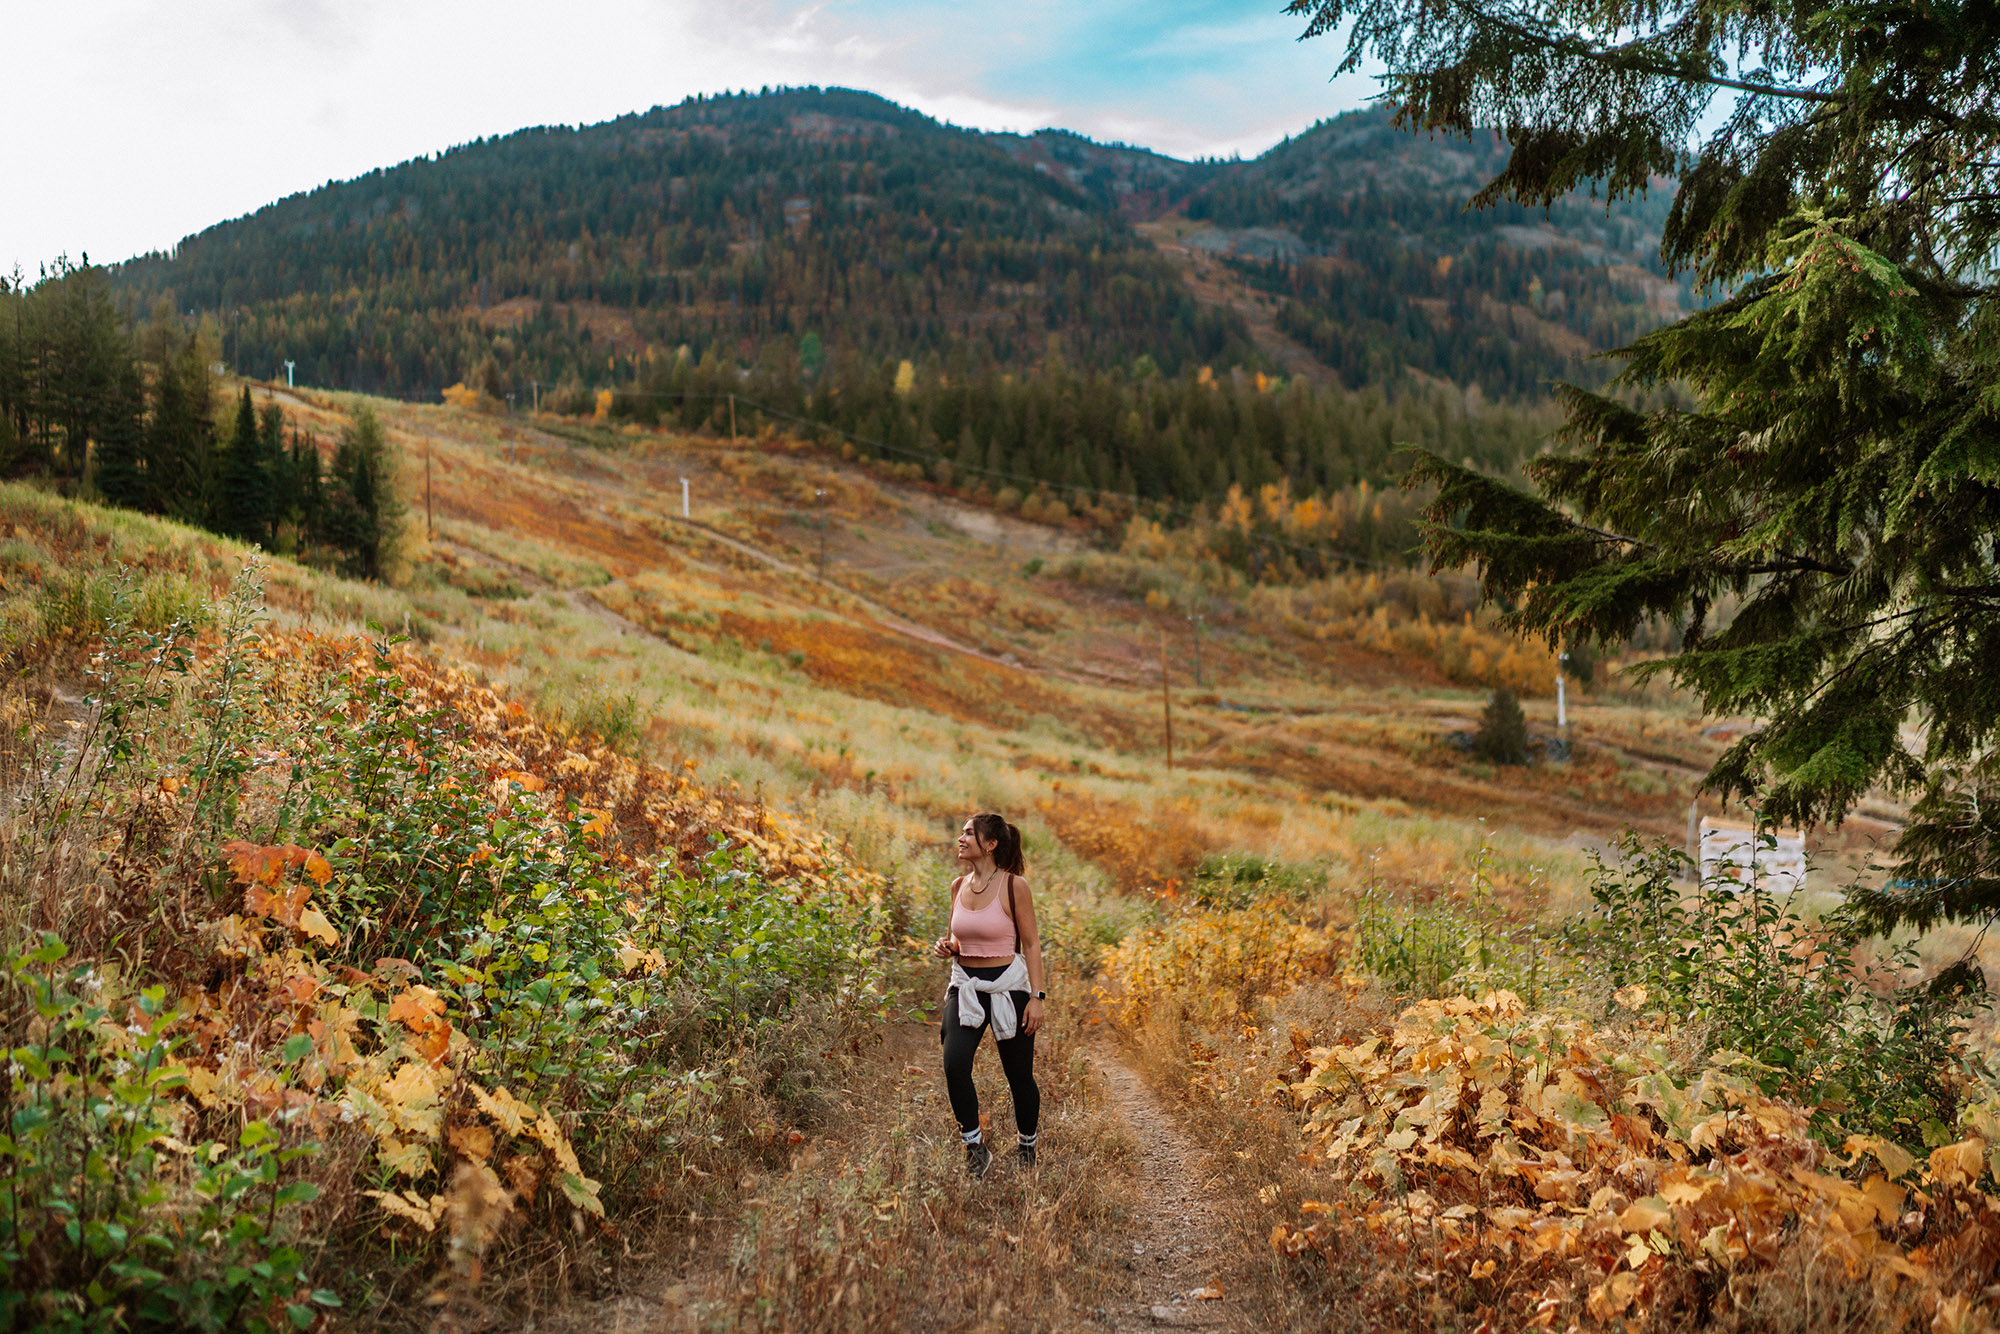
When deciding what to wear when hiking, the goal is versatility. Instead of one thick coat, a system of thinner layers allows for precision tuning. By adding or removing pieces, moisture stays away from the skin, heat stays trapped where it belongs, and the elements remain on the outside.

The Foundation: The Base Layer
The base layer is the most critical component because it sits directly against the skin. Its primary job is "wicking"—the process of pulling sweat away from the body and moving it to the outer surface of the fabric where it can evaporate.
Choosing the Right Fabric for Your Skin
Selecting the right material determines whether a hiker stays dry or ends up shivering in damp cotton.
- Merino Wool: Naturally odor-resistant and excellent at regulating temperature. It stays warm even if it gets slightly damp.
- Synthetic Blends: Usually made of polyester or nylon, these dry incredibly fast and are often more durable for rugged use.
- Silk: A lightweight option for cool (but not freezing) weather, though it isn't as durable as other options.
Cotton is the one fabric to avoid. It absorbs water, stays heavy, and siphons away body heat, which can lead to hypothermia in chilly conditions. When considering hiking wear, always prioritize moisture management over softness.
The Insulation: The Mid-Layer
Once the base layer moves sweat away, the mid-layer takes over to trap body heat. This layer acts as a buffer against the cold. The beauty of the mid-layer is that it can be adjusted based on the intensity of the hike and the outside temperature.
Options for Staying Warm
Depending on the season, the mid-layer might be a thin fleece or a heavy puffer jacket.
- Fleece: Highly breathable and continues to insulate even if it gets damp. It’s perfect for active movement.
- Down Jackets: Offers the best warmth-to-weight ratio. It packs down small but loses its insulating power if it gets wet.
- Synthetic Fill: A great alternative to down that handles moisture better and provides consistent warmth.

In colder months, hiking in winter setups often requires a "double mid-layer." This might include a light fleece for the uphill climb and a "puffy" jacket to throw on during a lunch break when the heart rate drops and the body cools down.
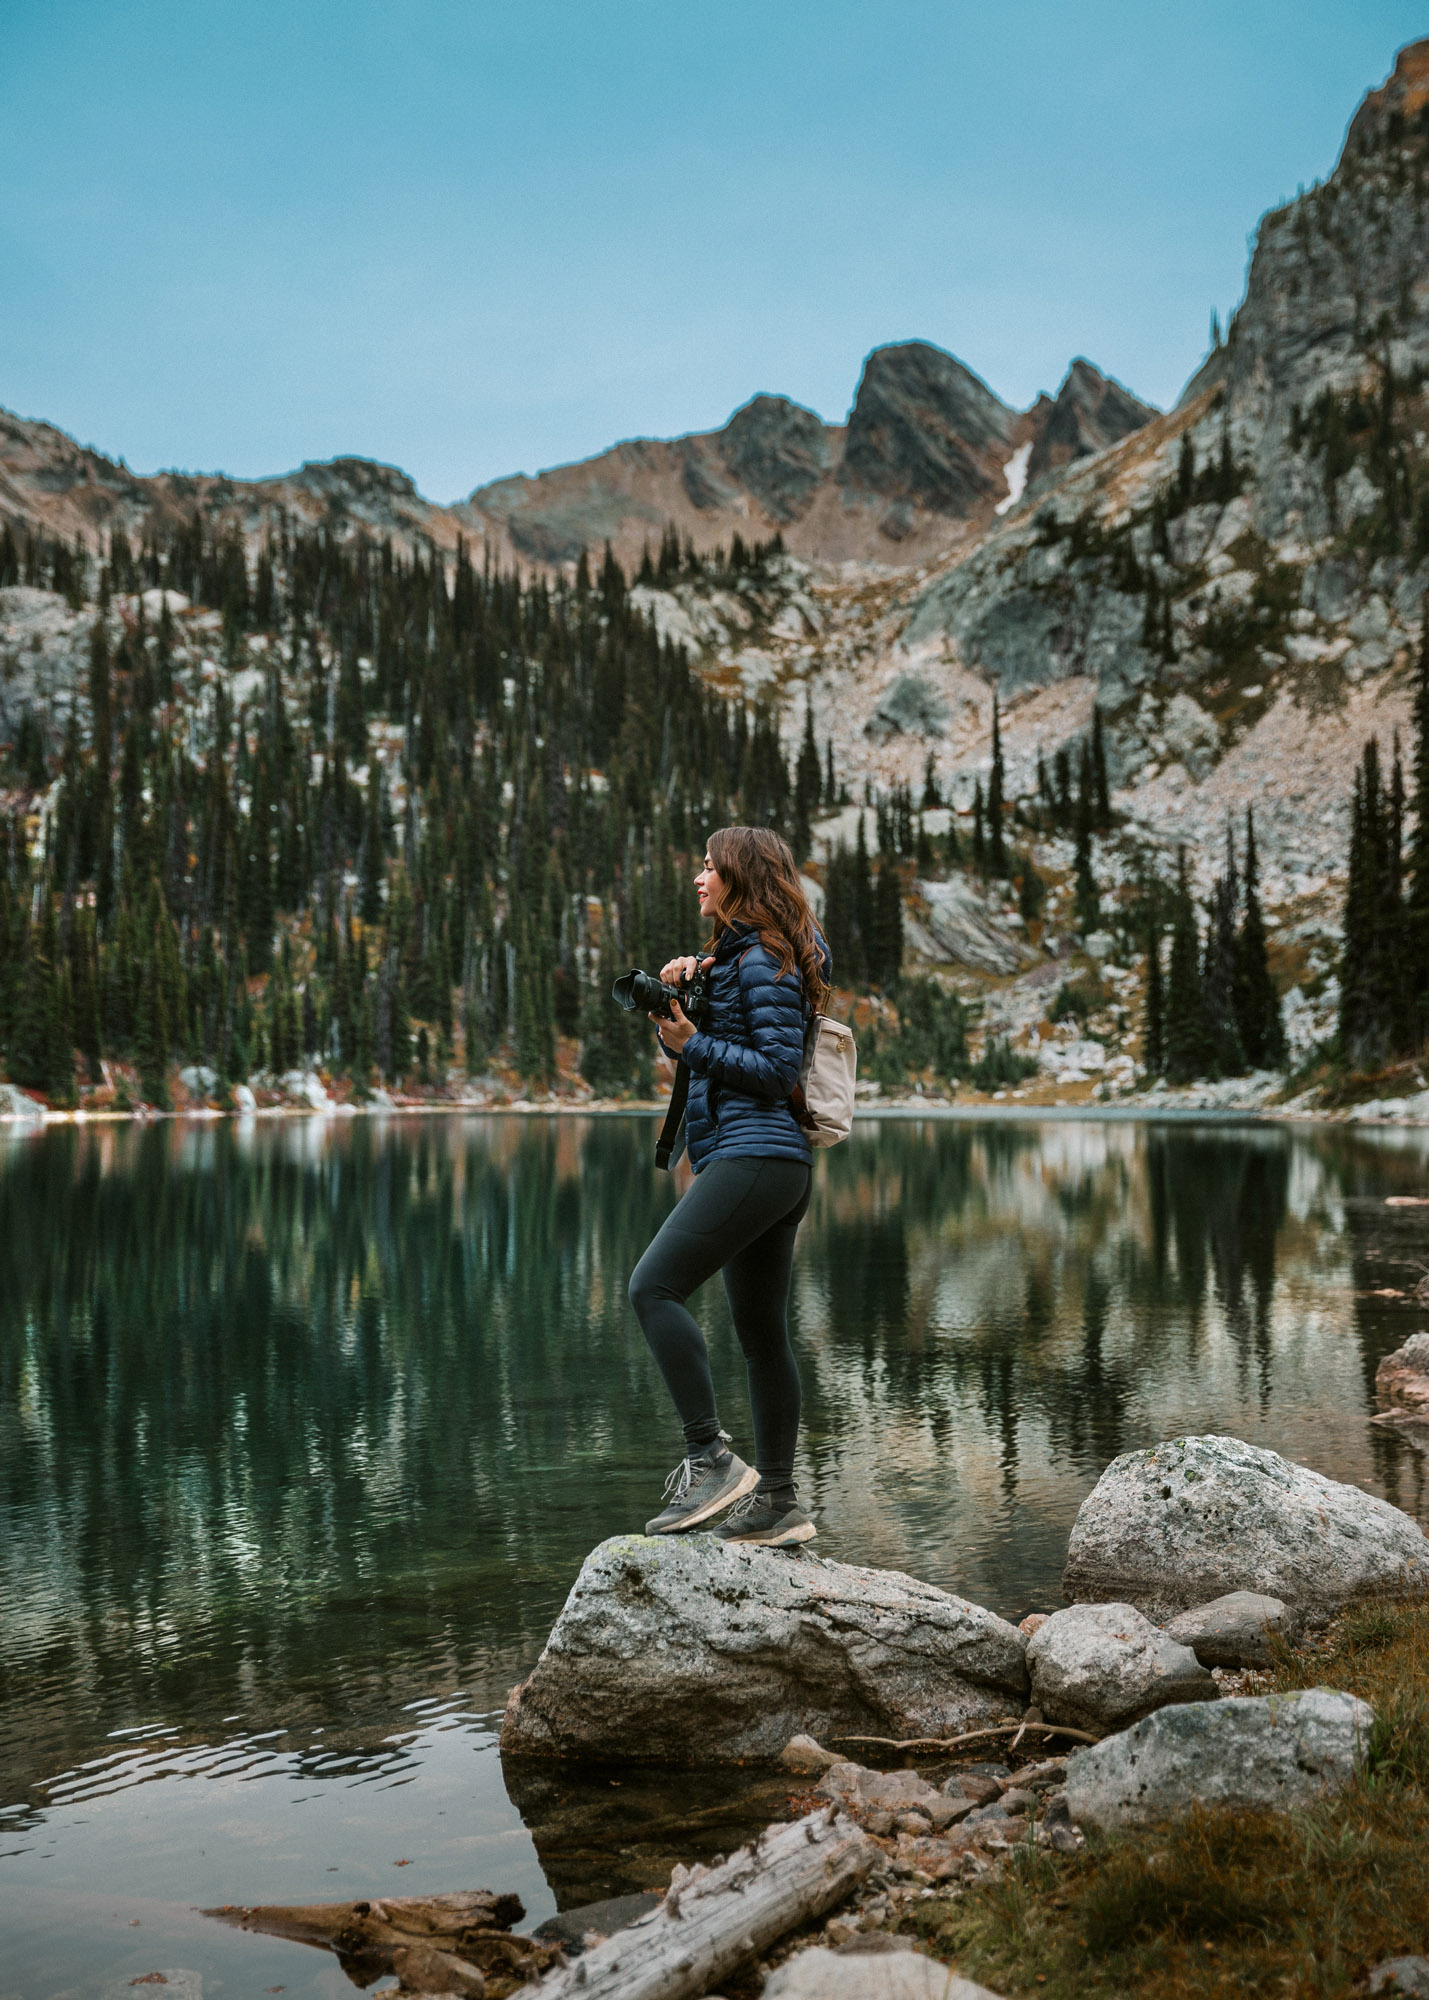
The Protection: The Outer Layer (Shell)
The outer layer is the shield. While the inner layers manage moisture and heat, the shell protects against wind, rain, and snow. Without a proper shell, a cold breeze can strip away all the warm air the mid-layer has worked so hard to trap.
Waterproof vs. Water-Resistant
Choosing the right shell depends on the forecast. A "hard shell" is fully waterproof and windproof, usually featuring a membrane like Gore-Tex. This is essential for heavy rain or snow. A "soft shell," on the other hand, is highly breathable and water-resistant. It is often the preferred wear hiking choice for clear but windy days because it allows more sweat to escape than a fully waterproof jacket.
Strategic Adjustments for Winter Conditions
When the temperature drops below freezing, the margin for error narrows. The layering system must be more robust to prevent cold-related injuries.
Managing Heat During Heavy Activity
A common mistake in hiking wear planning is over-insulating before the hike starts.
If a hiker feels perfectly warm while standing at the car, they are likely wearing too much. The body generates a massive amount of heat once the legs start moving. It is better to start "boldly wimp," feeling a little chilly for the first five minutes, rather than sweating through clothes ten minutes into the trail. Once clothes are wet with sweat, they become much harder to keep warm.
Protecting the Extremities
Layering isn't just for the torso. In extreme cold, the head, hands, and feet need a similar systematic approach.
- Liners: Thin gloves or sock liners move moisture away from the skin.
- Insulation: Heavy wool socks and insulated mittens trap heat.
- Shells: Waterproof over-mittens and gaiters keep snow and slush out.
Having the right hiking wear and winter gear for the hands and feet ensures that a drop in temperature doesn't end the day early.
Footwear and Lower Body Layering
While the upper body gets most of the attention, the legs and feet do all the work. The same rules of moisture management and protection apply here as well.
Choosing Legwear for Versatility
Most hikers prefer synthetic pants that offer stretch and quick-drying properties. In many cases, knowing what to wear when hiking means choosing pants with "zip-off" legs or side vents to help regulate heat on a sunny afternoon.
- Leggings/Base Layers: In cold weather, a synthetic or wool legging under hiking pants adds significant warmth.
- Rain Pants: These serve as a shell for the legs, blocking wind and moisture.
- Hiking Shorts: Best for high-output summer treks where ventilation is the priority.
The right wear hiking choices for the lower body should allow for a full range of motion without causing chafing or restriction.
Accessories: The Finishing Touches
Small items often make the biggest difference in overall comfort. These "micro-layers" are easy to stash in a pocket and can be put on or taken off in seconds.
Essential Add-ons for Every Pack
Consider these items as the "fine-tuning" tools for a layering system:
- Buff or Neck Gaiter: Protects the neck from sun or wind and can be pulled over the face in a pinch.
- Knit Hat: A huge amount of heat escapes through the head; a beanie is the fastest way to warm up.
- Polarized Sunglasses: Essential for eye strain and protection against snow blindness.
If the gear list feels incomplete, revisit the basics of what to wear when hiking to ensure no gaps are left for the wind to whistle through.
Putting It All Together
A successful day on the trail is one where the hiker stays dry and comfortable from start to finish. By using a three-part system—base, mid, and shell—anyone can handle shifting weather patterns with ease.
Investing in quality hiking wear is an investment in the quality of the experience. High-performance fabrics might cost more upfront, but their ability to dry quickly and withstand the friction of a heavy pack makes them worth every penny.
When selecting wear hiking items for a specific trip, always check the mountain forecast, not just the local city weather. Mountain environments can change in a heartbeat, and being prepared with an extra layer in the pack is the mark of a seasoned trekker.
Final Checklist for Your Next Outing
- Did I pack a moisture-wicking base layer?
- Is my mid-layer appropriate for the predicted low temperatures?
- Do I have a shell that can handle unexpected wind or rain?
The right hiking wear doesn't just protect a person from the elements; it provides the confidence to stay out longer and see what lies over the next ridge.