How to Unblur a Photo Online for Free: A Photography Tutorial on Sharpening and Fixing Blurry Images
Most of us have experienced the disappointment of capturing what should have been a perfect shot, only to realize later that the image has blurred beyond recognition - a fleeting expression softened into haze, an exquisite texture lost beneath a wash of motion or missed focus. The good news is that in the digital age, softness is rarely permanent. With intention, a bit of patience, and the right tools, even the blurriest of images can regain definition and depth, transforming what seemed ruined into something vivid once again.


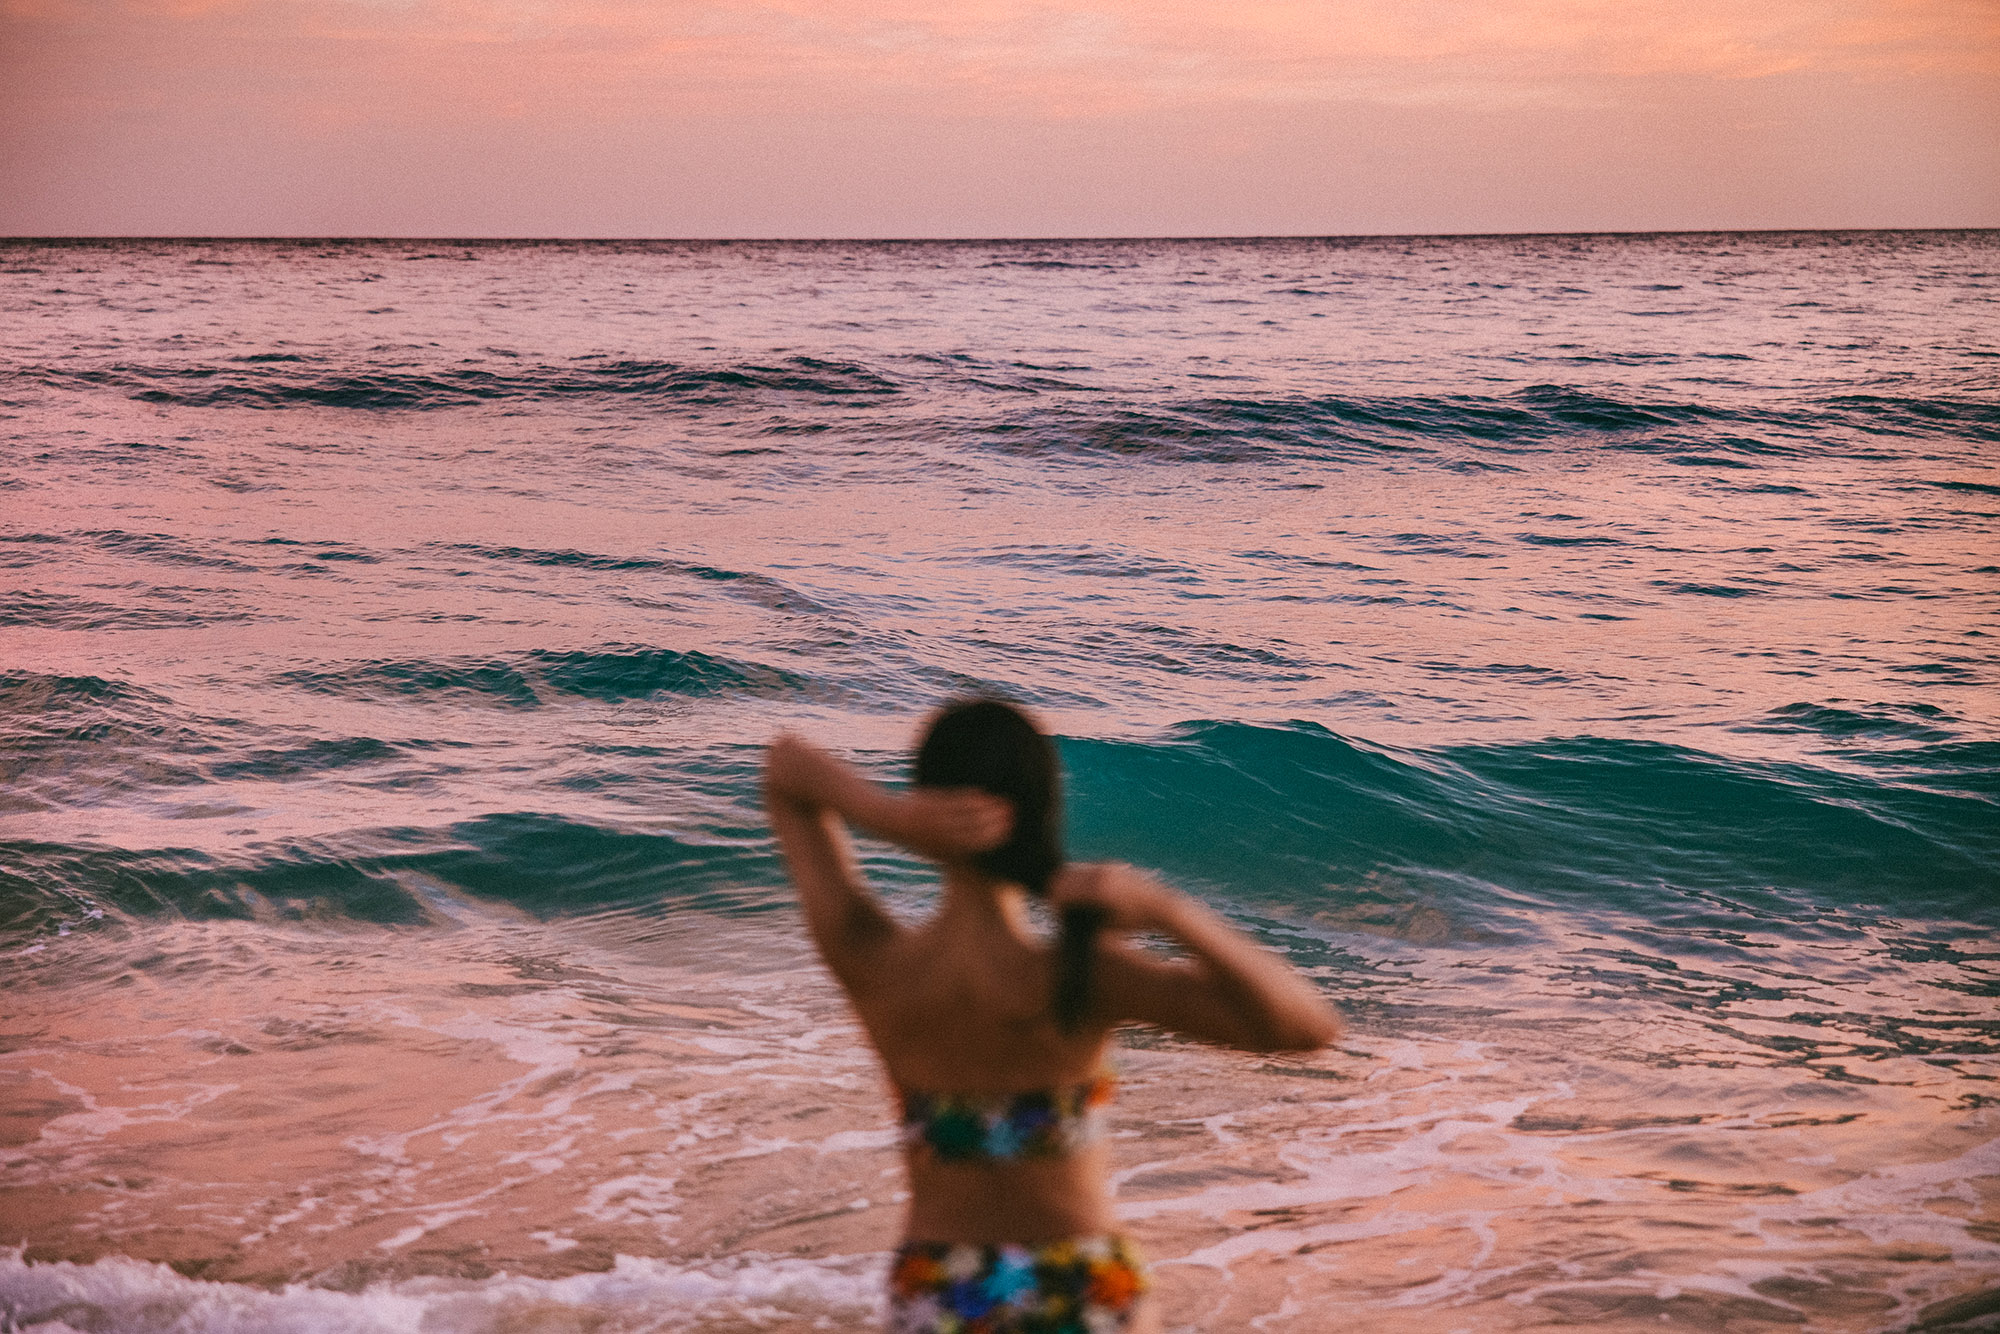
Identify the Source of the Blur
Before attempting to repair a blurred image, it’s essential to understand precisely what caused the loss of sharpness. Movement from the camera hand, a shifting subject, insufficient lighting, or incorrect focus settings each introduce different types of distortion that require separate methods of correction. Motion blur, for instance, responds best to targeted deblurring or directional sharpening, whereas soft focus may benefit more from subtle enhancements in detail, contrast, and structure. Low light introduces noise that can further degrade clarity, requiring a delicate balance between brightening and smoothing.
Examining the photo closely allows you to identify where the issue originates. Recognizing the cause from the beginning prevents unnecessary adjustments later in editing, and ensures each change you make moves the image toward restoration rather than distortion. Sharpening can only emphasize what remains within the frame - it cannot recreate what was never captured - so working with intention at this early stage saves both time and image integrity.

Select the Right Editing Tool
The choice of editing software is often what determines how successful your restoration will be. While countless one-click sharpeners exist online, the most effective results come from platforms that offer granular control - the ability to adjust sharpness, structure, and noise reduction independently, and to fine-tune each element of the image through layering and masking. You can unblur your photo with this free tool from Adobe Express, and then check the results.
No matter which platform you use, always ensure the program supports your file format and resolution. High-resolution images contain more data to work with, which allows for greater refinement in post-processing. Reading reviews and exploring tutorials can also help you gauge the quality of results to expect. The goal is to work with a tool that restores detail efficiently while preserving natural tones and textures - not one that over-sharpens or introduces digital artifacts.
Upload and Prepare for Editing
Once you’ve chosen your editor, begin by uploading the highest-quality version of your image available. Whether you drag and drop it directly or browse through your files, make sure the photo is saved in a compatible format such as JPEG, PNG, or RAW. Larger files may take slightly longer to load, but the added resolution will yield sharper results and smoother tonal transitions once the edits begin.
Pay close attention to upload quality, as some platforms automatically compress images during import. This can quietly reduce resolution before you’ve even started editing, undermining your results before they begin. Maintaining an organized workflow - labeling files, saving duplicates, and working on copies - helps ensure that each stage of your process remains reversible if you need to retrace your steps later.
Restore Sharpness with Subtle Precision
Sharpening is as much an art as it is a technical adjustment. Begin gradually, moving the slider in small increments while closely observing the impact on edges and fine textures. Over-sharpening can easily introduce harsh halos or exaggerated outlines that make the image appear artificial, while under-sharpening leaves the frame feeling dull and unfocused. The objective is balance - a crisp yet natural finish where contours appear stronger but the integrity of the photo remains intact.
When possible, use selective sharpening to isolate your subject from the background. This approach prevents unnecessary texture enhancement in areas that do not require detail, preserving a smoother, more professional finish. Skin, fabric, or organic surfaces often benefit from restraint, while eyes, architectural lines, or defined edges can handle more intensity without appearing unnatural.
Reduce Noise and Smooth the Grain
Noise - that grainy or speckled texture that creeps into darker images - often competes with sharpness for visual dominance. Reducing it effectively requires finesse, as removing too much can erase essential detail and flatten the image. Most editors include a noise reduction function that lets you balance between clarity and softness, ideally targeting areas of shadow or uniform tone where grain appears most prominent.
For a clean result, apply noise reduction more heavily to the background and more lightly to the main subject, maintaining dimension and definition where the eye naturally focuses. A controlled approach produces a smoother, more polished photo without sacrificing the depth that makes the image feel alive.
Preview, Compare, and Refine
Professional editors rarely finalize a photo without previewing every stage of adjustment. Use the before-and-after view to examine how your changes interact - checking sharpness, contrast, and tonal balance simultaneously. Small, deliberate refinements usually lead to the most natural results, whereas large corrections can quickly distort the aesthetic balance of the photo.
By toggling between the original and the edited version, you can easily determine whether the clarity feels authentic or overstated. This comparison is often what separates a convincing enhancement from a visibly edited one. Taking time to refine the image ensures that every adjustment you make contributes to coherence, not excess.
Make Sure To Export Correctly
Once satisfied, export the photo using the highest quality settings your software allows. Compression should be minimal, as excessive reduction in file size will undo much of your sharpening and reintroduce blur through pixel loss. Save in a format that supports high resolution, such as PNG or TIFF if available, and always store both the edited and original versions in organized folders for future adjustments.
This final step is often overlooked but deeply consequential. A high-quality export preserves all the effort invested in restoration, ensuring that your work remains sharp, balanced, and visually consistent across devices and platforms.