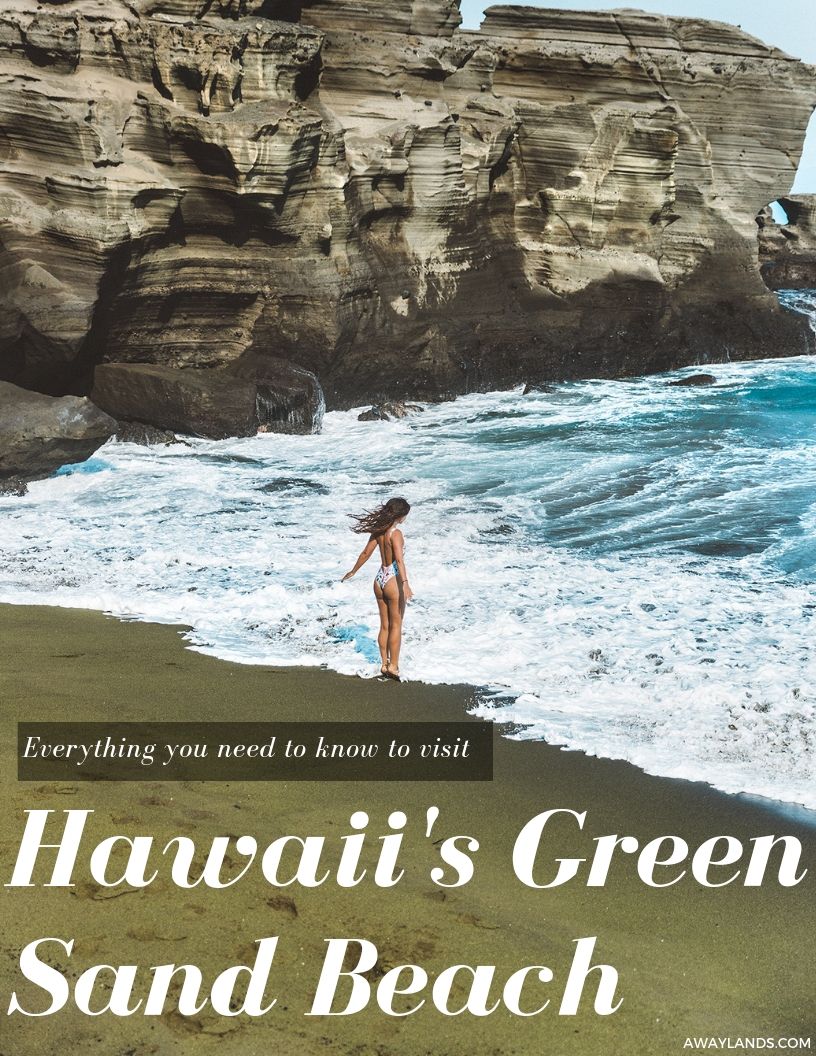
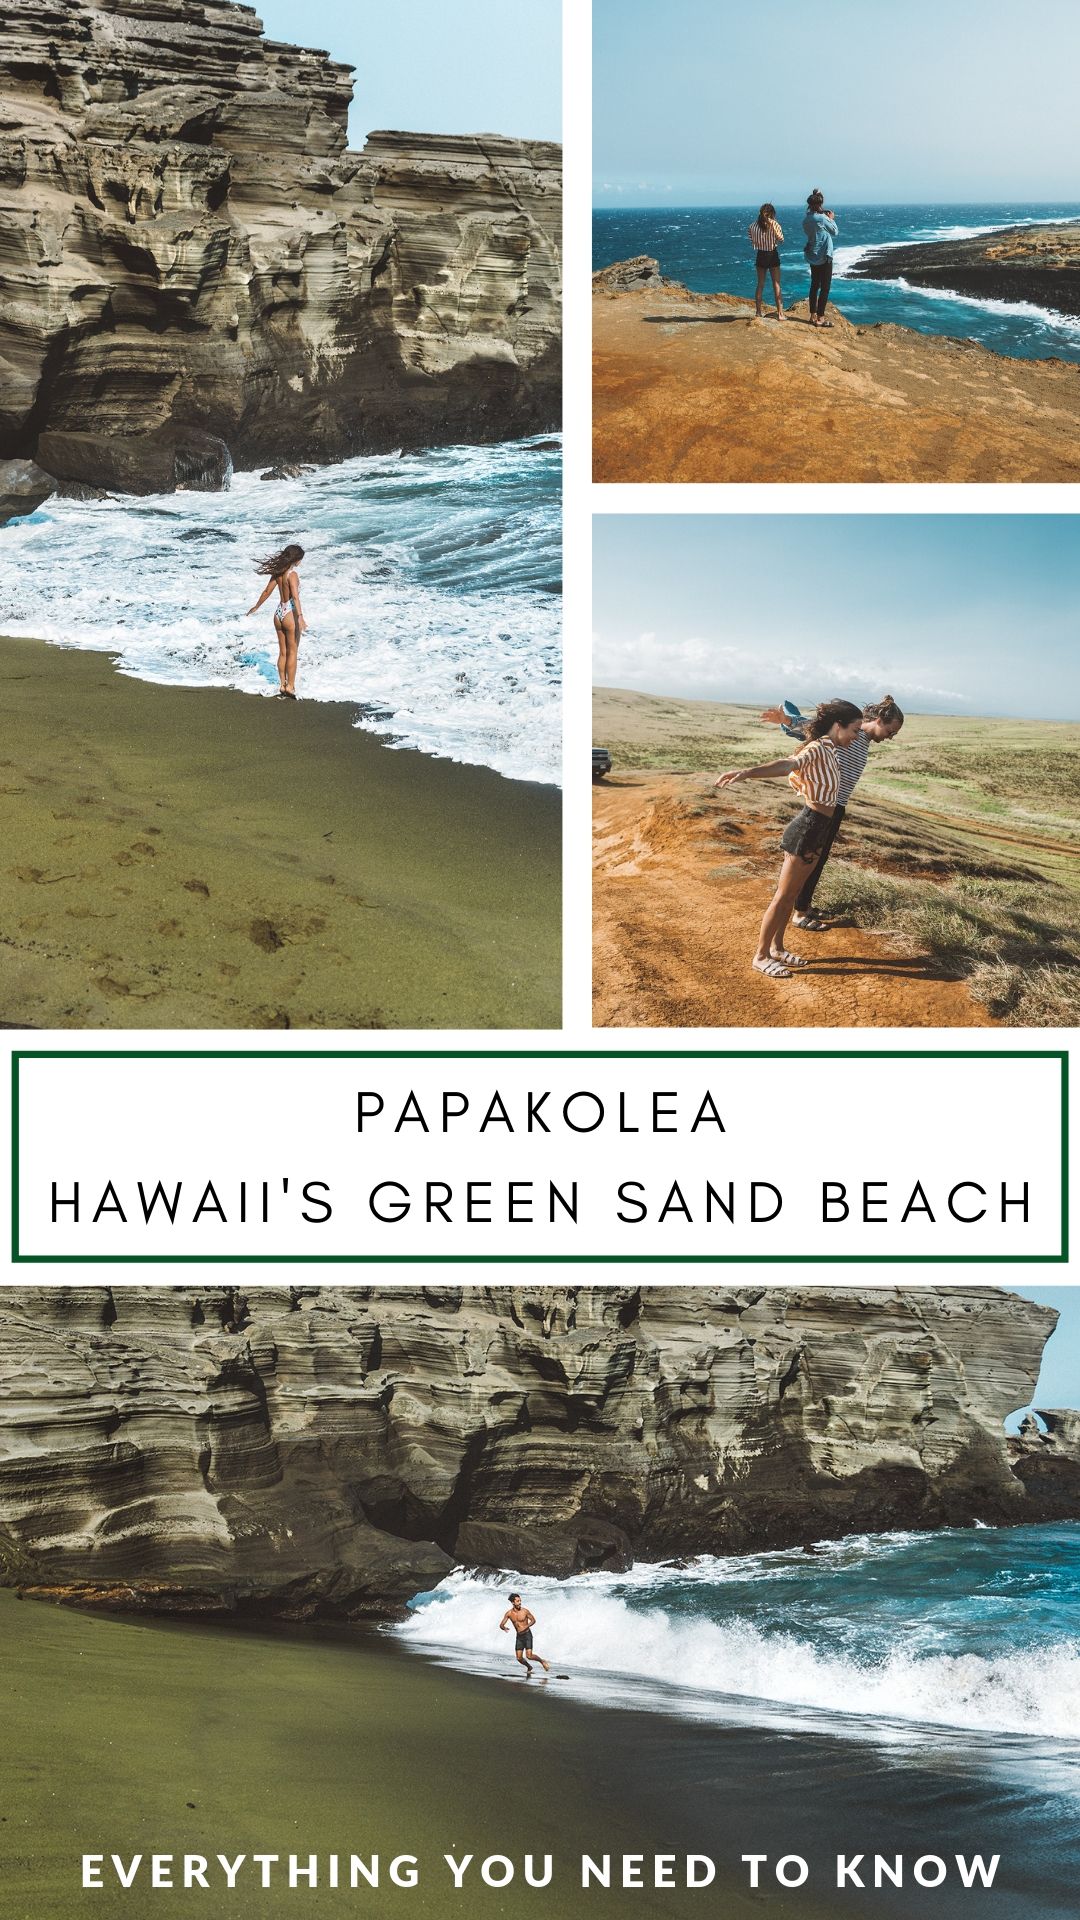
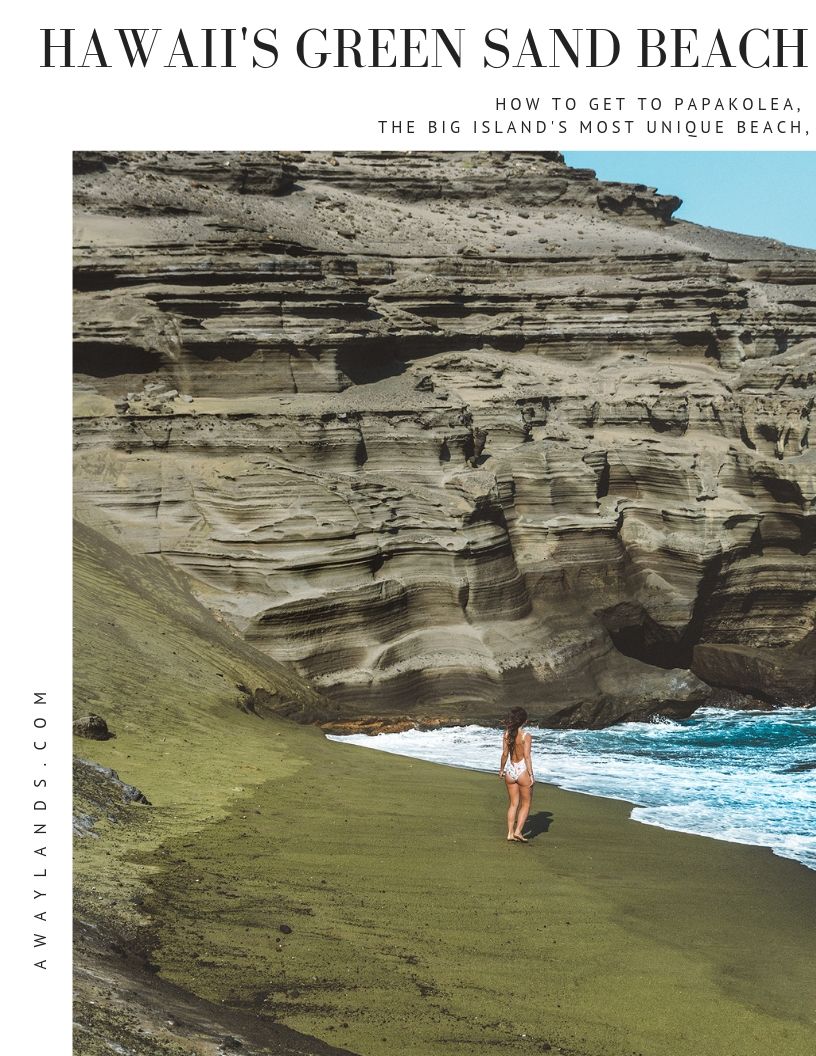
Papakolea, Hawaii's Green Sand Beach
I never buy much in the way of travel souvenirs, but one small thing that Brandon and I started collecting early on was sand from different colored beaches. It started on one of our first ever trips to Bermuda, as we were laying on the pink sand beach I knew that I wanted to take some home with us to New York. We filled a small plastic baggie, and from there it became a little game - we added bright orange sand from the Sahara Desert, purple sand from Big Sur, and sea glass from the glass beach in Kauai. We started looking for more unique beaches and adding them to our travel bucket lists - and then came across Papakolea, the Big Island's famous Green sand beach. Much like the Big Island itself, this Southern tip where this is located is rugged, wild, and not at all easy to get to. We've broken down everything you need to know.
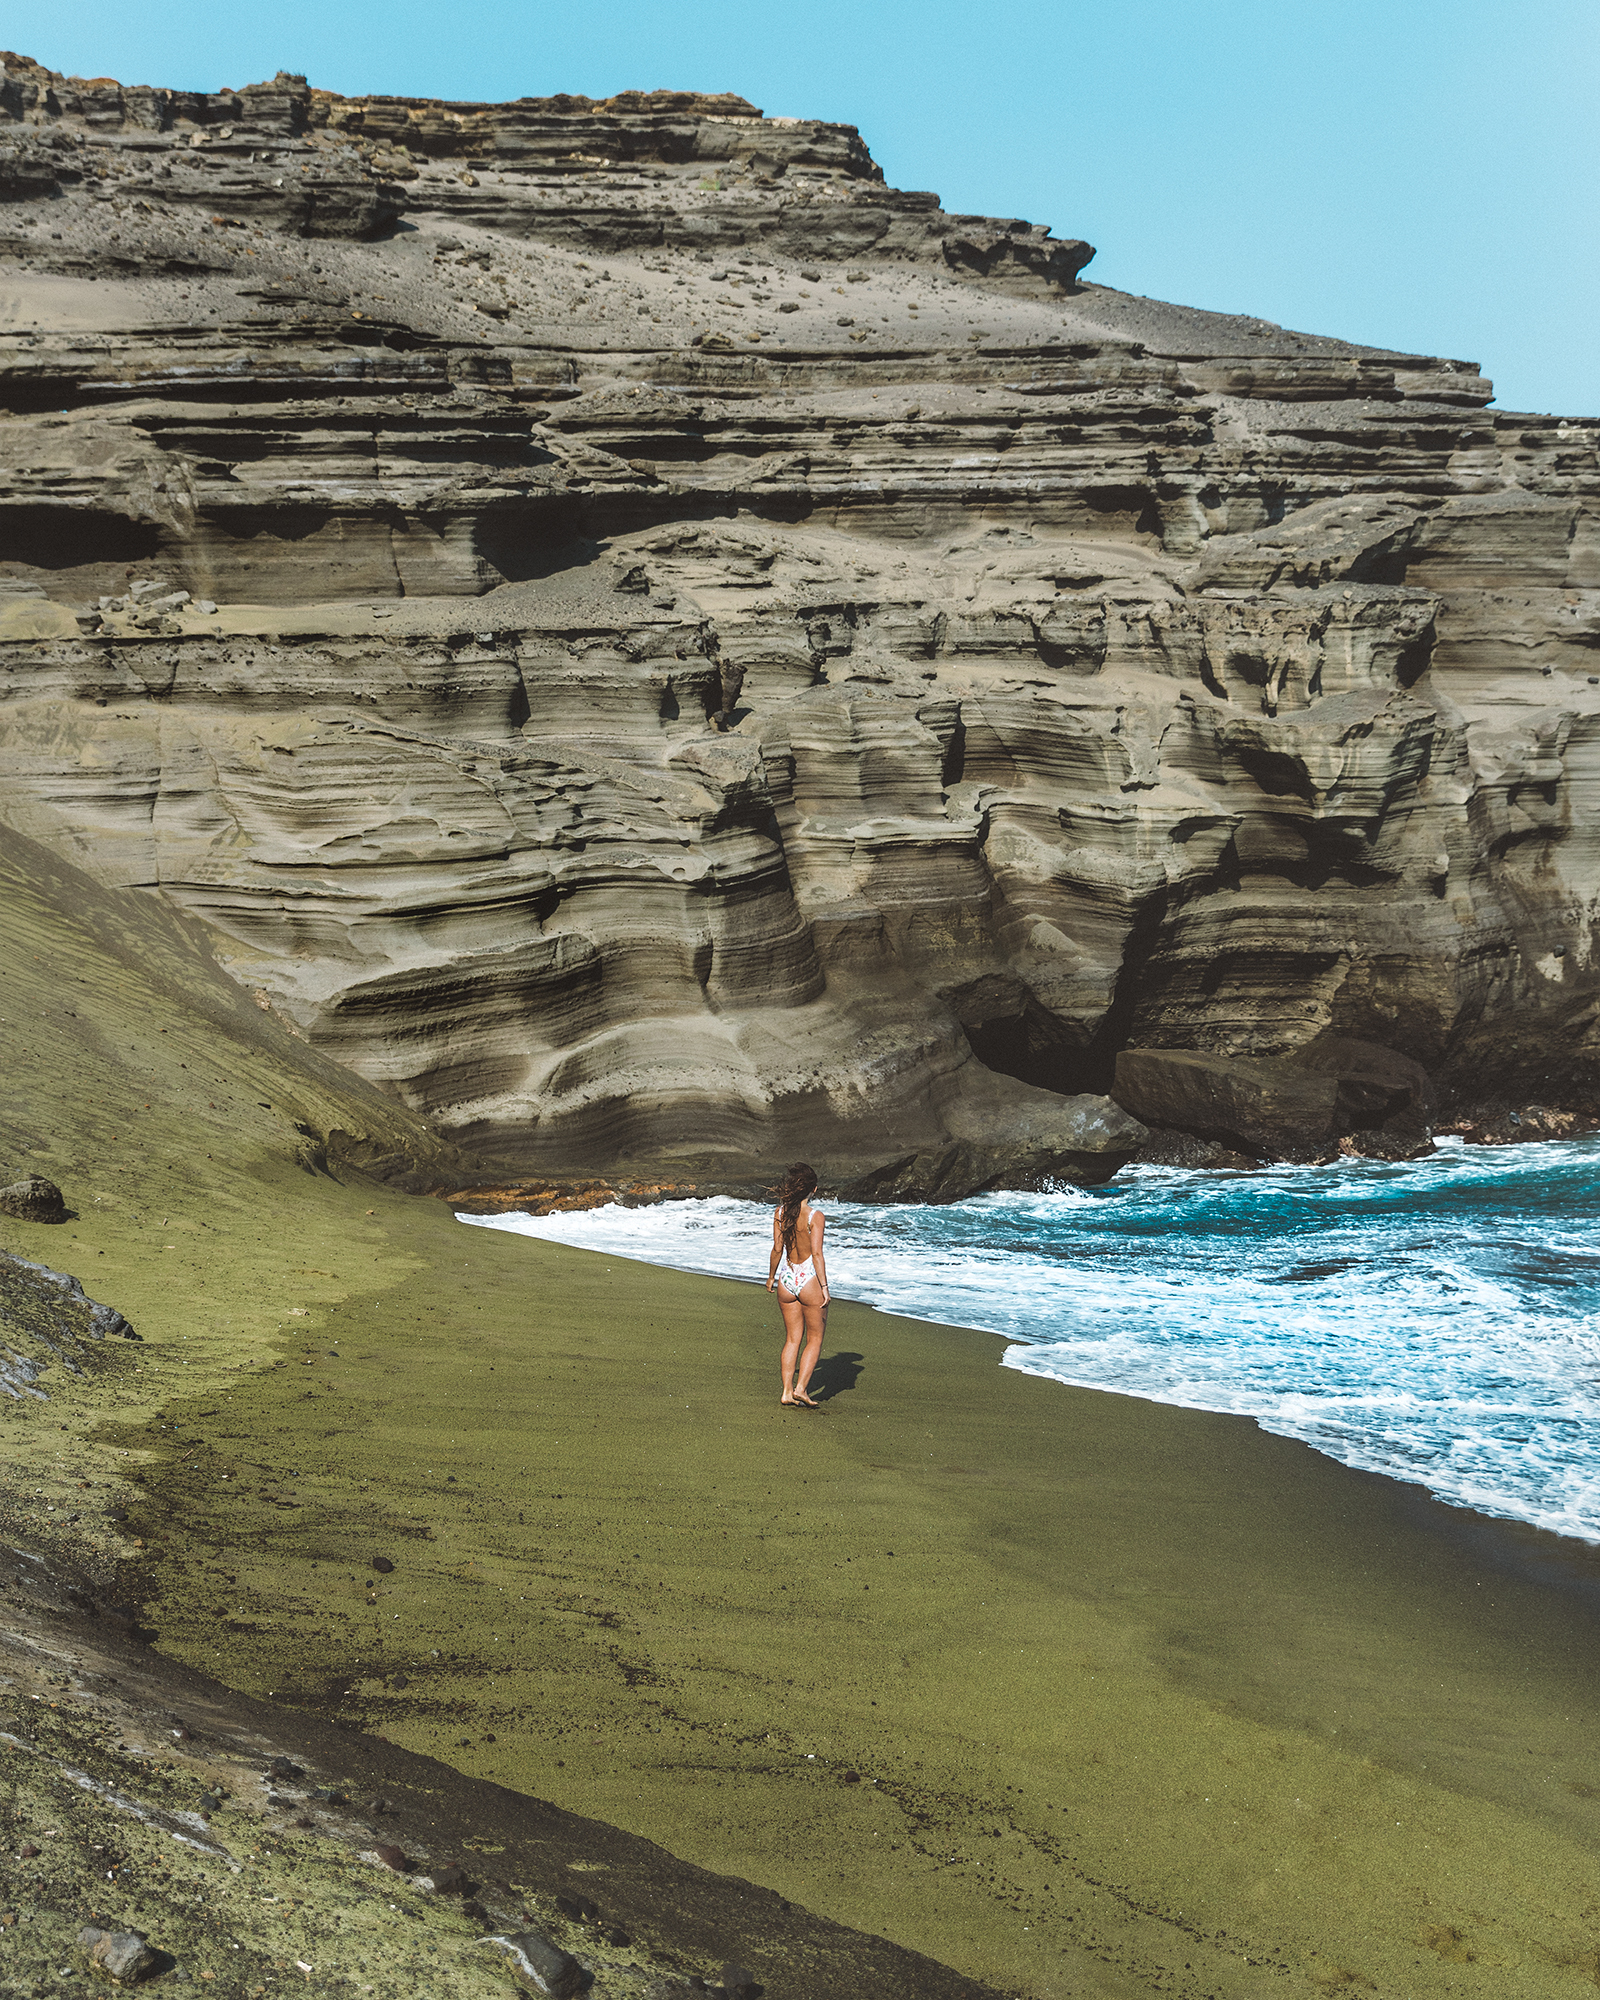
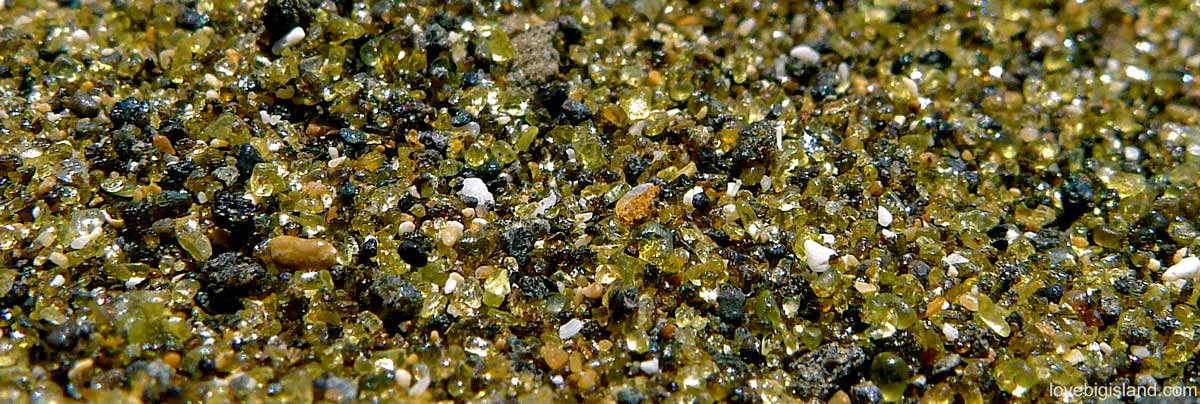
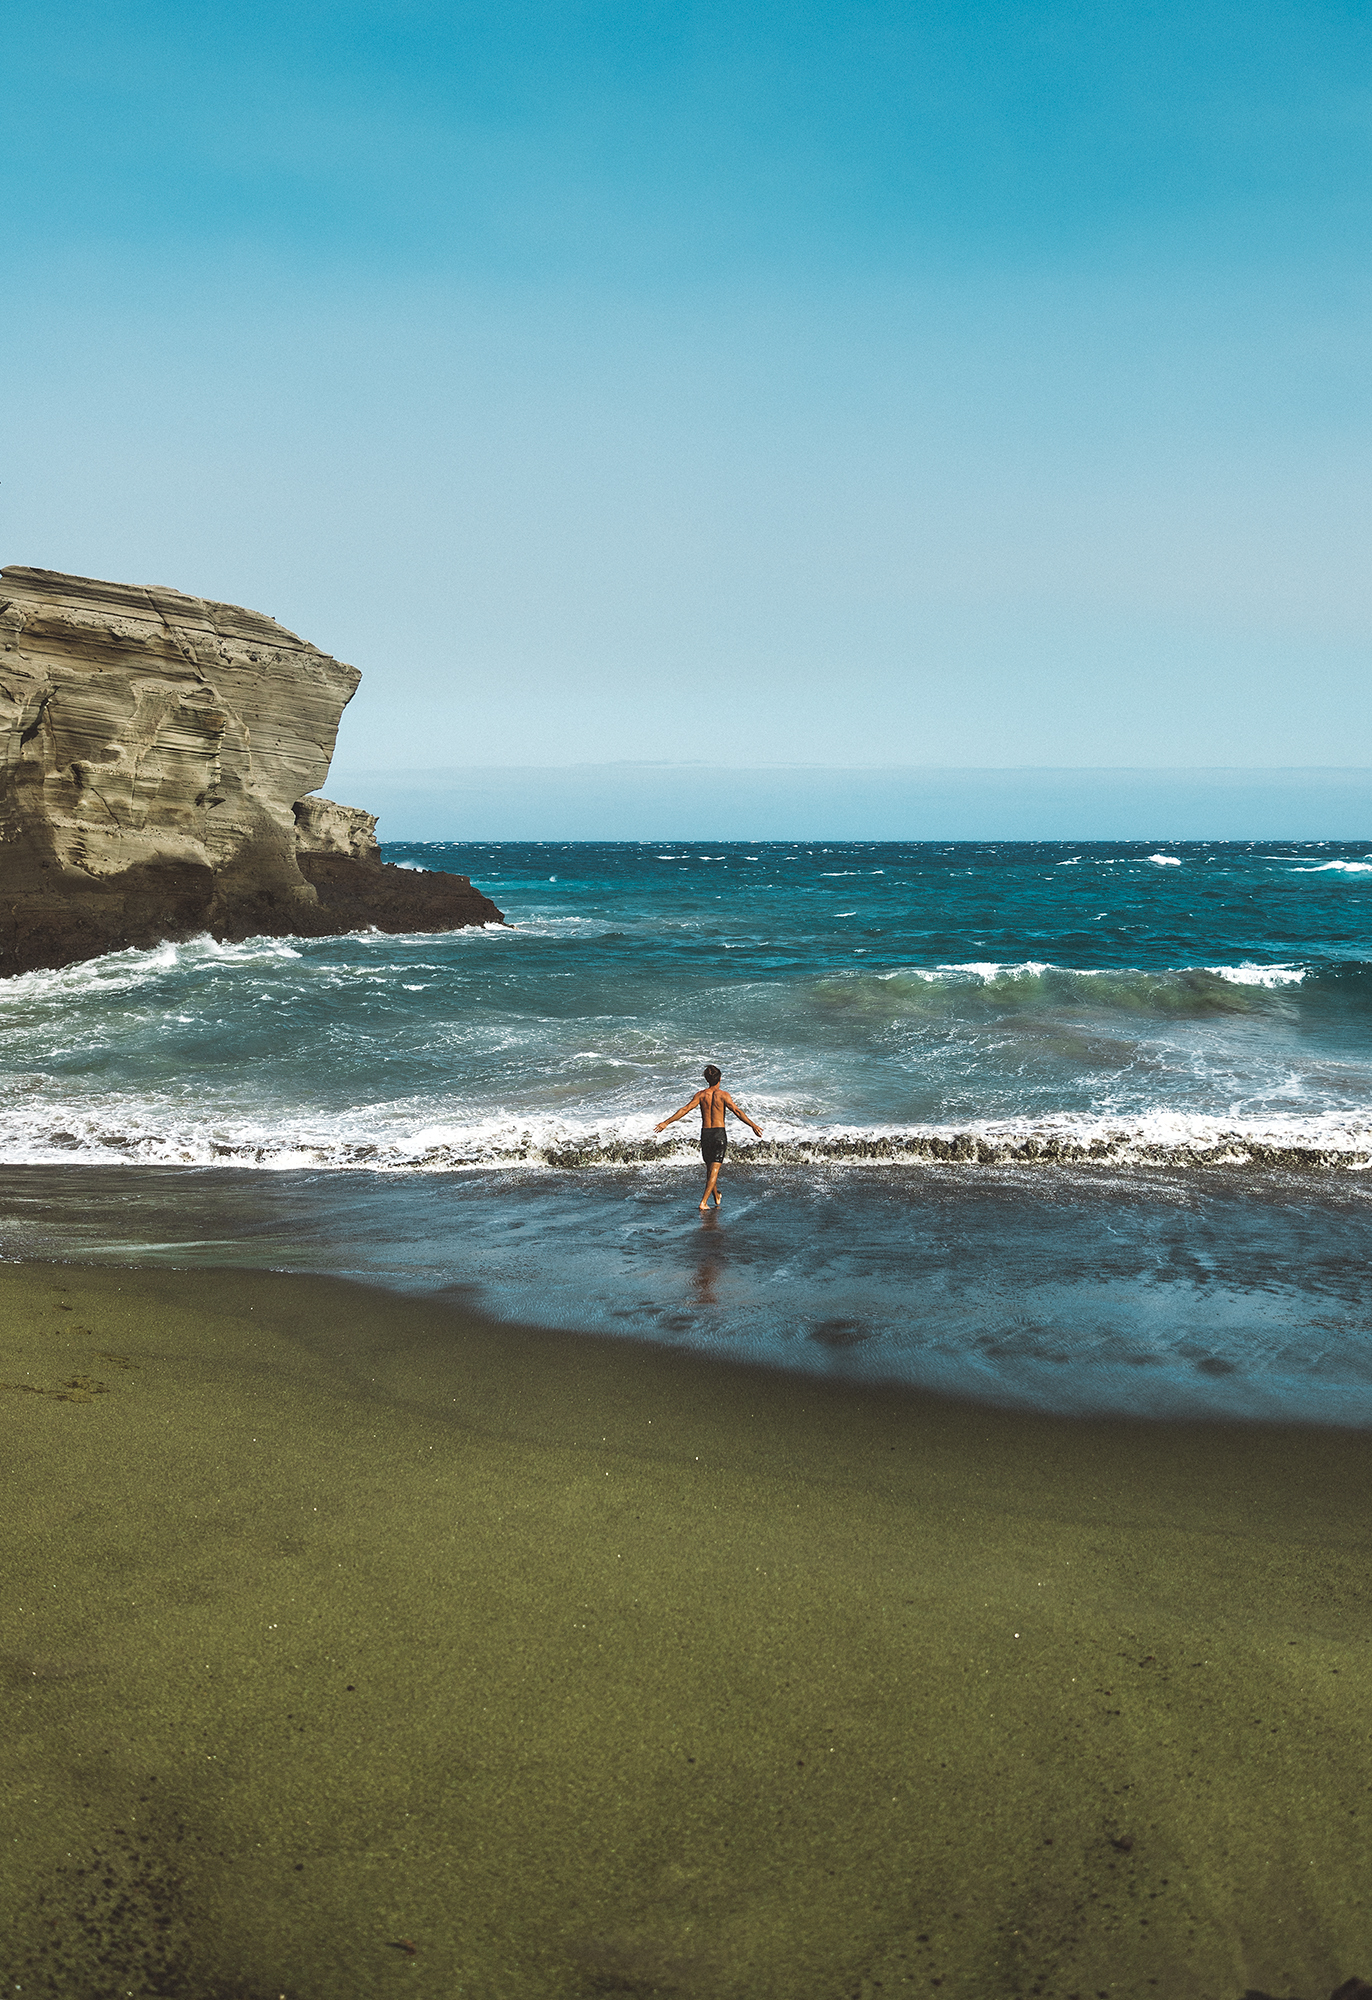
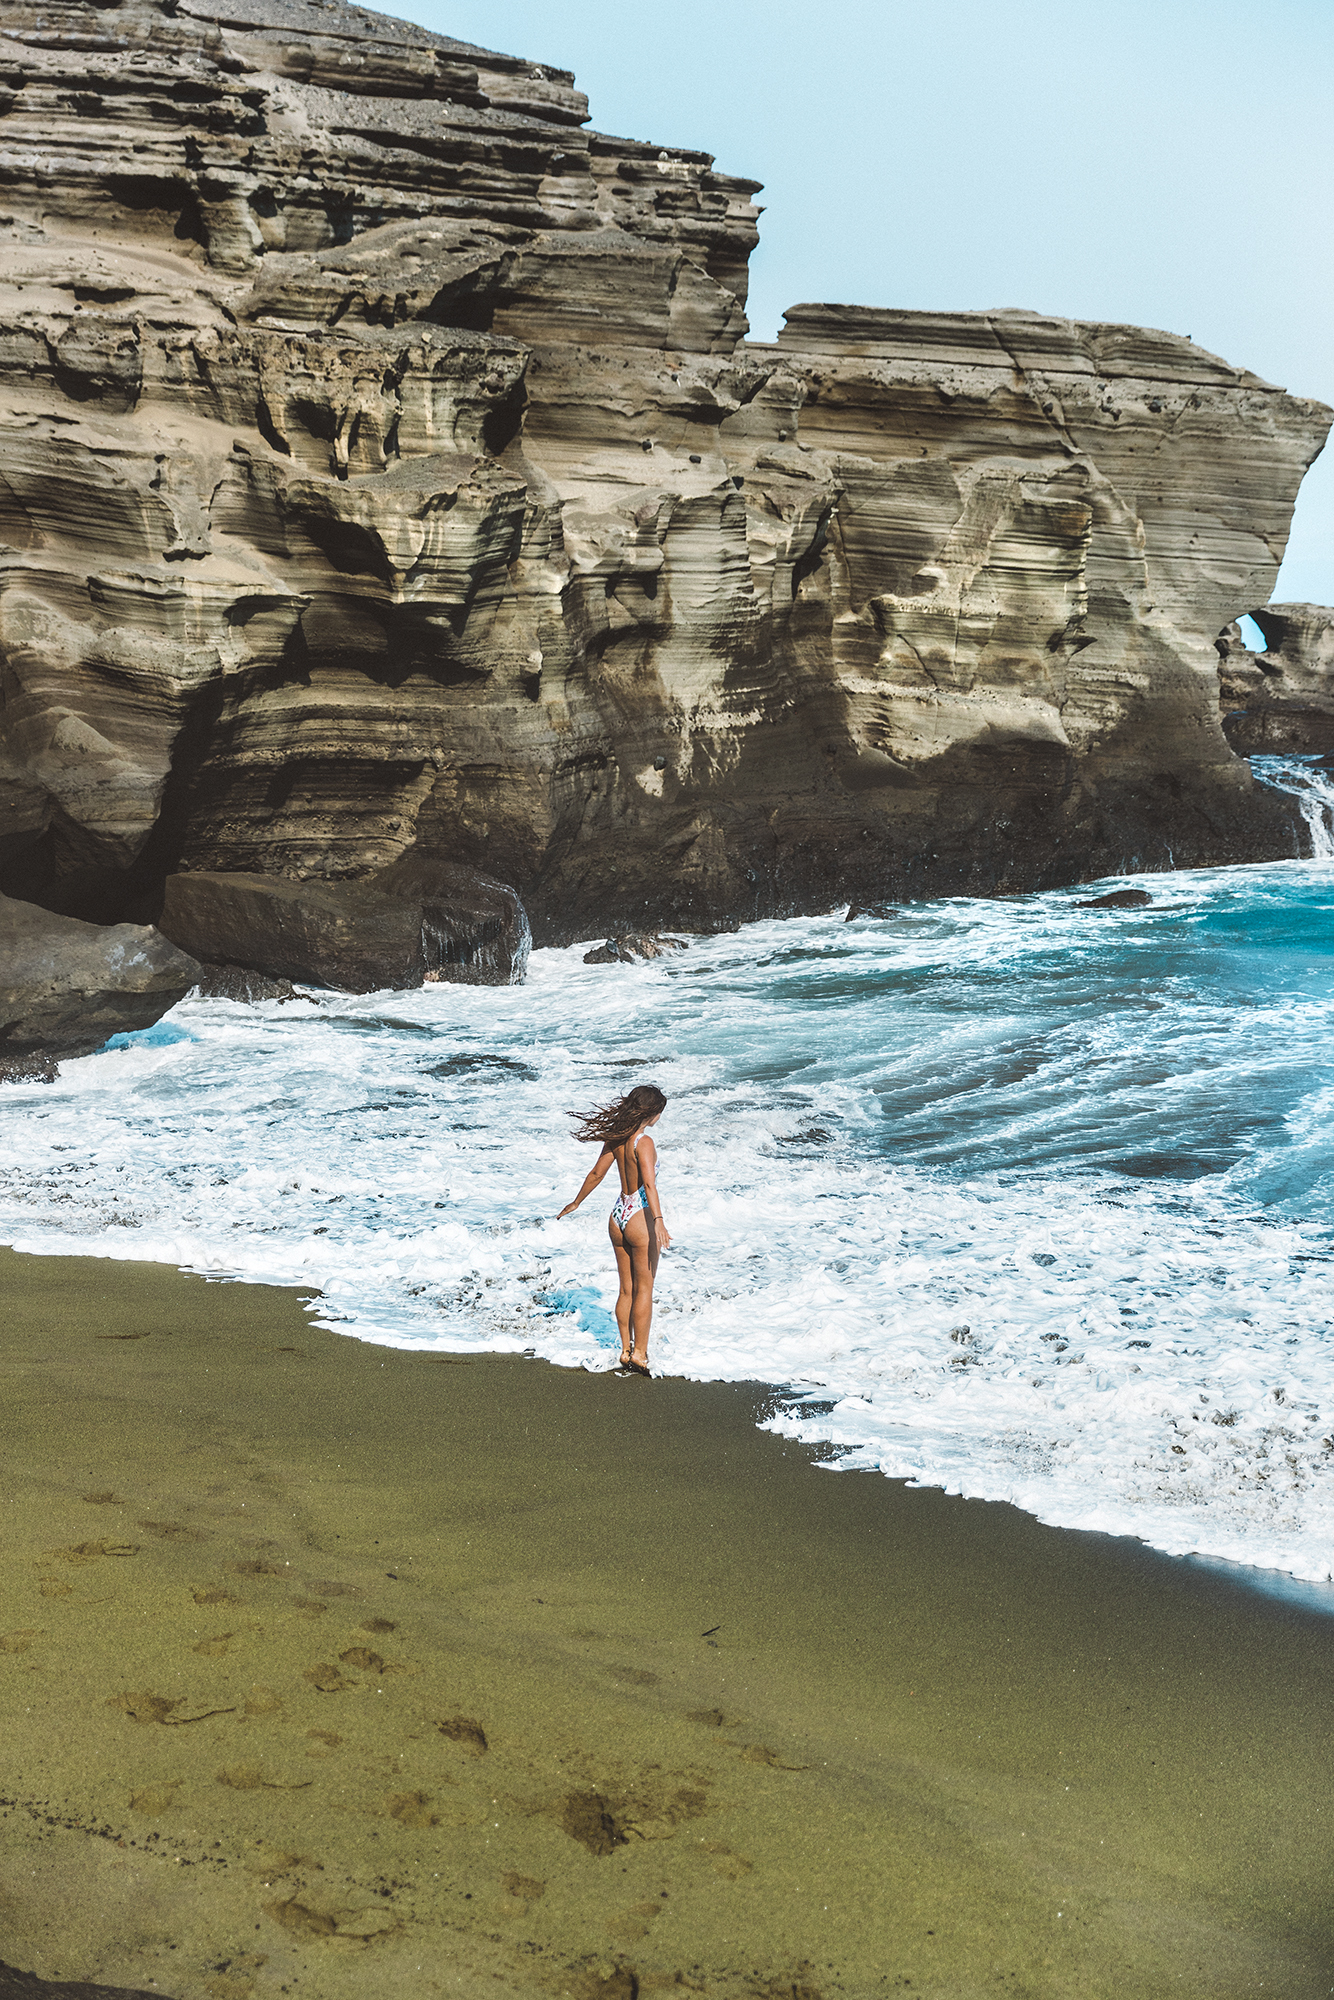
There is no shortage of beautiful beaches on the Big Island, but one of the rarest and most interesting beaches is the Papakolea Green Sand Beach. There are only four known green sand beaches in the world (the other three are in Guam, Norway, and the Galapagos), but none are as vibrant as Papkolea. Located on the southwest coast of Hawaii, this beach gets its name from the millions of green olivine crystals that give the sand here its green hue. These crystals come from the cinder cone of olivine lava thousands of years ago. You'll notice the sand isn't as fine-grained as most white sand, but rather feels like tiny little pebbles - and in the sun, it really sparkles.
This image is borrowed from here.
Getting There:
Half the adventure is getting to this beach. It's located off a beaten track that can be difficult to reach if you don't plan ahead. The access point is South Point Road, which fun fact, also happens to be the most southern road in the U.S. Follow the signs from Mamalahoa Highway to the closest paring lot. From here, there are a couple of options down to the actual beach.
The beach is located a full 3 miles from the parking lot. There are three different ways to get there:
- Walk: Park in the lot and walk the 3-mile hike to the beach.The hike is an easy to moderate trail that should be easy for most people to do, , but be warned that there is no shade or trees, and you are unprotected in full sun for the entire trek. Make sure to bring a lot of water and sun protection, and it's recommended to start early in the morning to make it more bearable.
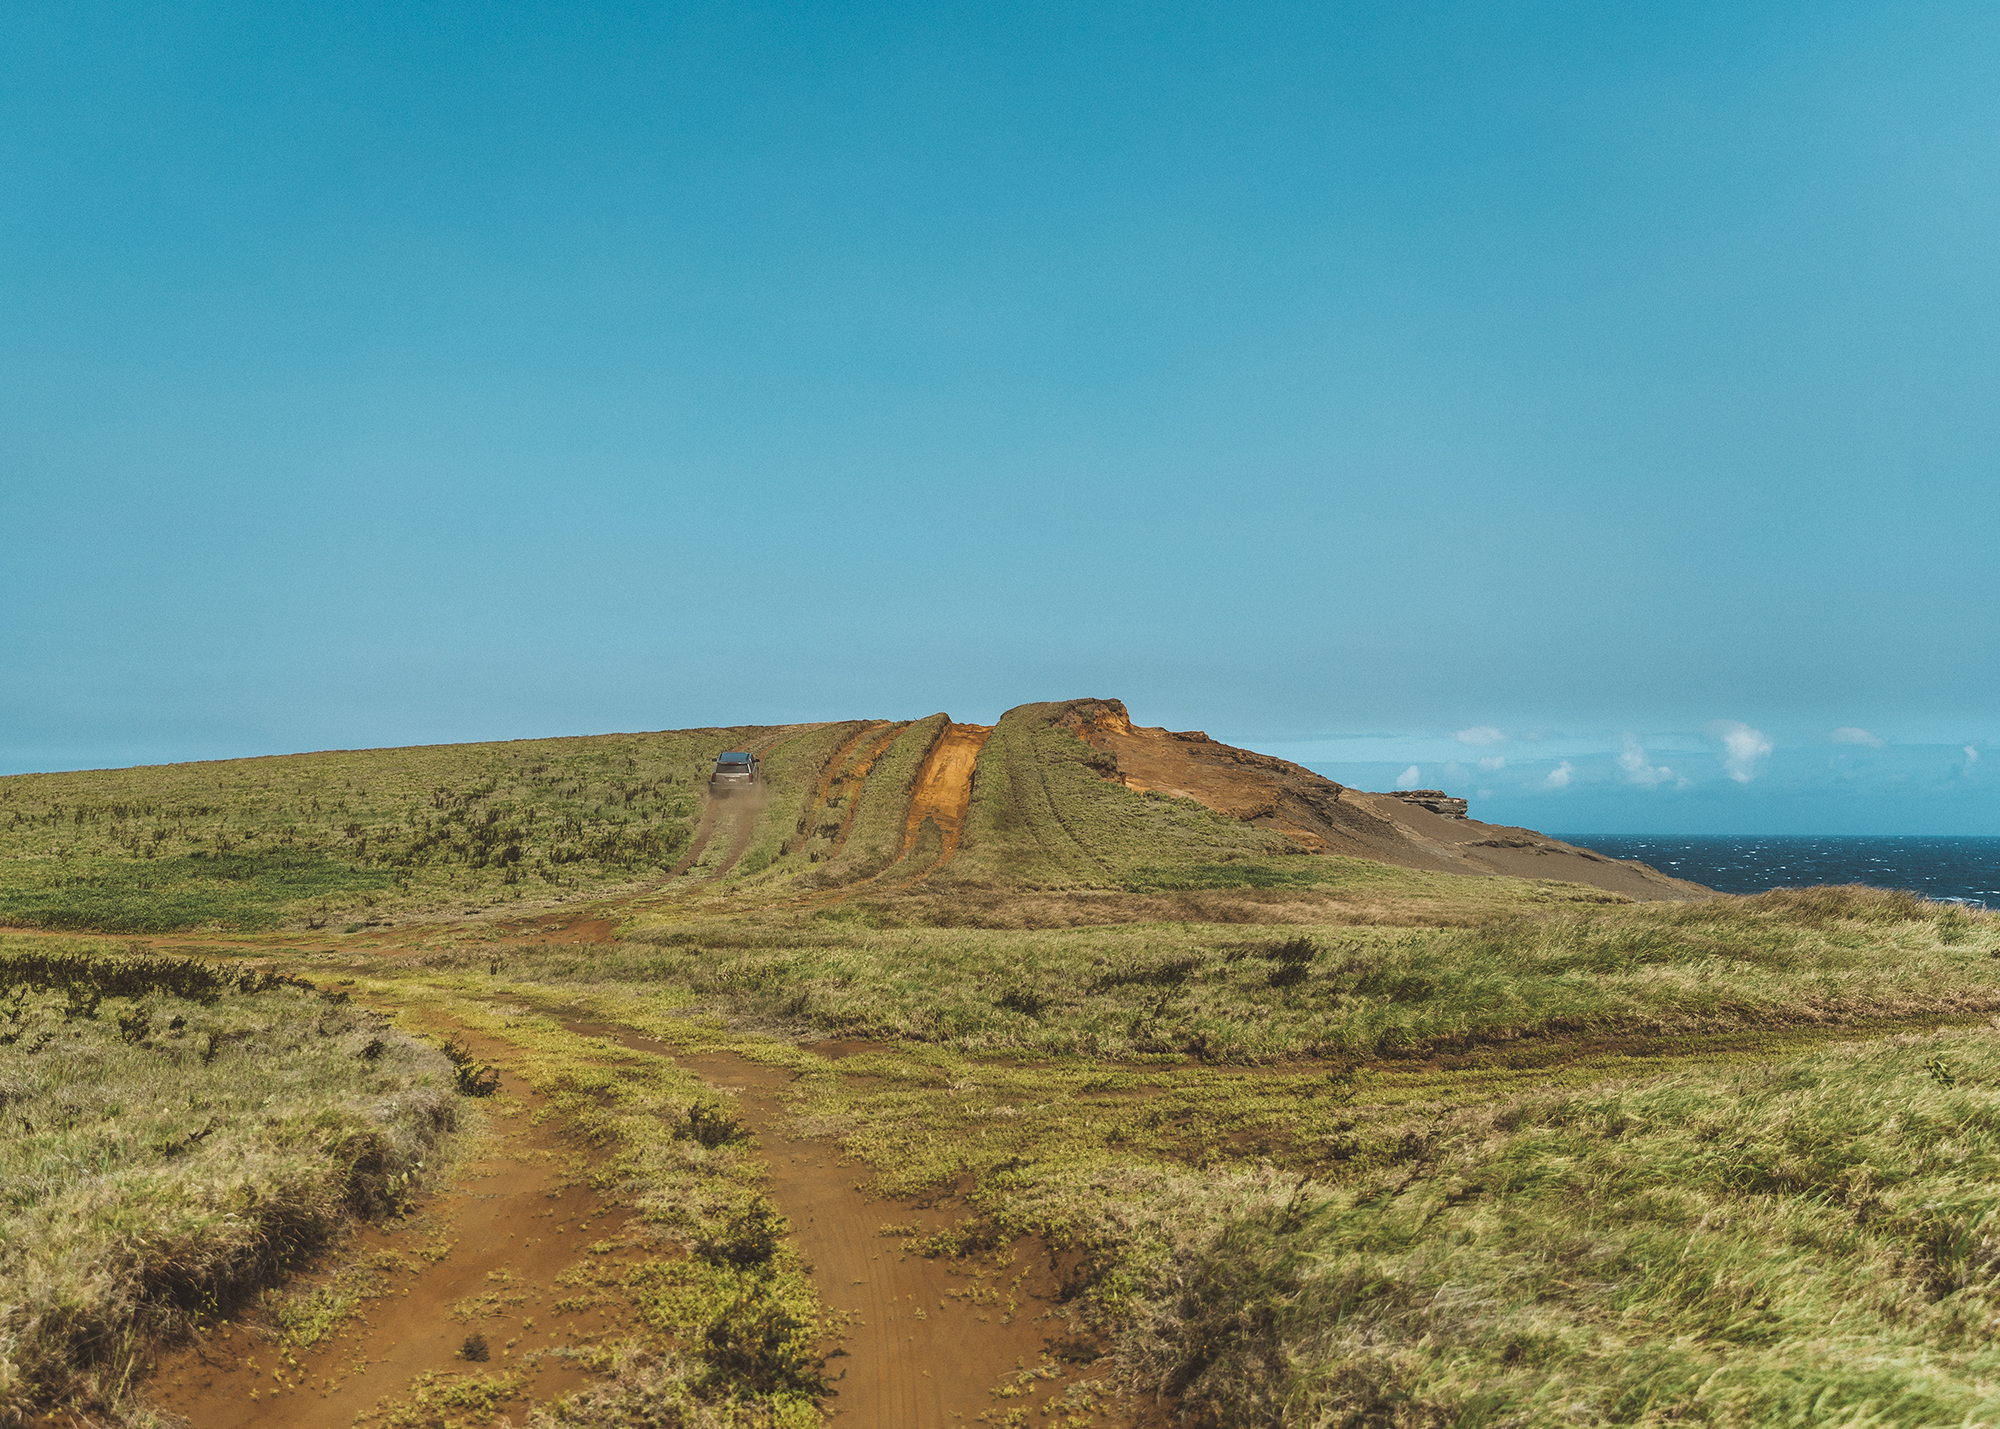
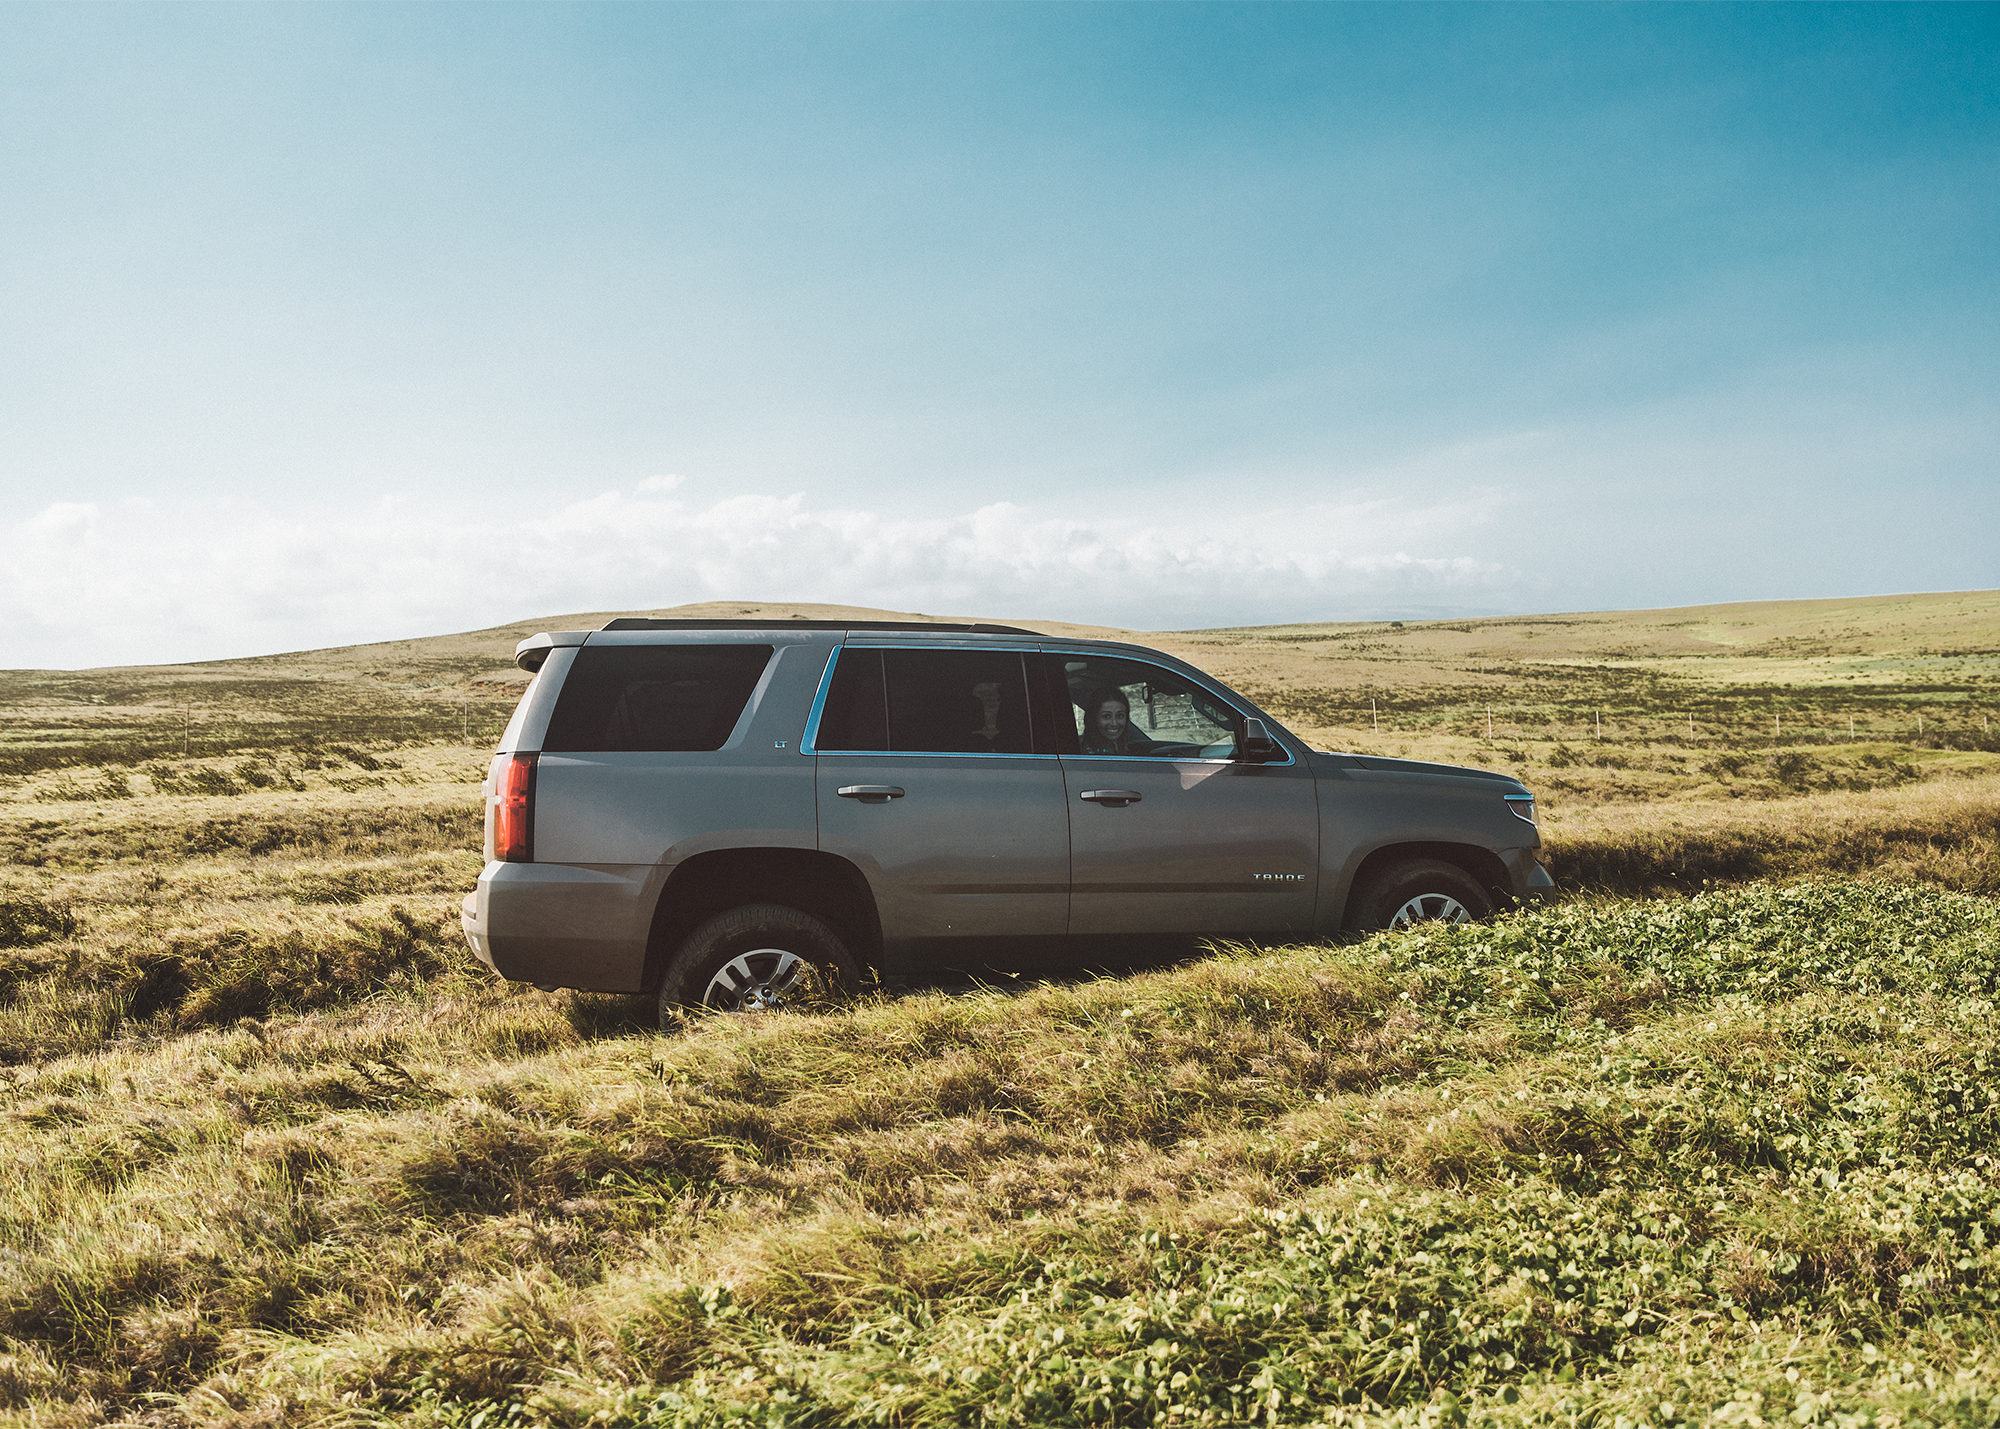
- By 4WD: If you have rented out a 4WD on your trip, this is the perfect place to drive it. The drive takes around 30 minutes, but only choose this option if you're an experienced driver. There are sections of the trail that are quite bumpy and steep. This was how we made the trek, but I definitely would not have felt comfortable driving alone! One of our friends is an experienced off-road driver and we really used his skills here - we used the well-established grooves trails that the shuttle buses use to get here, but there were times when it felt like our SUV was practically sideways. If you plan to go this route, definitely make sure you get the insurance on your rental car.
- By Shuttle: There are some locals who have started giving unofficial shuttle rides. If you come across one, they will drive you over the bumpy terrain to the beach access spot for about $15-20. Some even sell snacks and drinks. If you cannot make the drive or the walk, this is your only real bet to get out to the beach. However, most of the shuttles that passed us had people standing in the back of open pick-up trucks, so this is not a particularly easy way to go either!
- These are your only options. This is one beach that you really have to earn to see for yourself.
Our SUV pulling up the long, grassy trail to the beach.
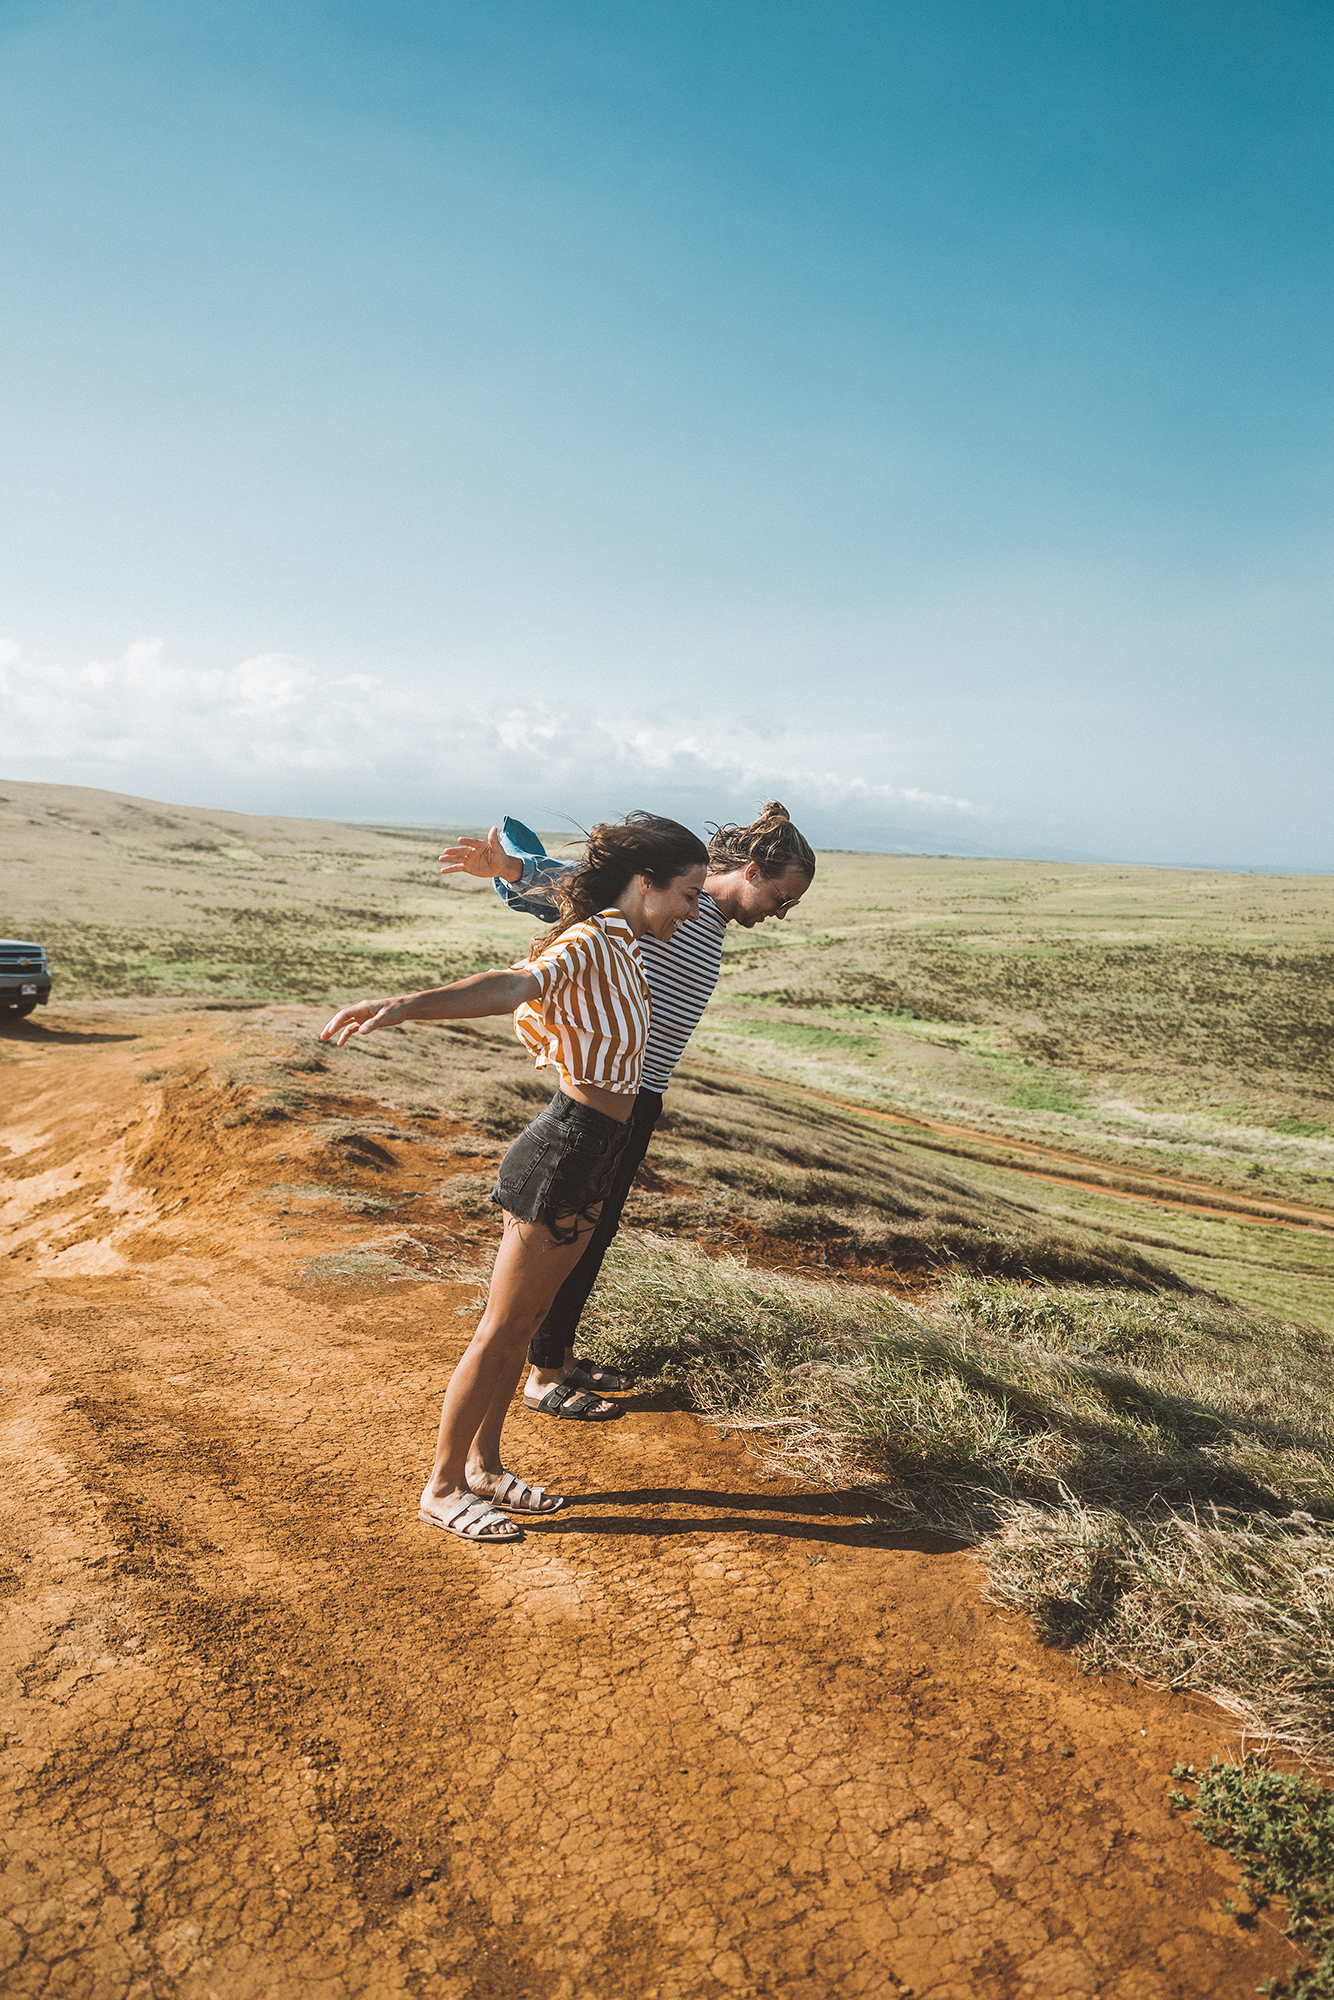
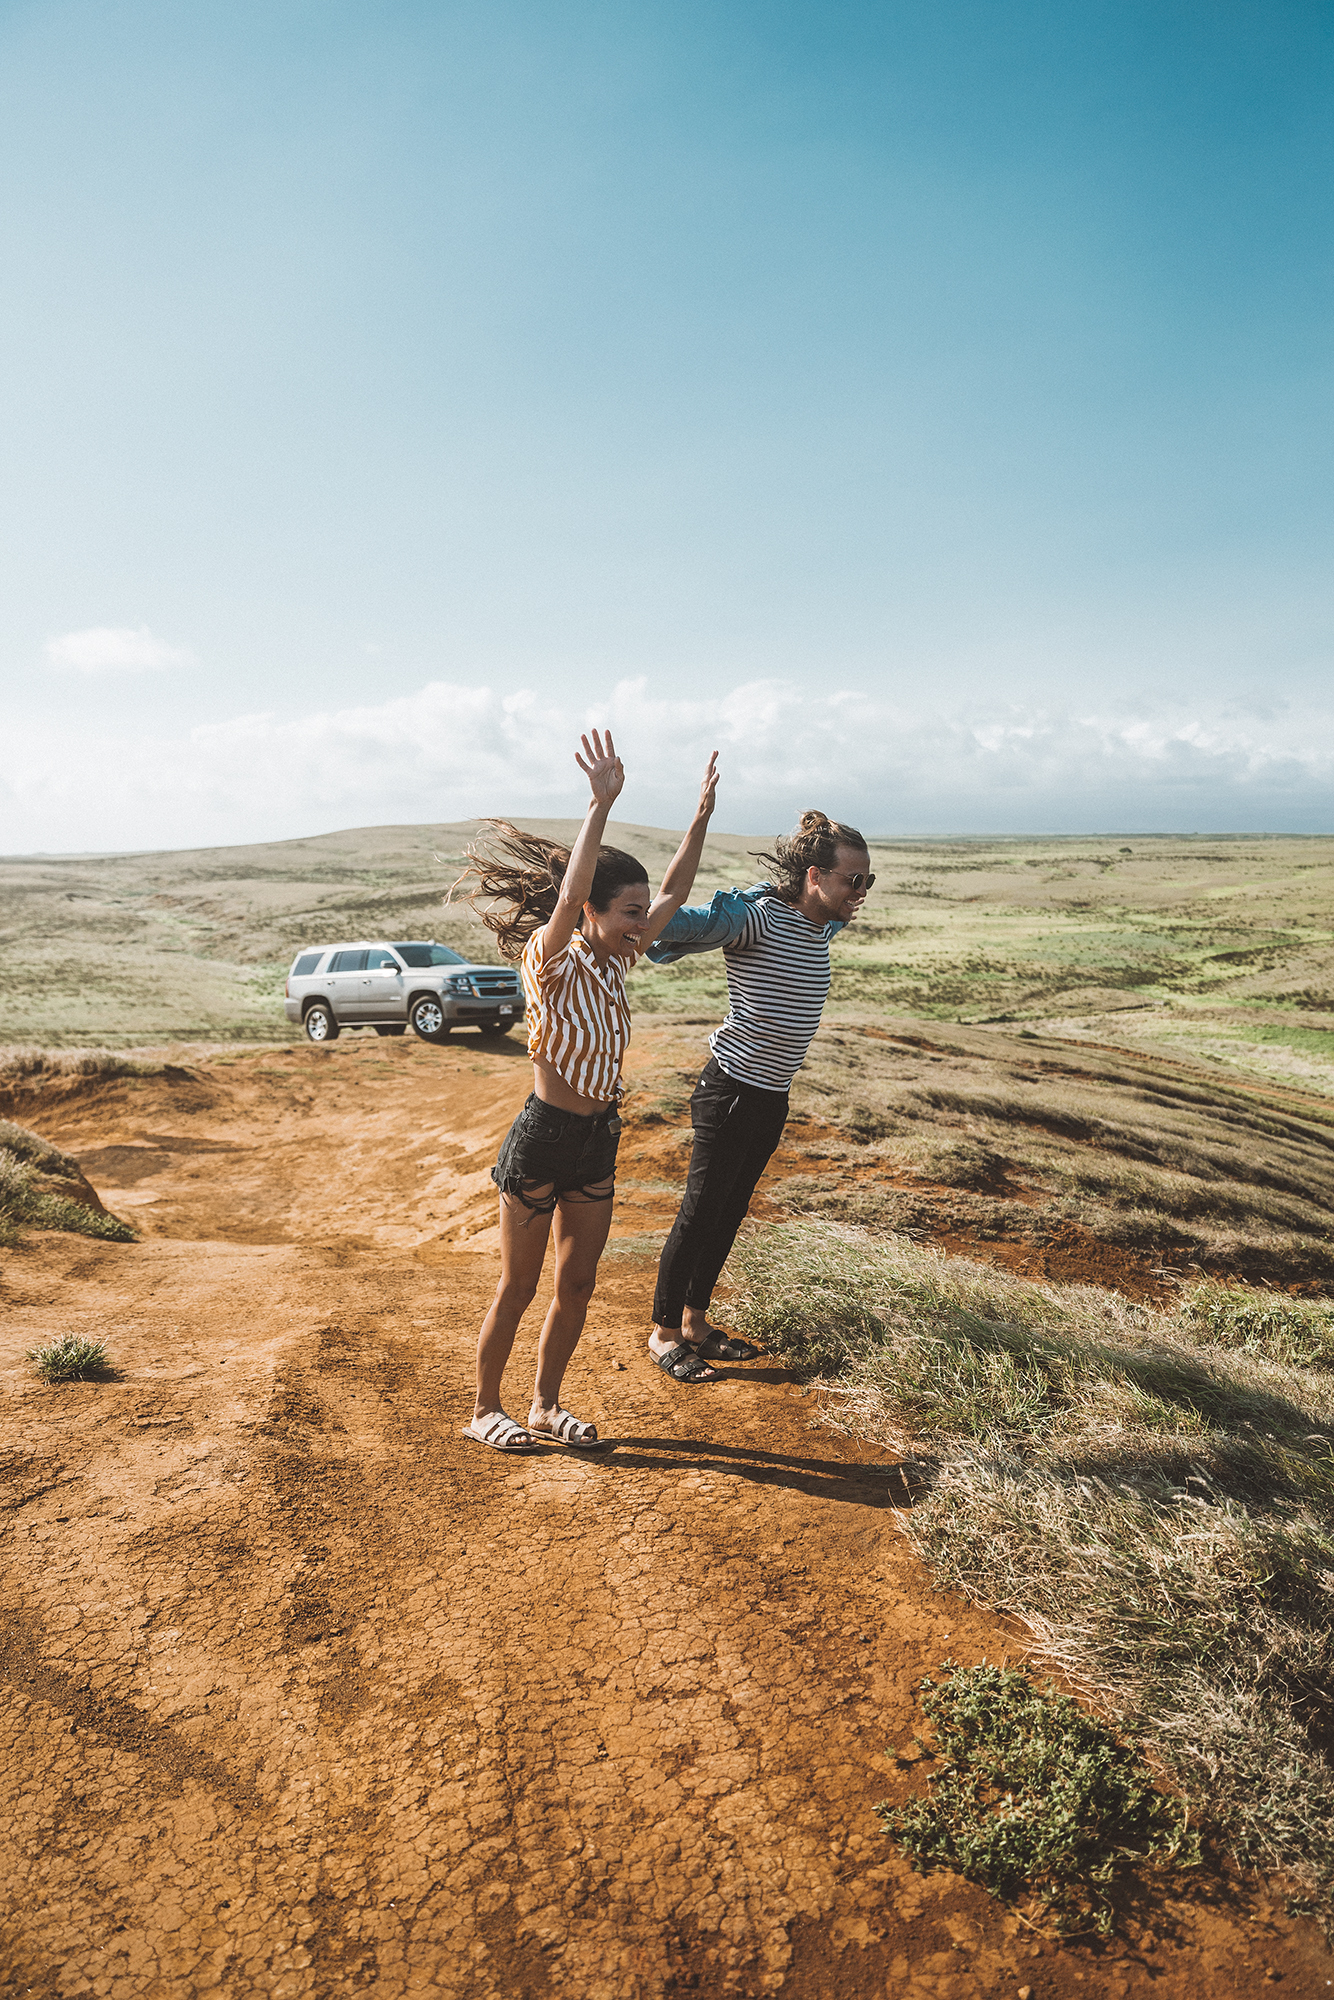
Kat's face here says all we need to say about how hectic this drive was.
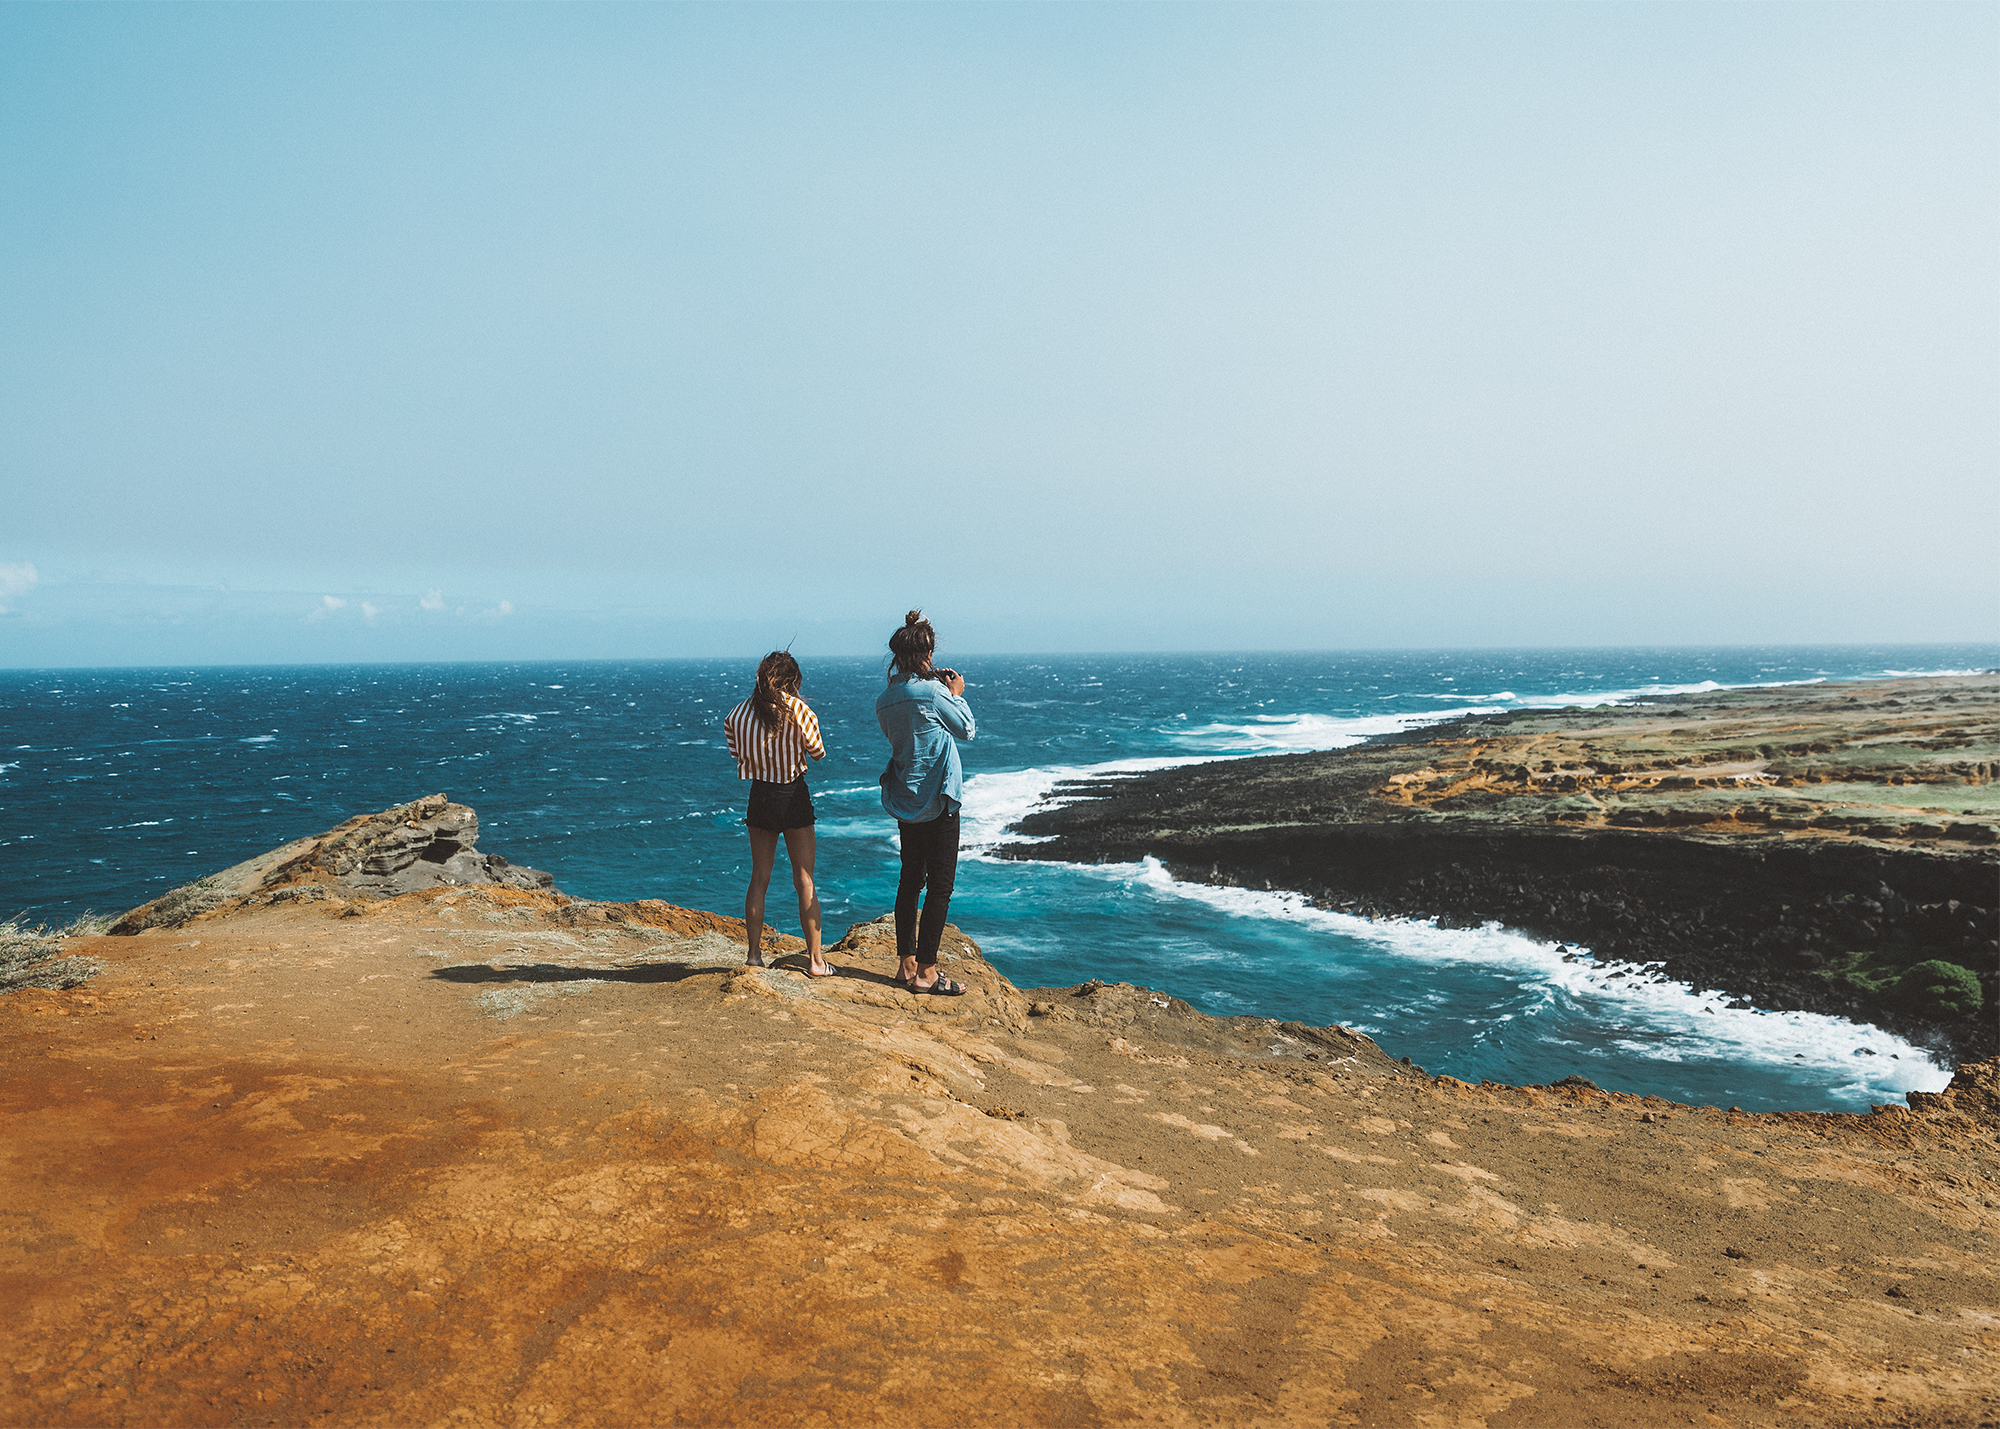
Our first view of the cove!
This side of the island is also incredibly windy! We could feel the sand blasting us before we even made it town to the beach. The wind here is part of what has created he incredible rock formations in the cove, but be warned, it is not very pleasant.
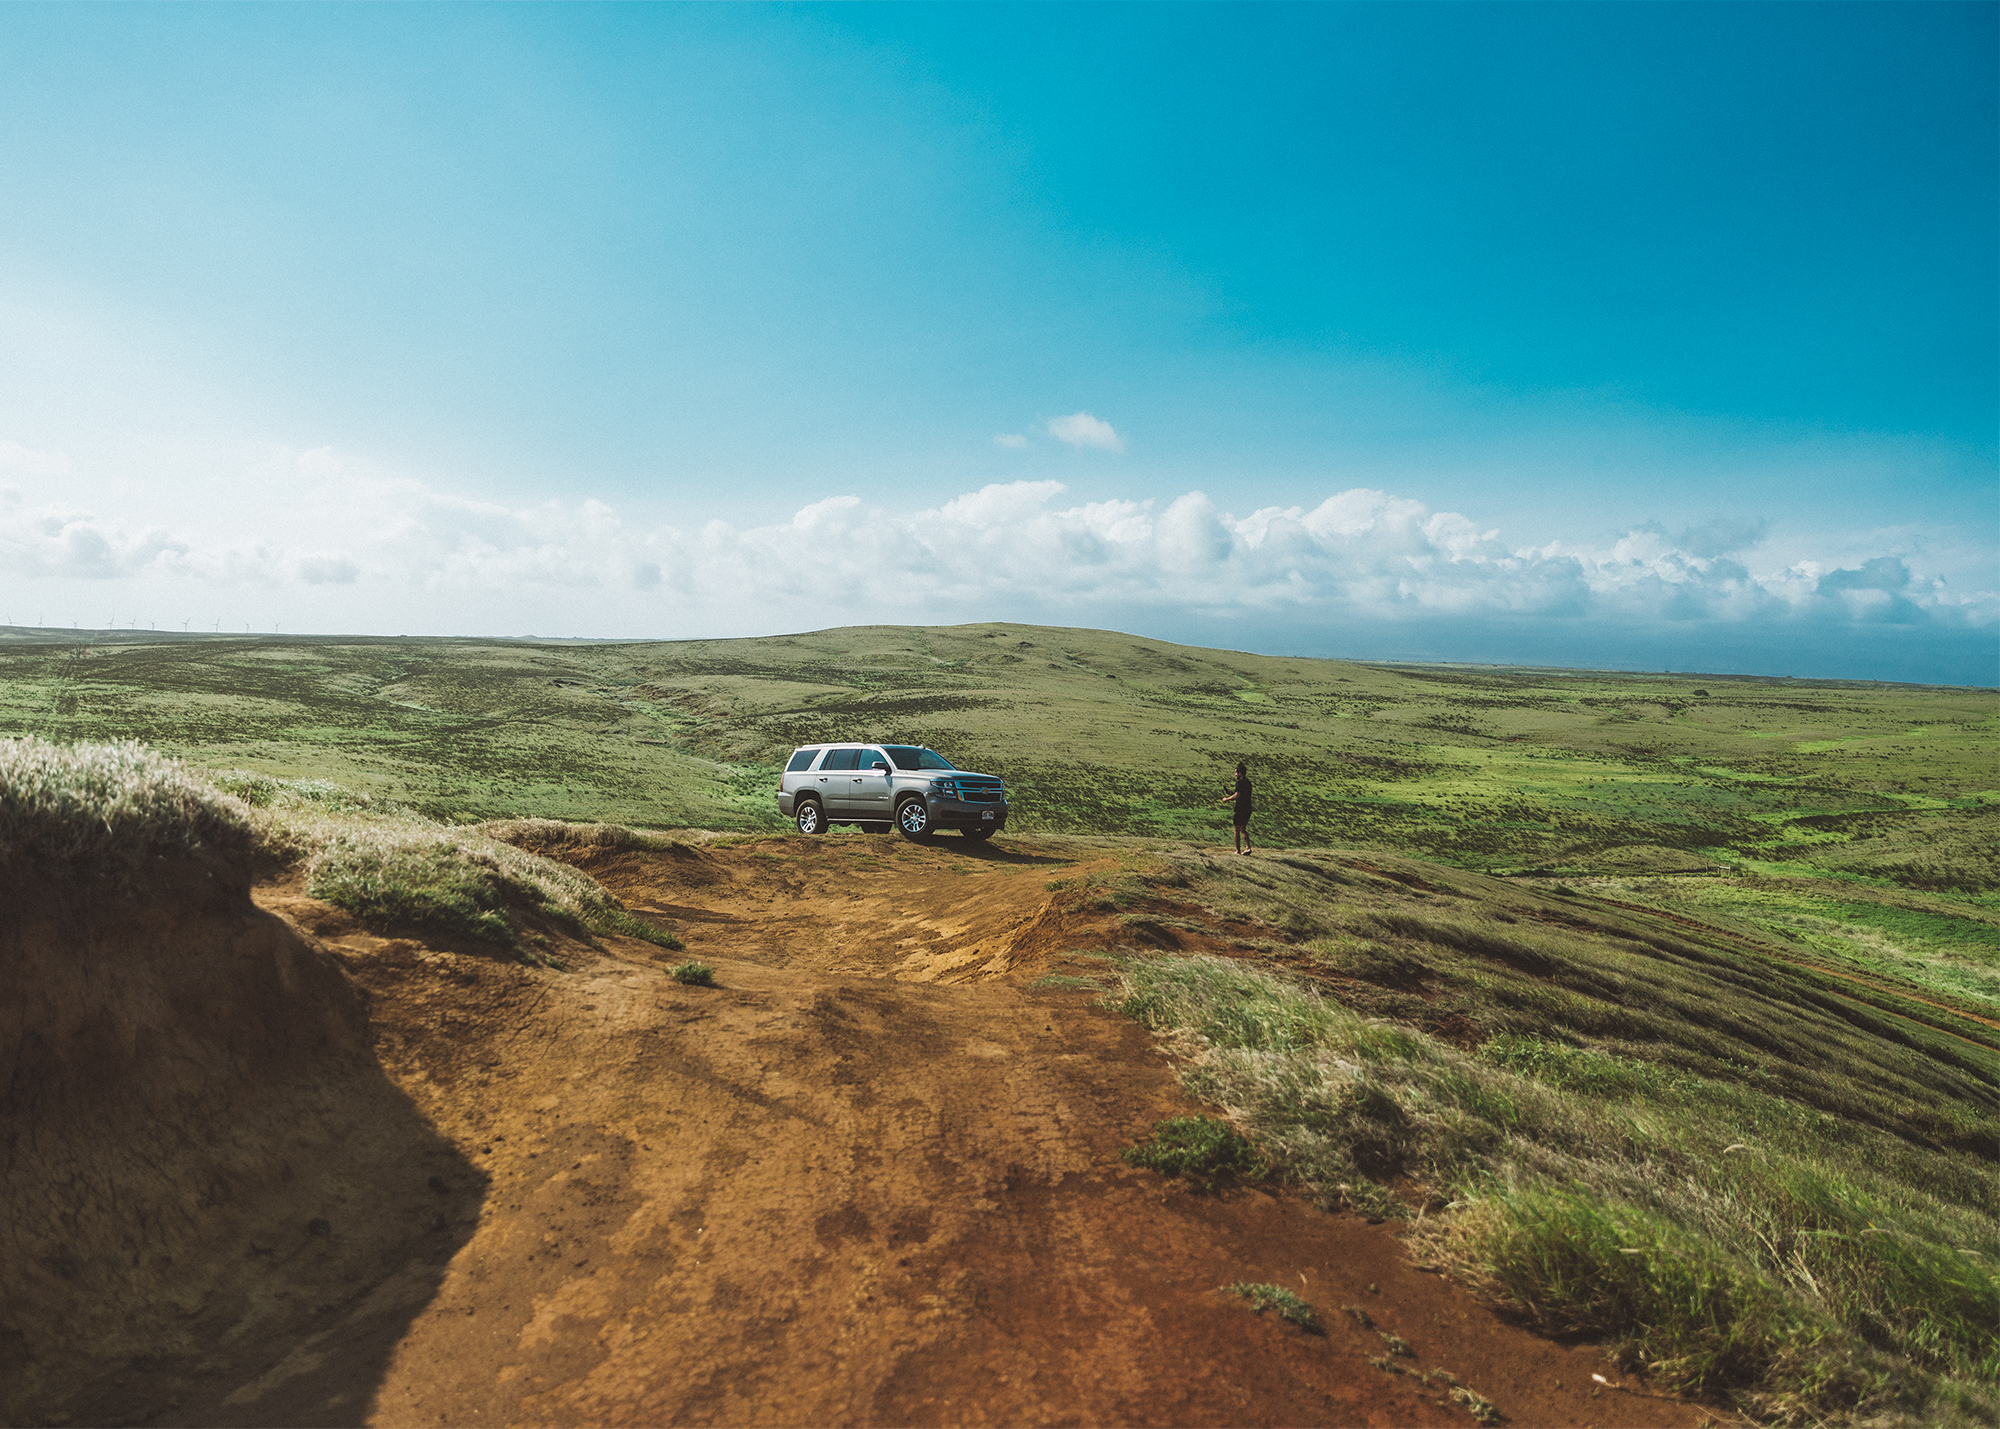
We did enjoy our parking spot though. There are very few cars that make it out here, so you can pretty much stop anywhere.
The Beach:


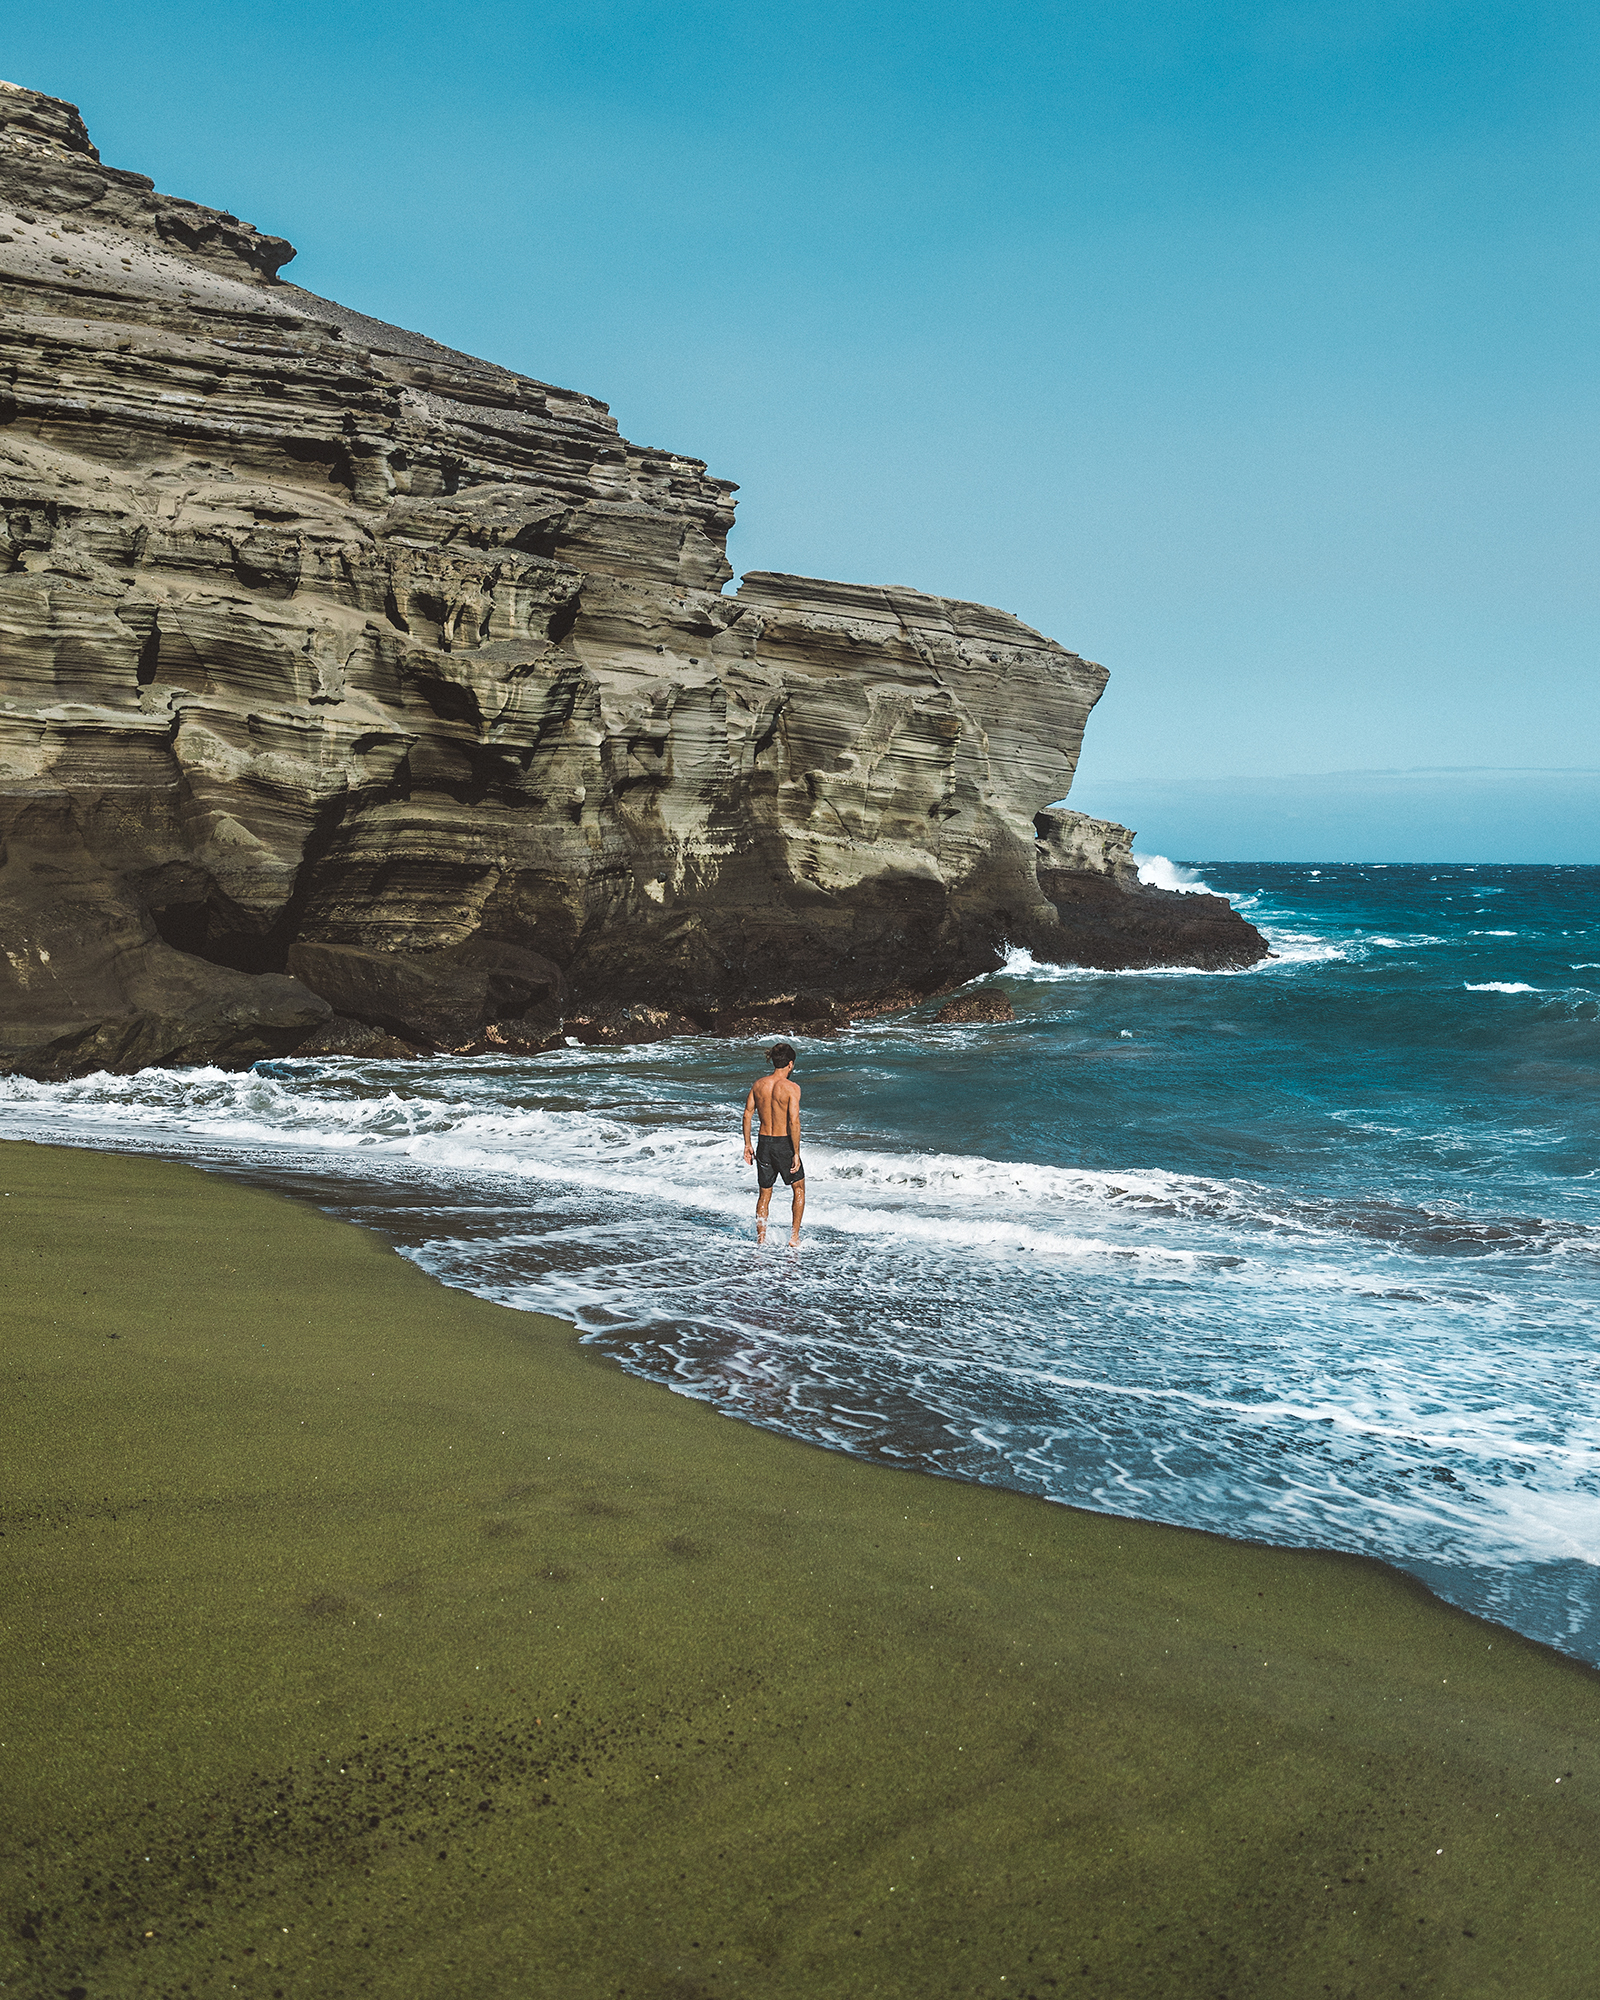
- Getting down to the beach only takes a few minutes, there is a well established trail that you can follow down to the sand. However, the further down we got, the windier it got and there were times when we felt like we really had to hold on while traversing down.
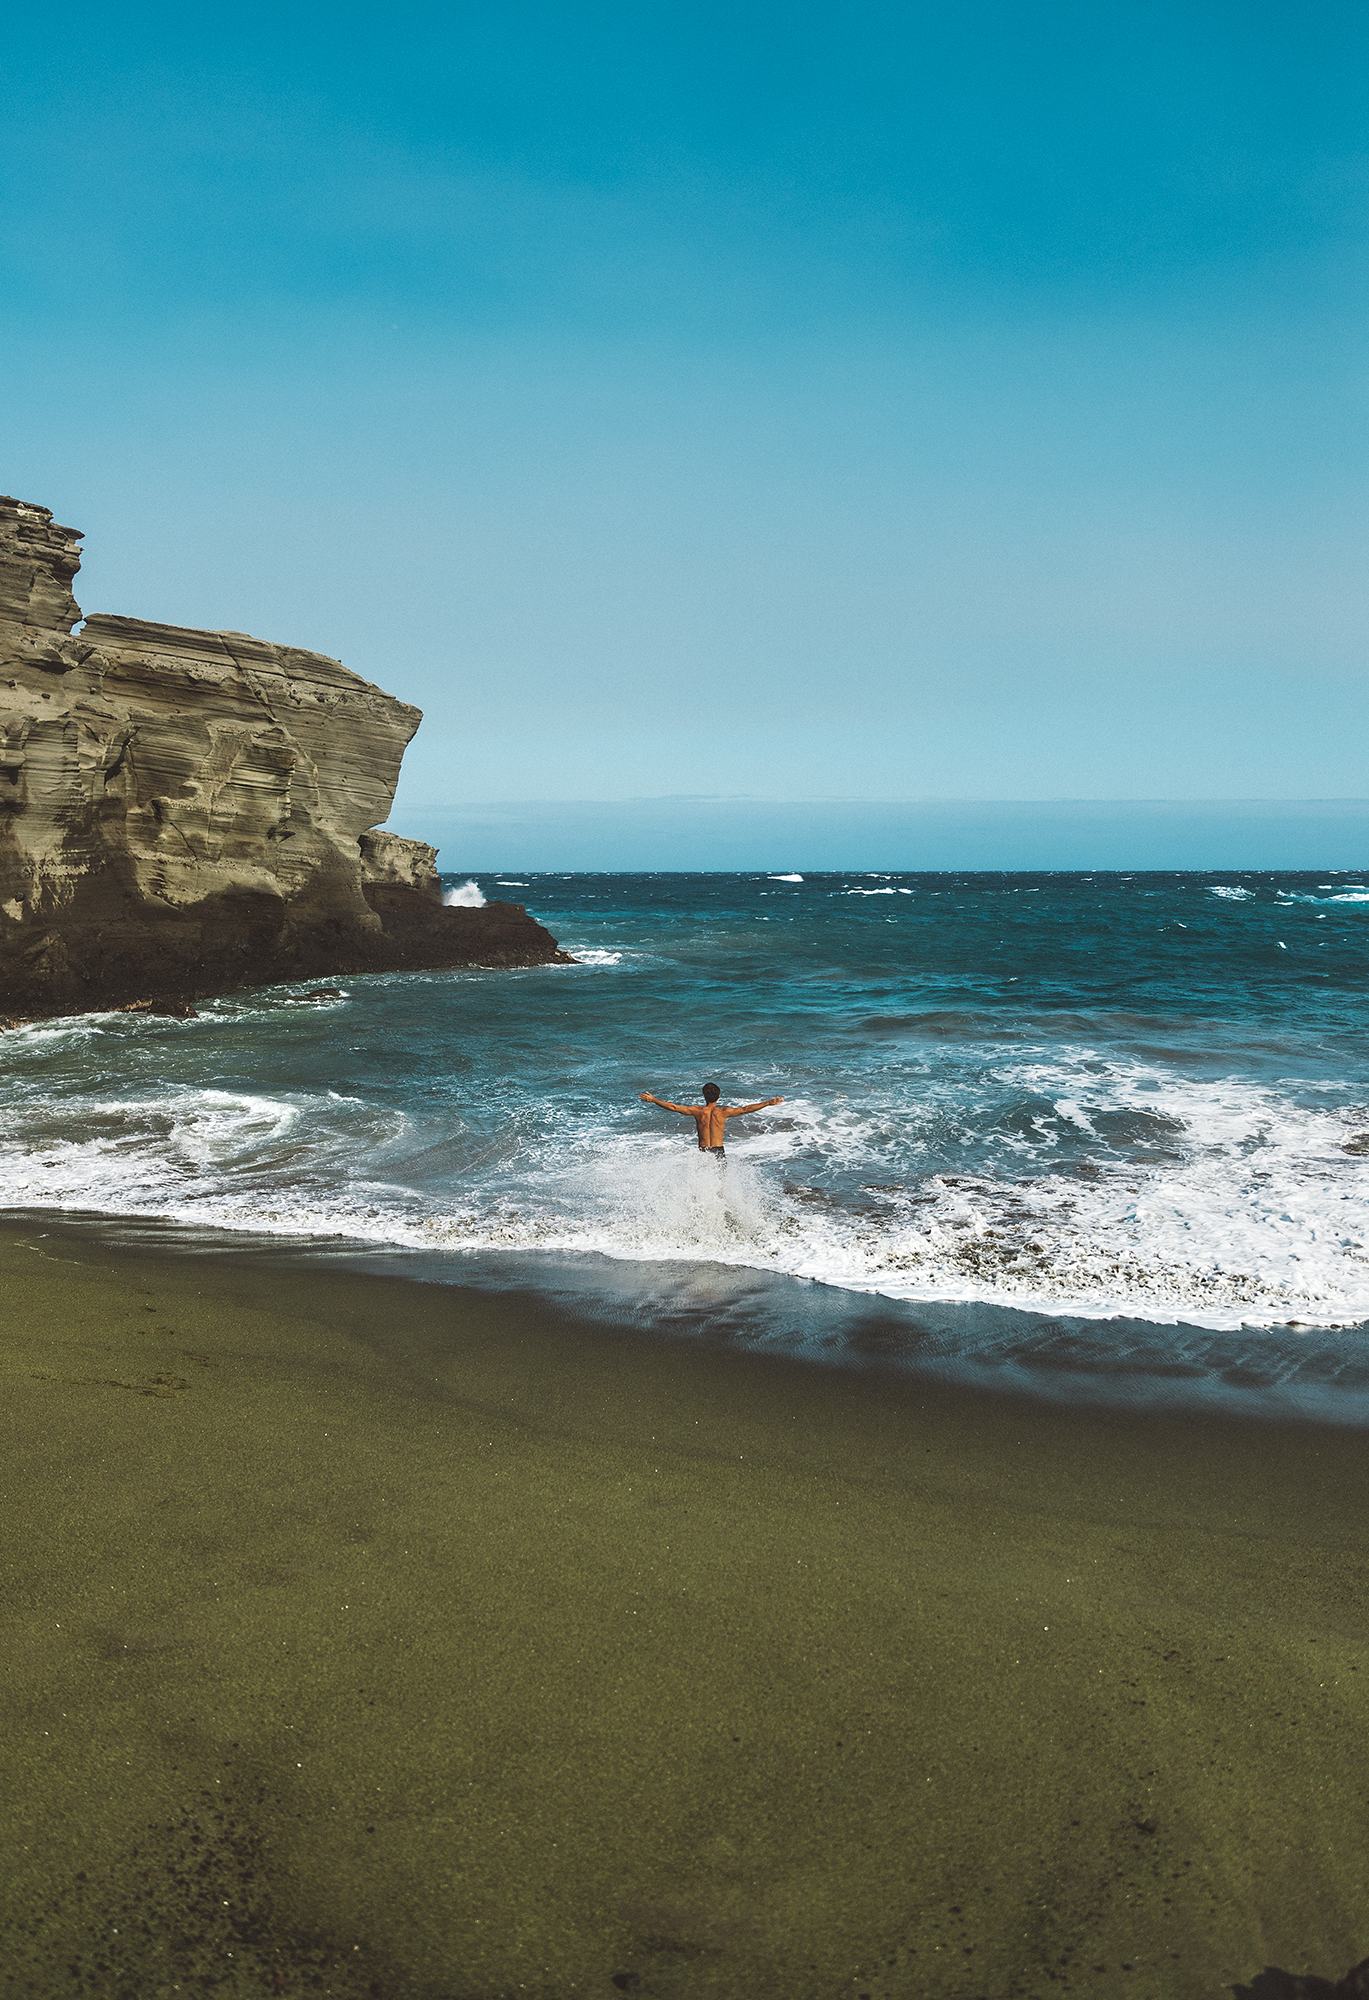
- The cove is not large, and was not particularly pleasant during our time there, but we were incredibly glad to finally see it in person after dreaming of visiting this beach for so long!
- Like much of Hawaii, the waves here were strong and powerful. Brandon and I grew up body surfing in our home California and are familiar with handling strong currents, but be careful and stay close to to shore if you are not. The waters around Hawaii are usually calmest in the summer months, which is your best chance for a calmer swim.
- It is considered bad luck to take home any sand from the beach, so if you choose to do so, do at your own discretion. We took just the smallest amount for the smallest bottle of our collection. I hope in sharing all of this information, the island will forgive us!
While You're in the Area:
A few great places to stop on the South Side of the island
- Macadamia Farm: While you're down in the south, stop by one of the many macadamia farms and take a tour to learn about how the products are made. One of our favorites is Paradise Meadows, a family run operation. Don't forget to grab a bag of yummy treats for your hike to the beach.
- South Point Cliff Jump: For the adrenaline junkie, head to South Point Cliff Dive, a popular spot for cliff-jumping. From the beach parking lot, hop back into your car make the short drive to this popular spot. Once at the jump stop, you'll see a ladder to climb up to the top of the cliff for your 40-foot jump. There have been reports of injuries so jump at your own risk!
- KaLae Coffee: you'll be tired after your trek, so make sure to stop by this adorable coffee shop on your way back. The shop is located on an orchard farm and they sell all sorts of coffees.
- Heiau (temple): While you're down here check out one of the many temples or Heiau that are in the area.
Where to stay:
The island is so big that it can get overwhelming when planning travels for the first time. The island is primarily divided into two sides: the Kona side and the Hilo side. If you have enough time, we recommend swapping sides halfway through your trip to cut back on transportation time. There are a ton of options for your trip ranging from high-end luxury hotel s to budget-friendly places. Here are a couple of our favorite options:
High End:
- Fairmont Orchid: ($300-500/night)
- Waikoloa Beach Marriott Resort & Spa ($300-500/night)
Budget-Friendly:
- Big Island Bed & Breakfast
- Royal Kona Resort
- AirBnbs: If you plan in advance, AirBnB can be your best bet for unique and affordable island accommodations (A few years ago Brandon and I stayed in a treehouse in Kauai and loved it!) Save $40 on your first booking by clicking here.
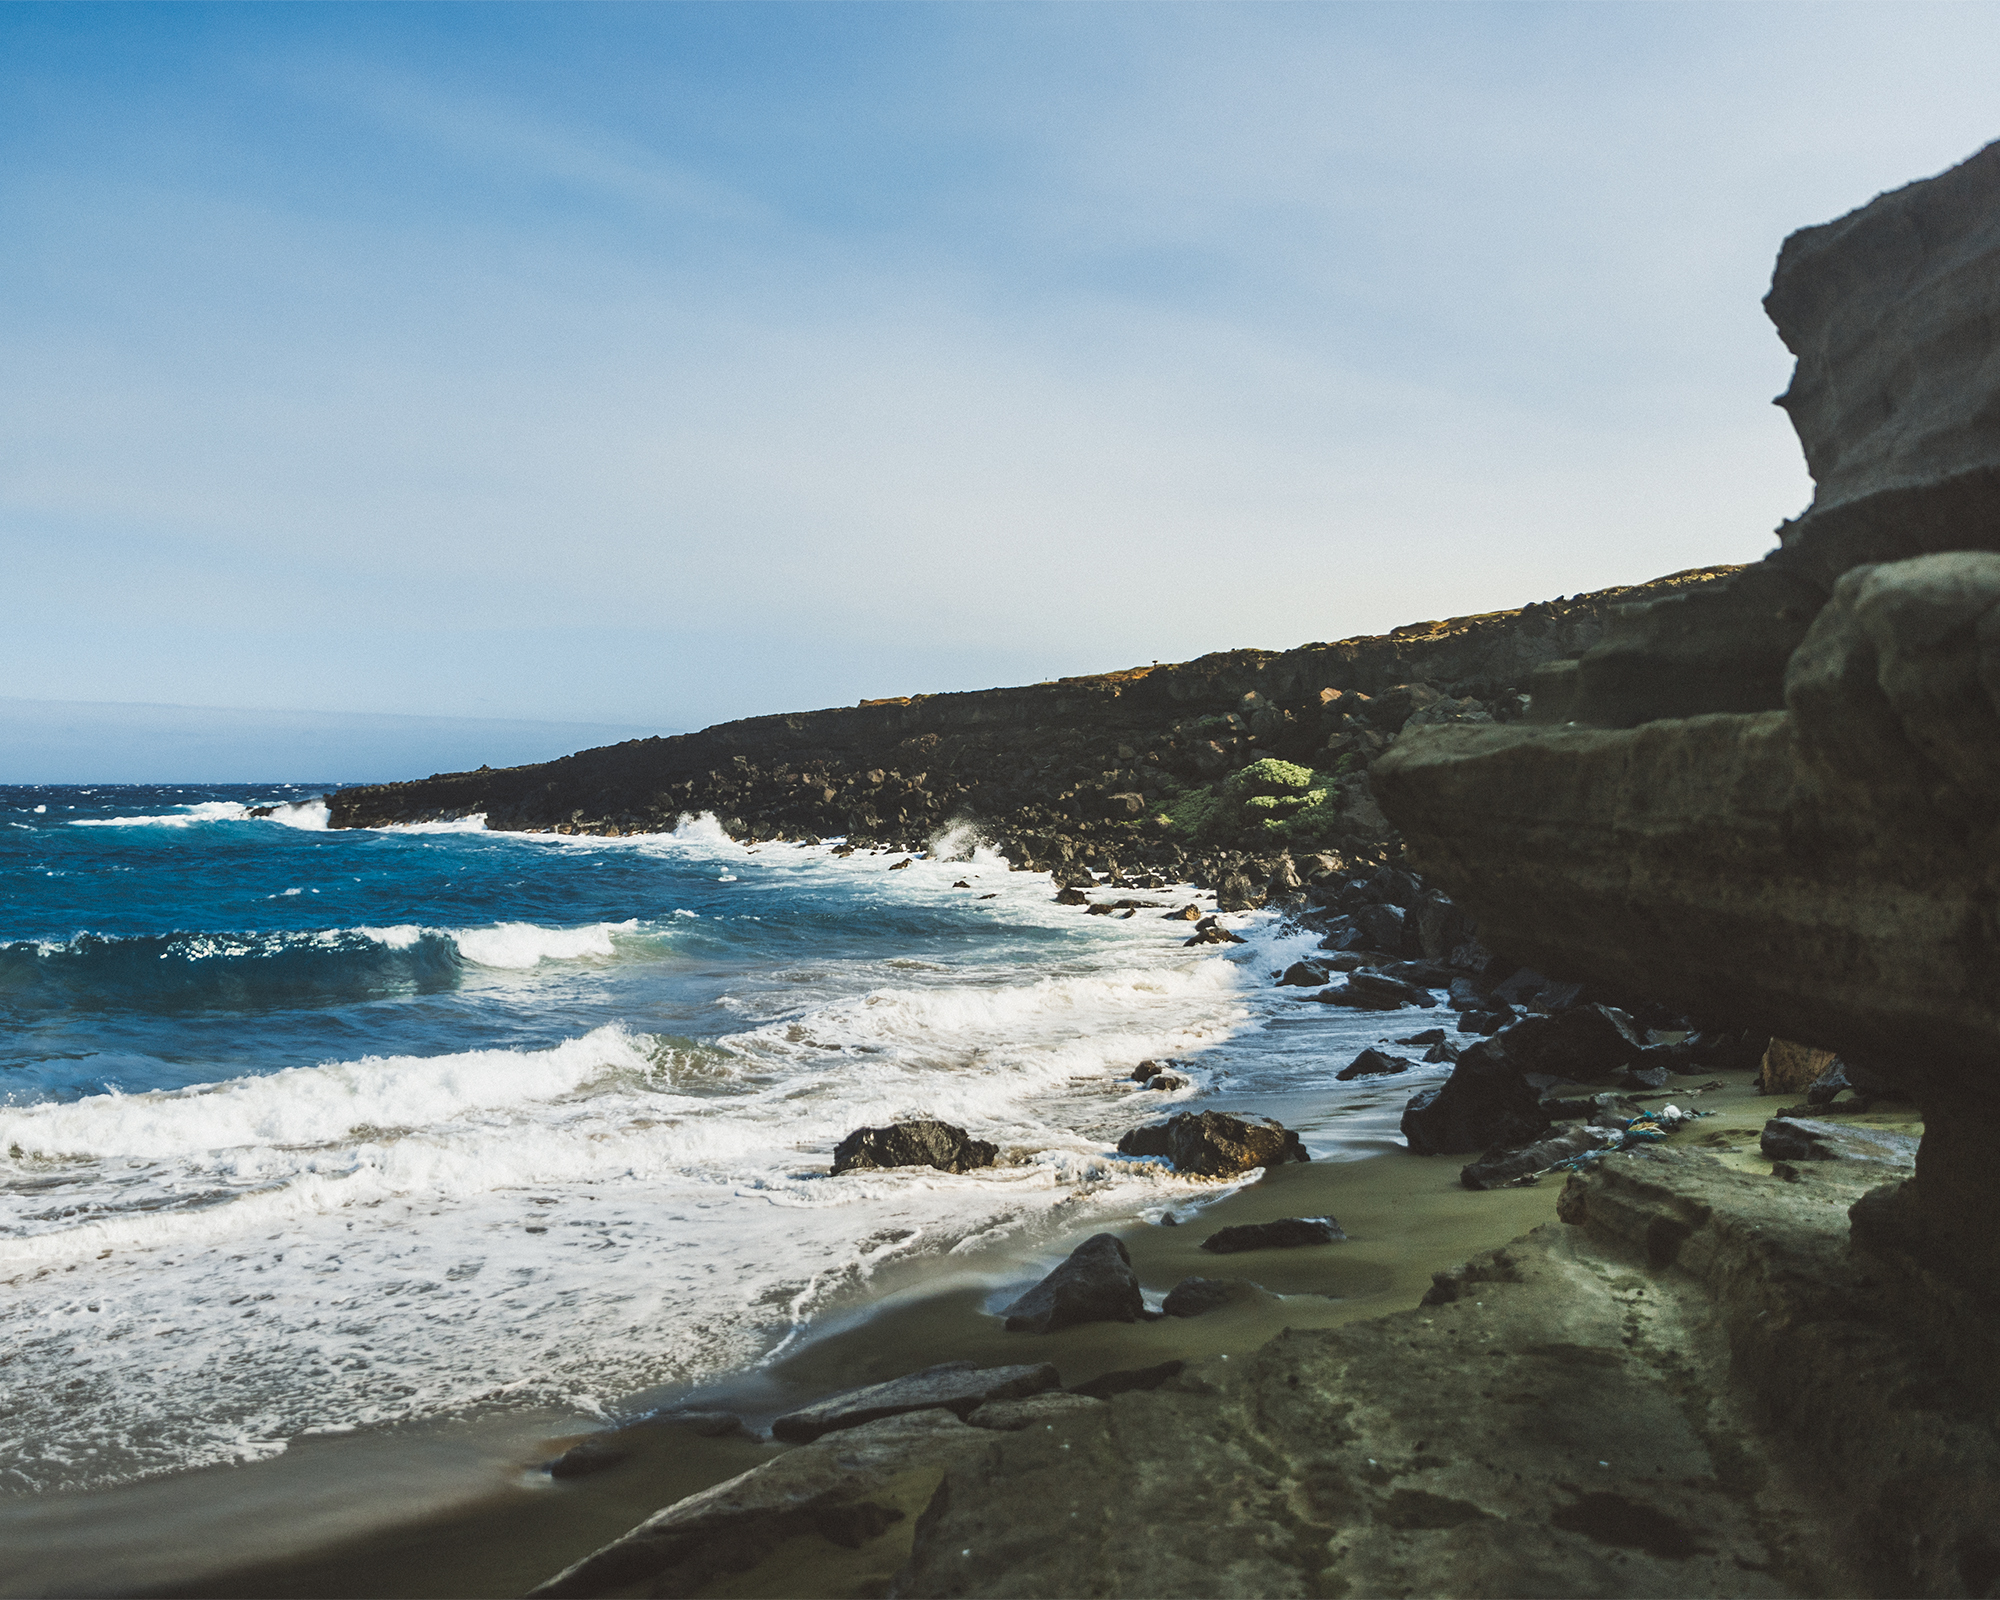
The far side of Papakolea Cove
Travel Tips:
- Entrance fee: There is no entrance fee to enter or walk around, but expect to pay if you plan on hiring a local shuttle.
- When to arrive: The earlier in the morning you arrive, the easier it will be to get great photos without a lot of people in them.
- This place can get crowded with tourists during peak holiday season. If you have flexibility in your schedule, try to visit on a weekday.
- Bonus Tip: if you come on a sunny day, the sand will look a vibrant shade of green from the light shining on the crystals.
Another one checked off the bucket list!
Pin It For Later!