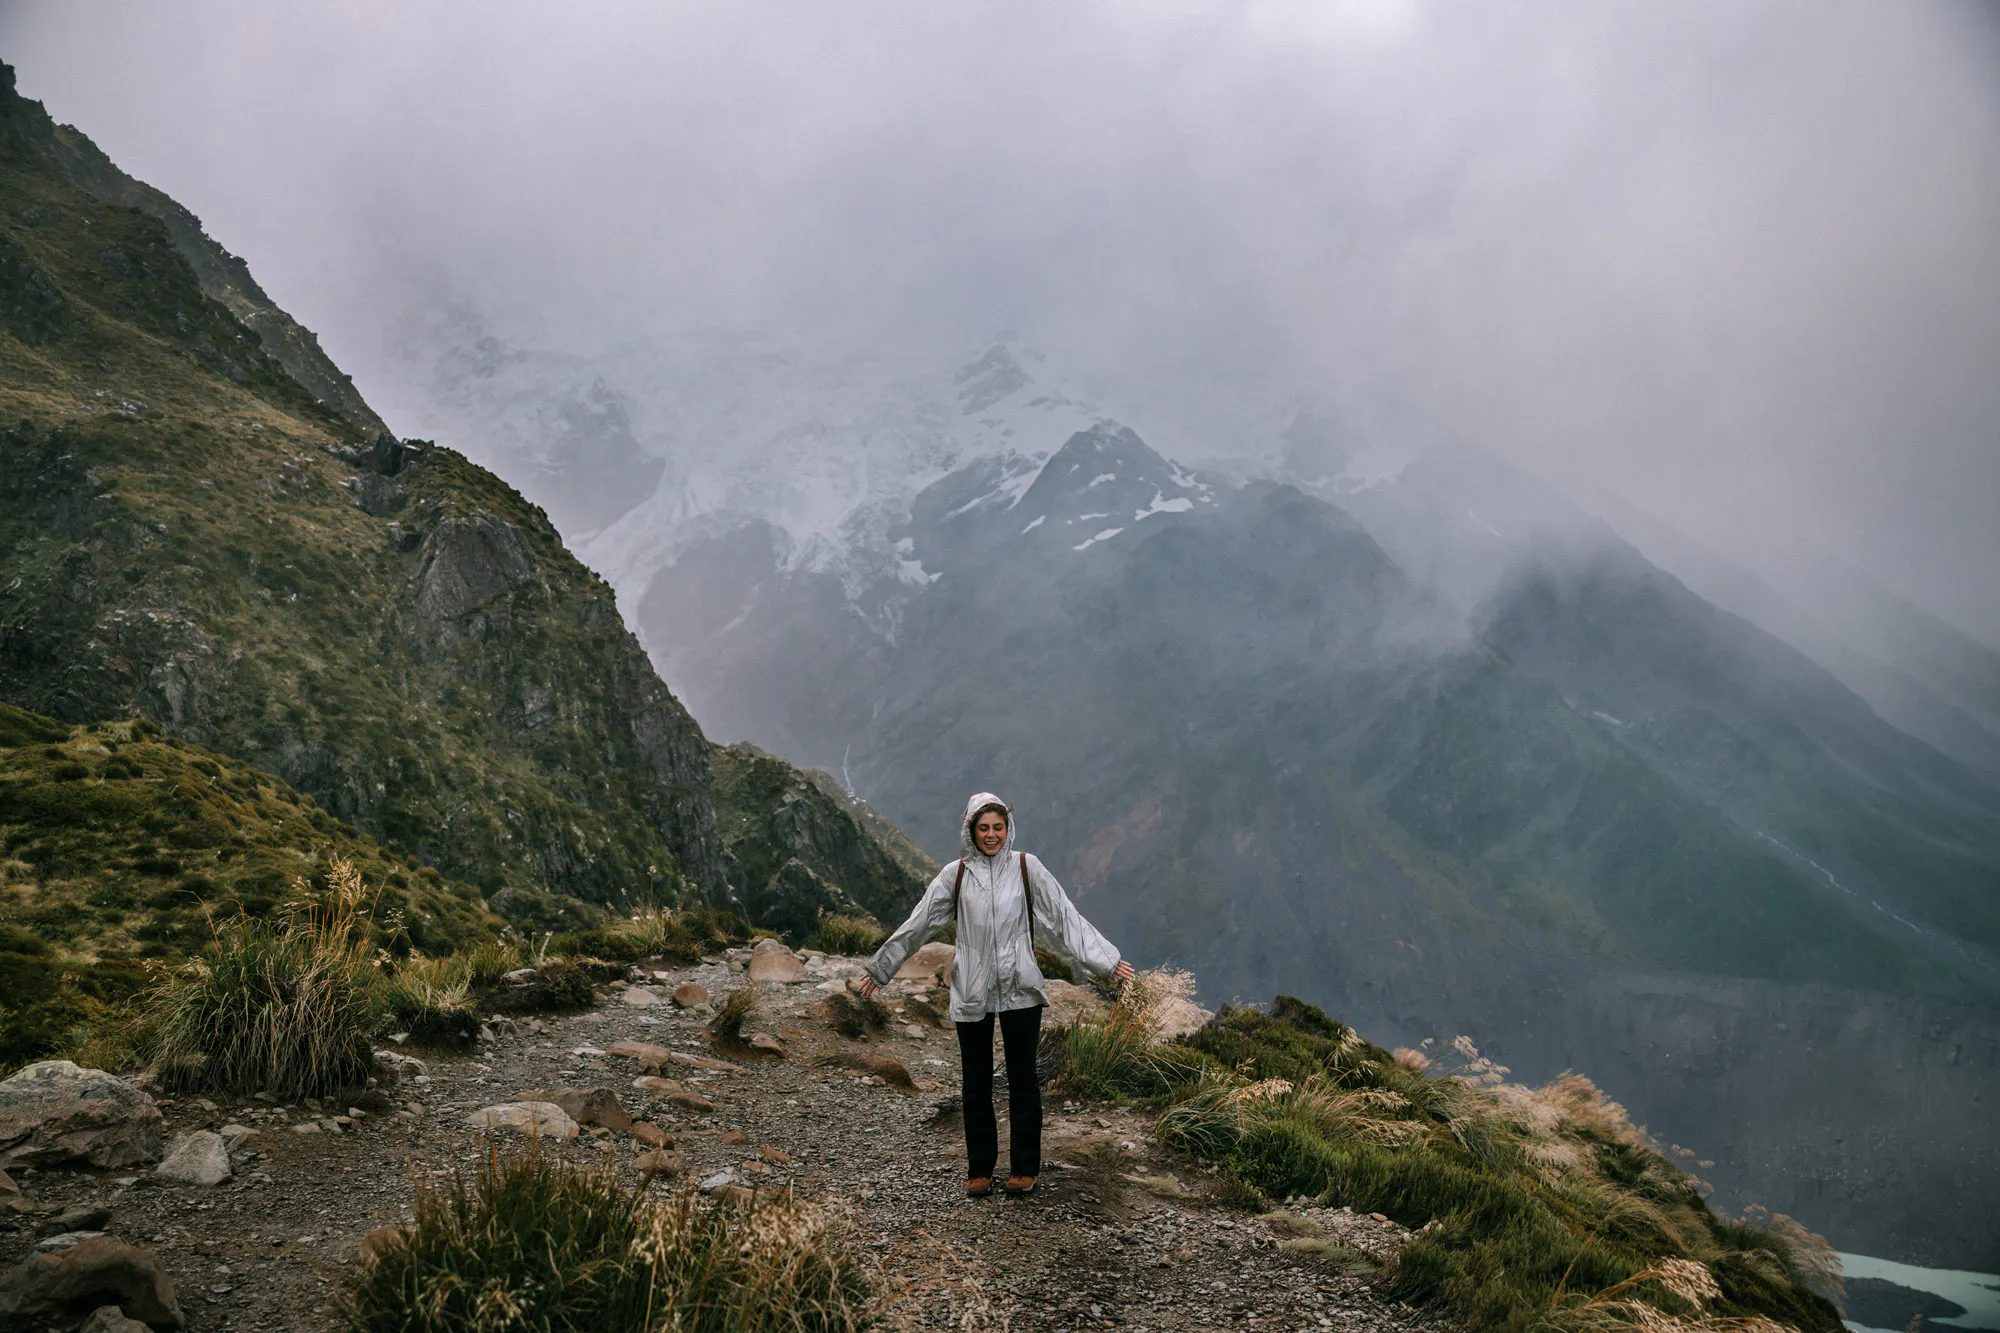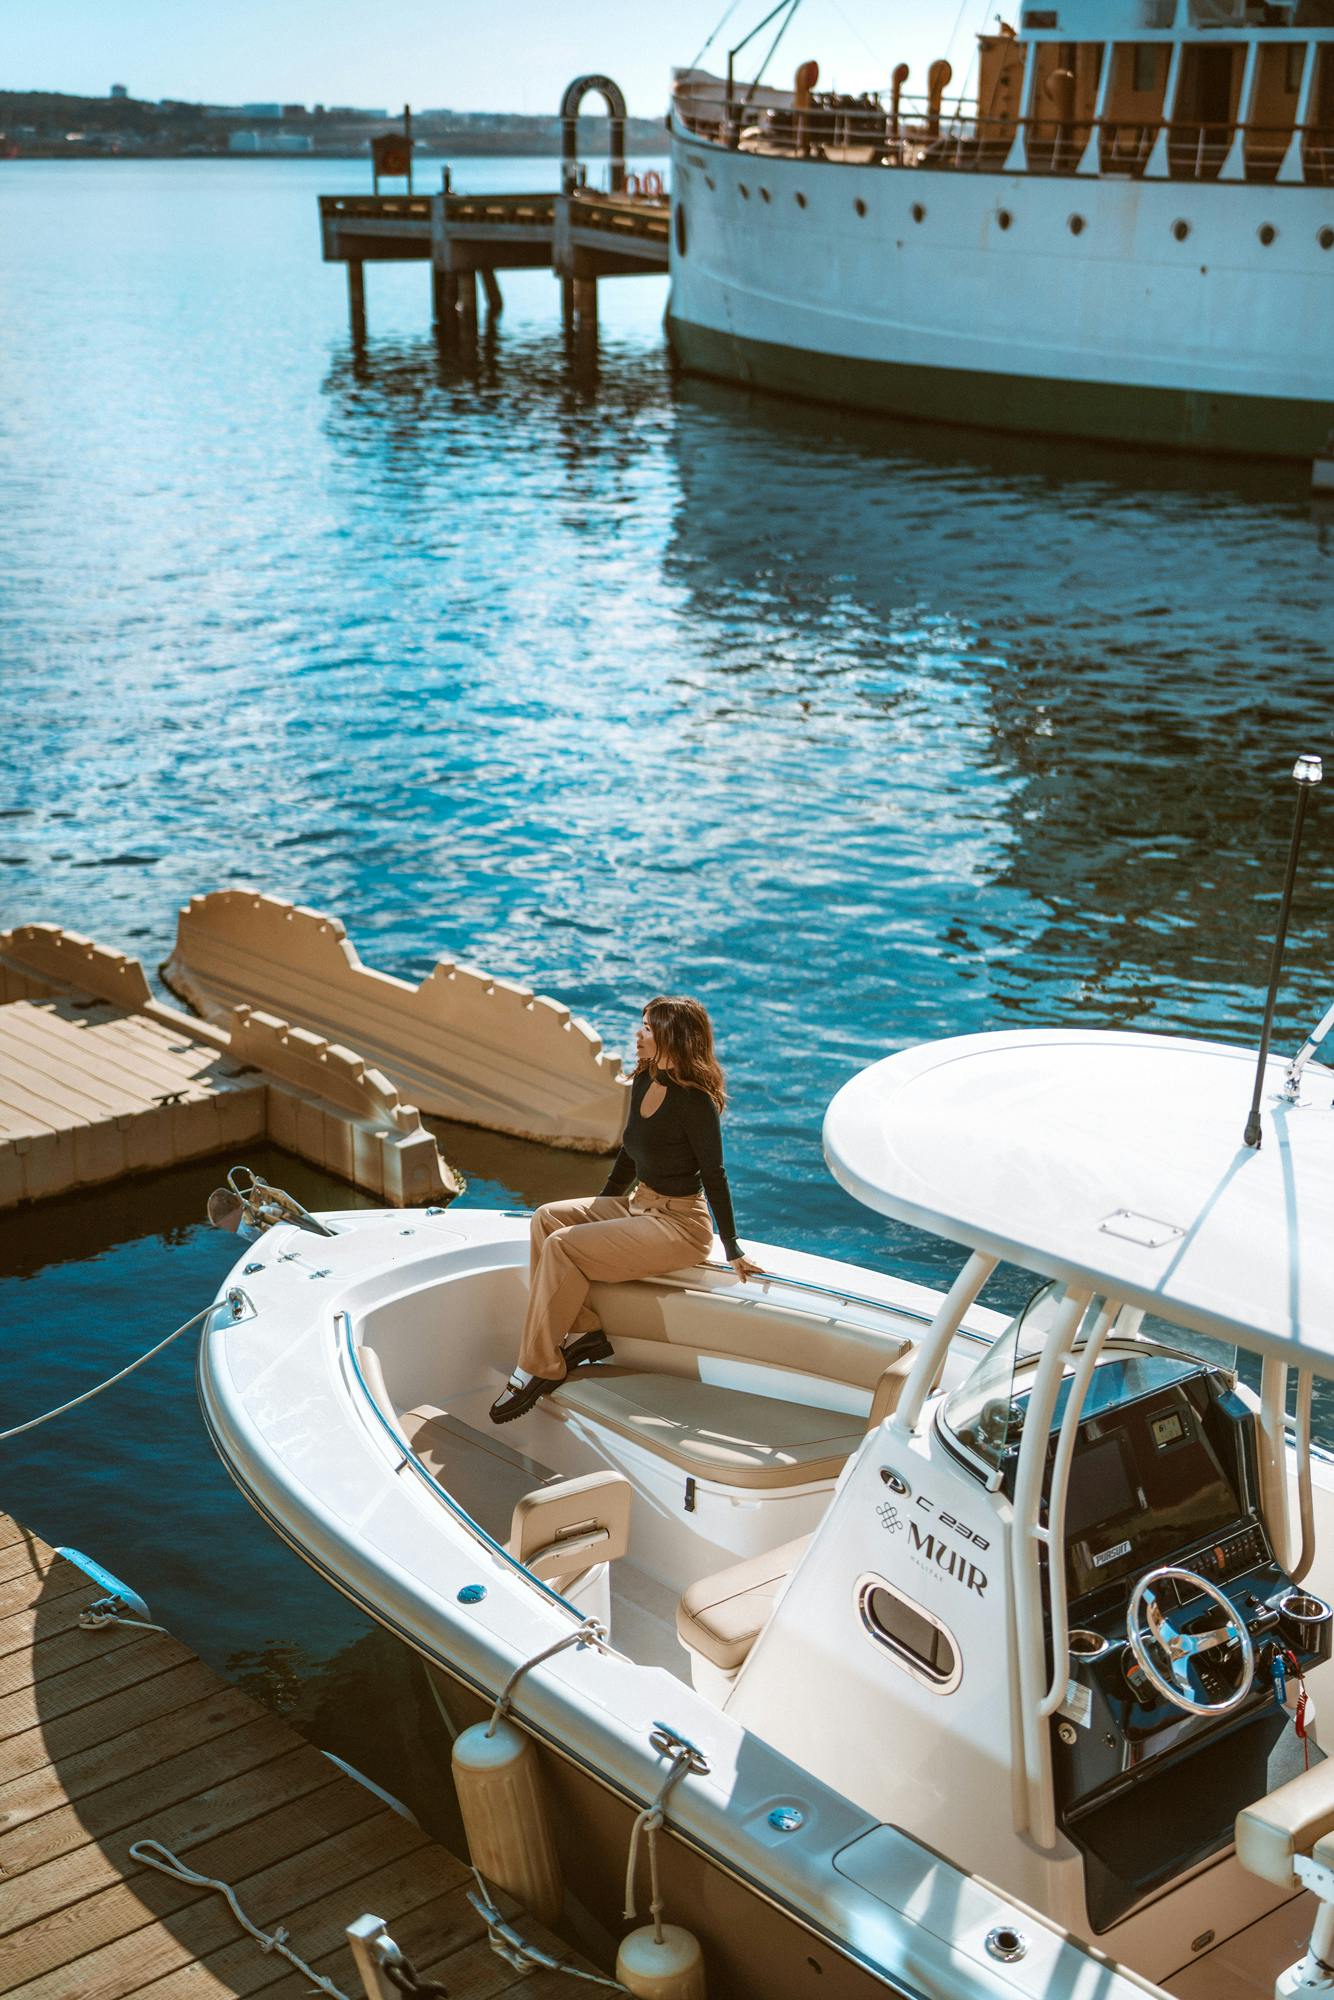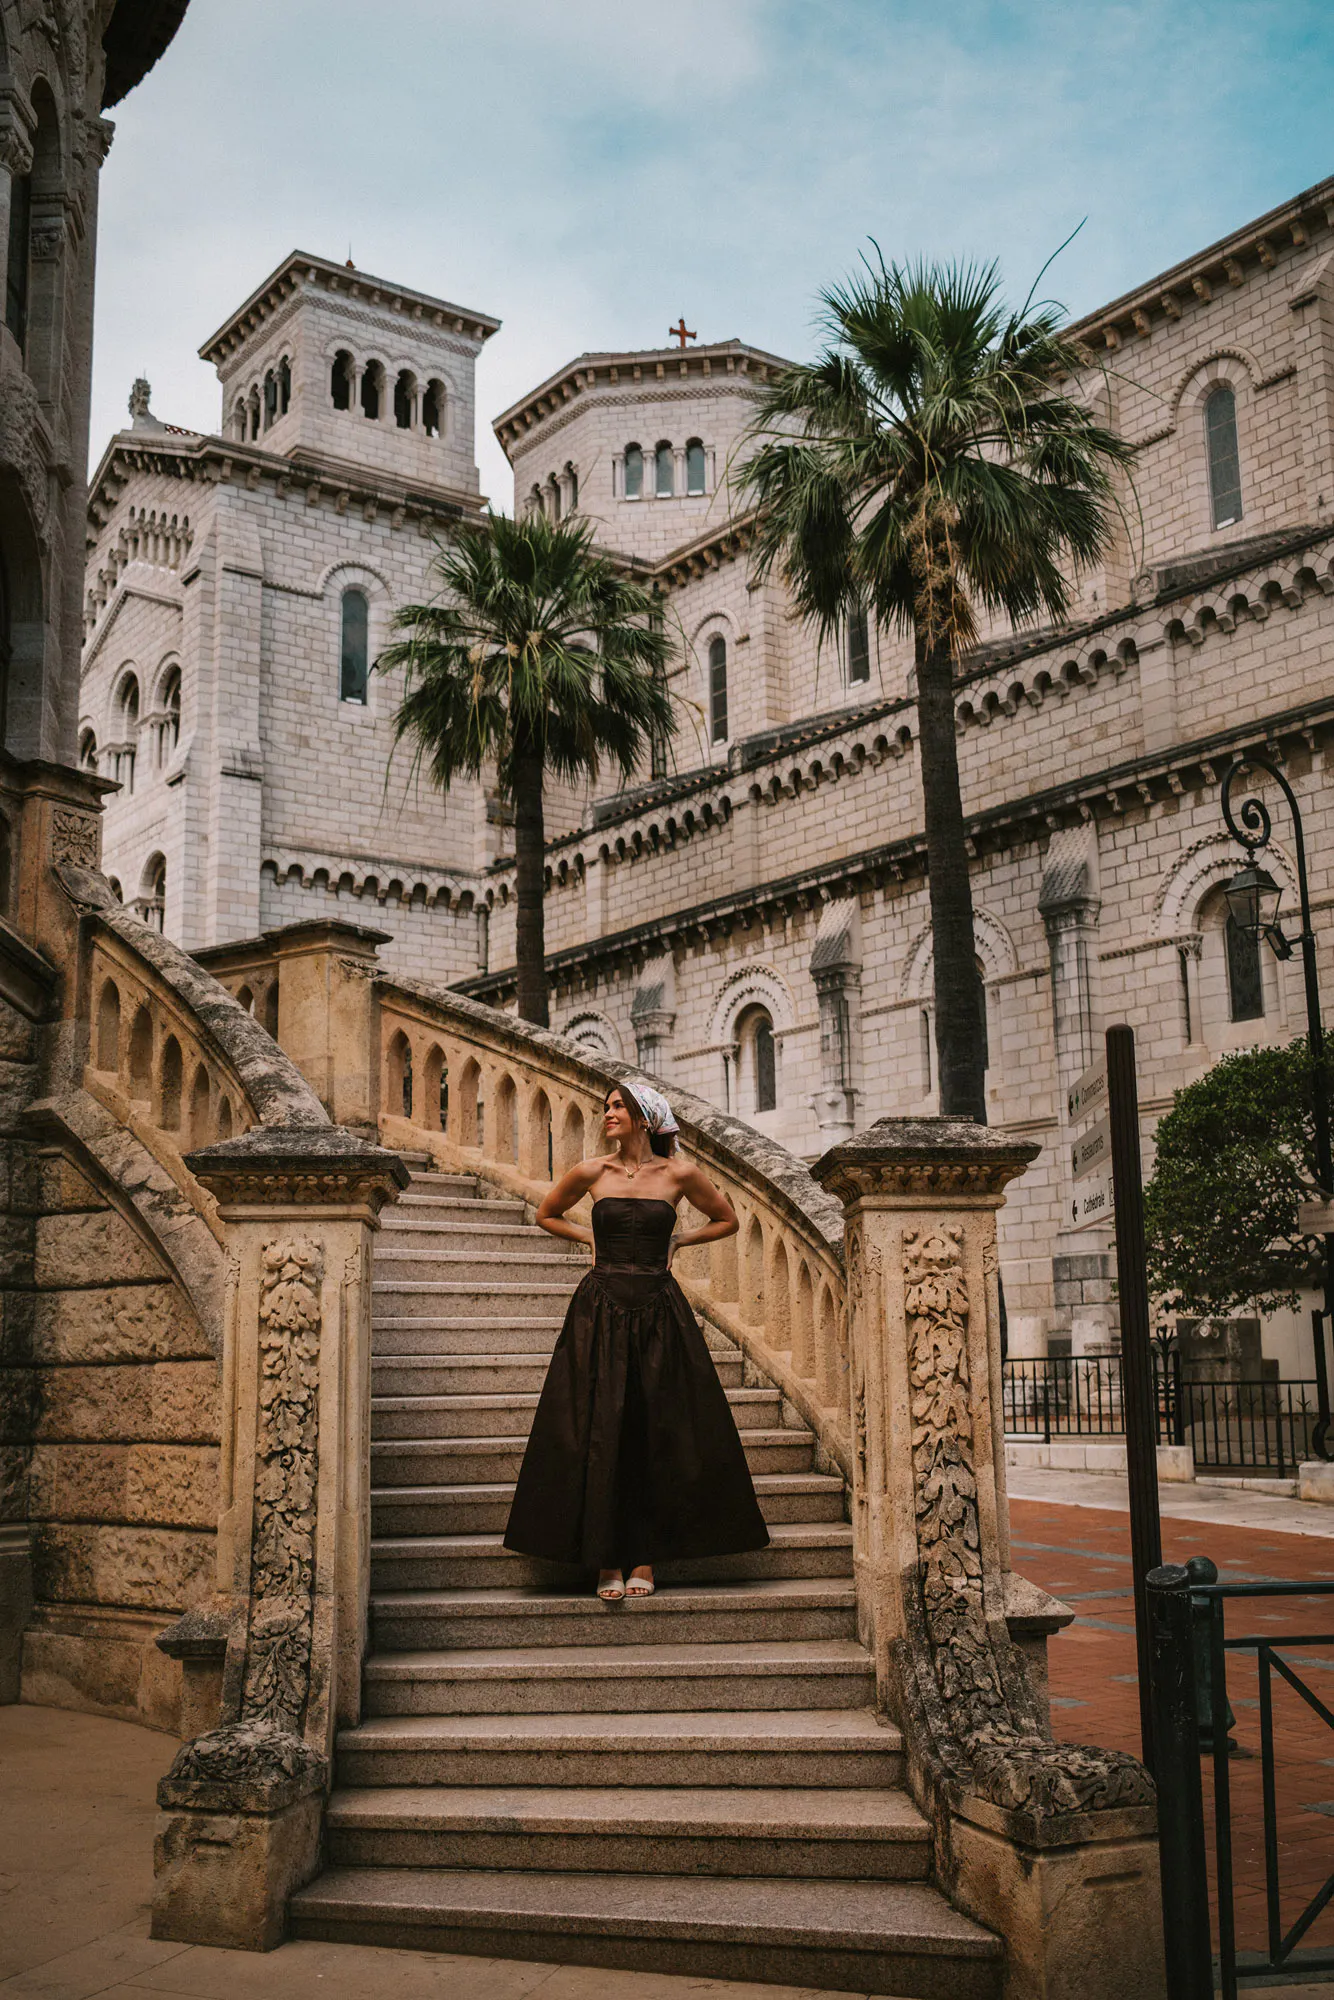
There's a specific kind of panic that only happens to people who travel with cameras.
It arrives somewhere around day four of a trip, usually at night, usually when you're finally sitting still. You've shot three thousand frames. They exist in exactly one place - a memory card in a bag that has been on boats, in taxis, and left in a hotel room. And it suddenly occurs to you that if that bag disappears tomorrow, so does the trip.
Photos are the one thing you bring home that can't be replaced. Everything else - the clothes, the bag, even the camera - is a purchase. The images are the trip itself.
Yet backup is the part of travel preparation that consistently gets left until it's a problem, and the reason is almost always the same: backing anything up meaningfully requires data, and data abroad is the thing nobody sorts out until they've landed.
Here's how to solve both together, before you leave.
Why the usual advice doesn't survive a real trip
The standard guidance is to back up to the cloud every night. Excellent advice, routinely impossible.
Hotel Wi-Fi is not a backup solution. It's shared, throttled, and frequently slower in the evening when everyone in the building is streaming. A day's shooting in RAW can run to 40 or 50 GB. That upload isn't happening over a connection that struggles with a video call.
Resort and villa Wi-Fi is often worse, not better - beautiful properties in beautiful places tend to be exactly where infrastructure is thinnest. The more remote and photogenic the location, the less likely you are to get a usable upload.
And you're not always in a room. Road trips, island hopping, long transit days, early starts and late returns - the evenings where you have both time and a connection are fewer than you'd think.
So the realistic approach isn't "upload everything nightly." It's a tiered system where the irreplaceable images are protected immediately and the bulk archive waits for a real connection.

A backup system that actually works while traveling
Tier one: physical redundancy, immediately.
Two cards, or one card copied to a second device, before you sleep. If your camera has dual card slots, shoot to both - it's the single easiest win available, and most people never turn it on. If it doesn't, copy the day's take onto a phone, tablet or small SSD before the card goes back in the bag.
The point is simple: the images should never exist in only one physical object that can be lost or stolen.
Tier two: your best frames to the cloud, same day.
Not everything. The twenty or thirty images that actually matter - the ones you'd genuinely mourn. JPEGs or compressed versions are fine; you're protecting the moment, not the file. This is a small upload, and it works on a mediocre connection.
Tier three: the full archive, when you have proper bandwidth.
An airport lounge, a café with real fiber, a hotel that turns out to be an exception. Opportunistic rather than scheduled.
Tier four: separate the copies physically.
Cards in one bag, backup drive in another, and neither in the bag you leave unattended. If everything is stolen together, redundancy achieved nothing.
Where connectivity comes in
Tiers two and three both depend on having data you can actually use, and this is where most travelers are caught out.
Roaming from a home carrier is the simplest route and often the most expensive, particularly outside your own region - check the daily rate before assuming, and multiply it by the length of the trip. Buying a local SIM on arrival is cheaper per gigabyte, but it means a queue after a long flight, and on a single-SIM phone it means your own number goes dark, which is a problem if your banking codes arrive by SMS.
The third option is a travel eSIM: a digital SIM profile you buy and install before you leave, which activates when you land. Your physical SIM stays in the phone, so your number keeps working; the eSIM handles data. Providers such as Transpovia sell regional eSIM plans covering multiple countries on one profile, which matters if you're island hopping or covering several destinations rather than sitting in one place.
For anyone shooting seriously, the thing worth paying attention to is data volume, not headline price. Most travel plans are sized for maps and messaging. Photo backup is a completely different order of consumption, and a plan that's generous for a normal traveler can be exhausted in two days by someone uploading RAW files.
Work out roughly what you shoot per day, decide what proportion you actually intend to upload, and buy accordingly. Underbuying and topping up repeatedly mid-trip usually costs more than buying properly at the start.
One thing worth knowing: most travel eSIMs are data-only and don't provide a local number. For photo backup, maps and messaging that's irrelevant. It matters only if you need local services that verify by SMS to a domestic number. Check your phone supports eSIM too - iPhone XS onwards, Samsung Galaxy S20 and later, Pixel 3 and later.

Settings that will save you money and grief
Turn off automatic photo backup over cellular. This is the number one cause of shocking data bills on trips. Set backups to Wi-Fi only, and trigger the cloud upload manually when you're on a connection worth using. Automatic backup and a metered data plan are a terrible combination.
Turn off data roaming on your home SIM. Texts still arrive, so verification codes still work. This is the single setting that prevents the surprise invoice.
Download offline maps before each leg. They're small, and the moment you need them is the moment you have no signal.
Test your setup at home. Install the eSIM, check the cloud app's Wi-Fi-only setting, confirm your camera's dual-card mode is on. Discovering a configuration problem on day one of a trip is an avoidable way to lose a morning.
The five-minute version
Before you fly: sort your data plan, size it for what you actually shoot, install it at home, turn off cellular auto-backup, and confirm your camera writes to two cards.
While you travel: two physical copies every night, your best frames to the cloud the same day, the full archive when the bandwidth allows, and the copies kept in different bags.
None of it takes long. All of it is the difference between coming home with the trip and coming home with the story of how you lost it.
The photographs are the only souvenir that can't be re-bought. They're worth ten minutes of preparation and a slightly larger data plan.