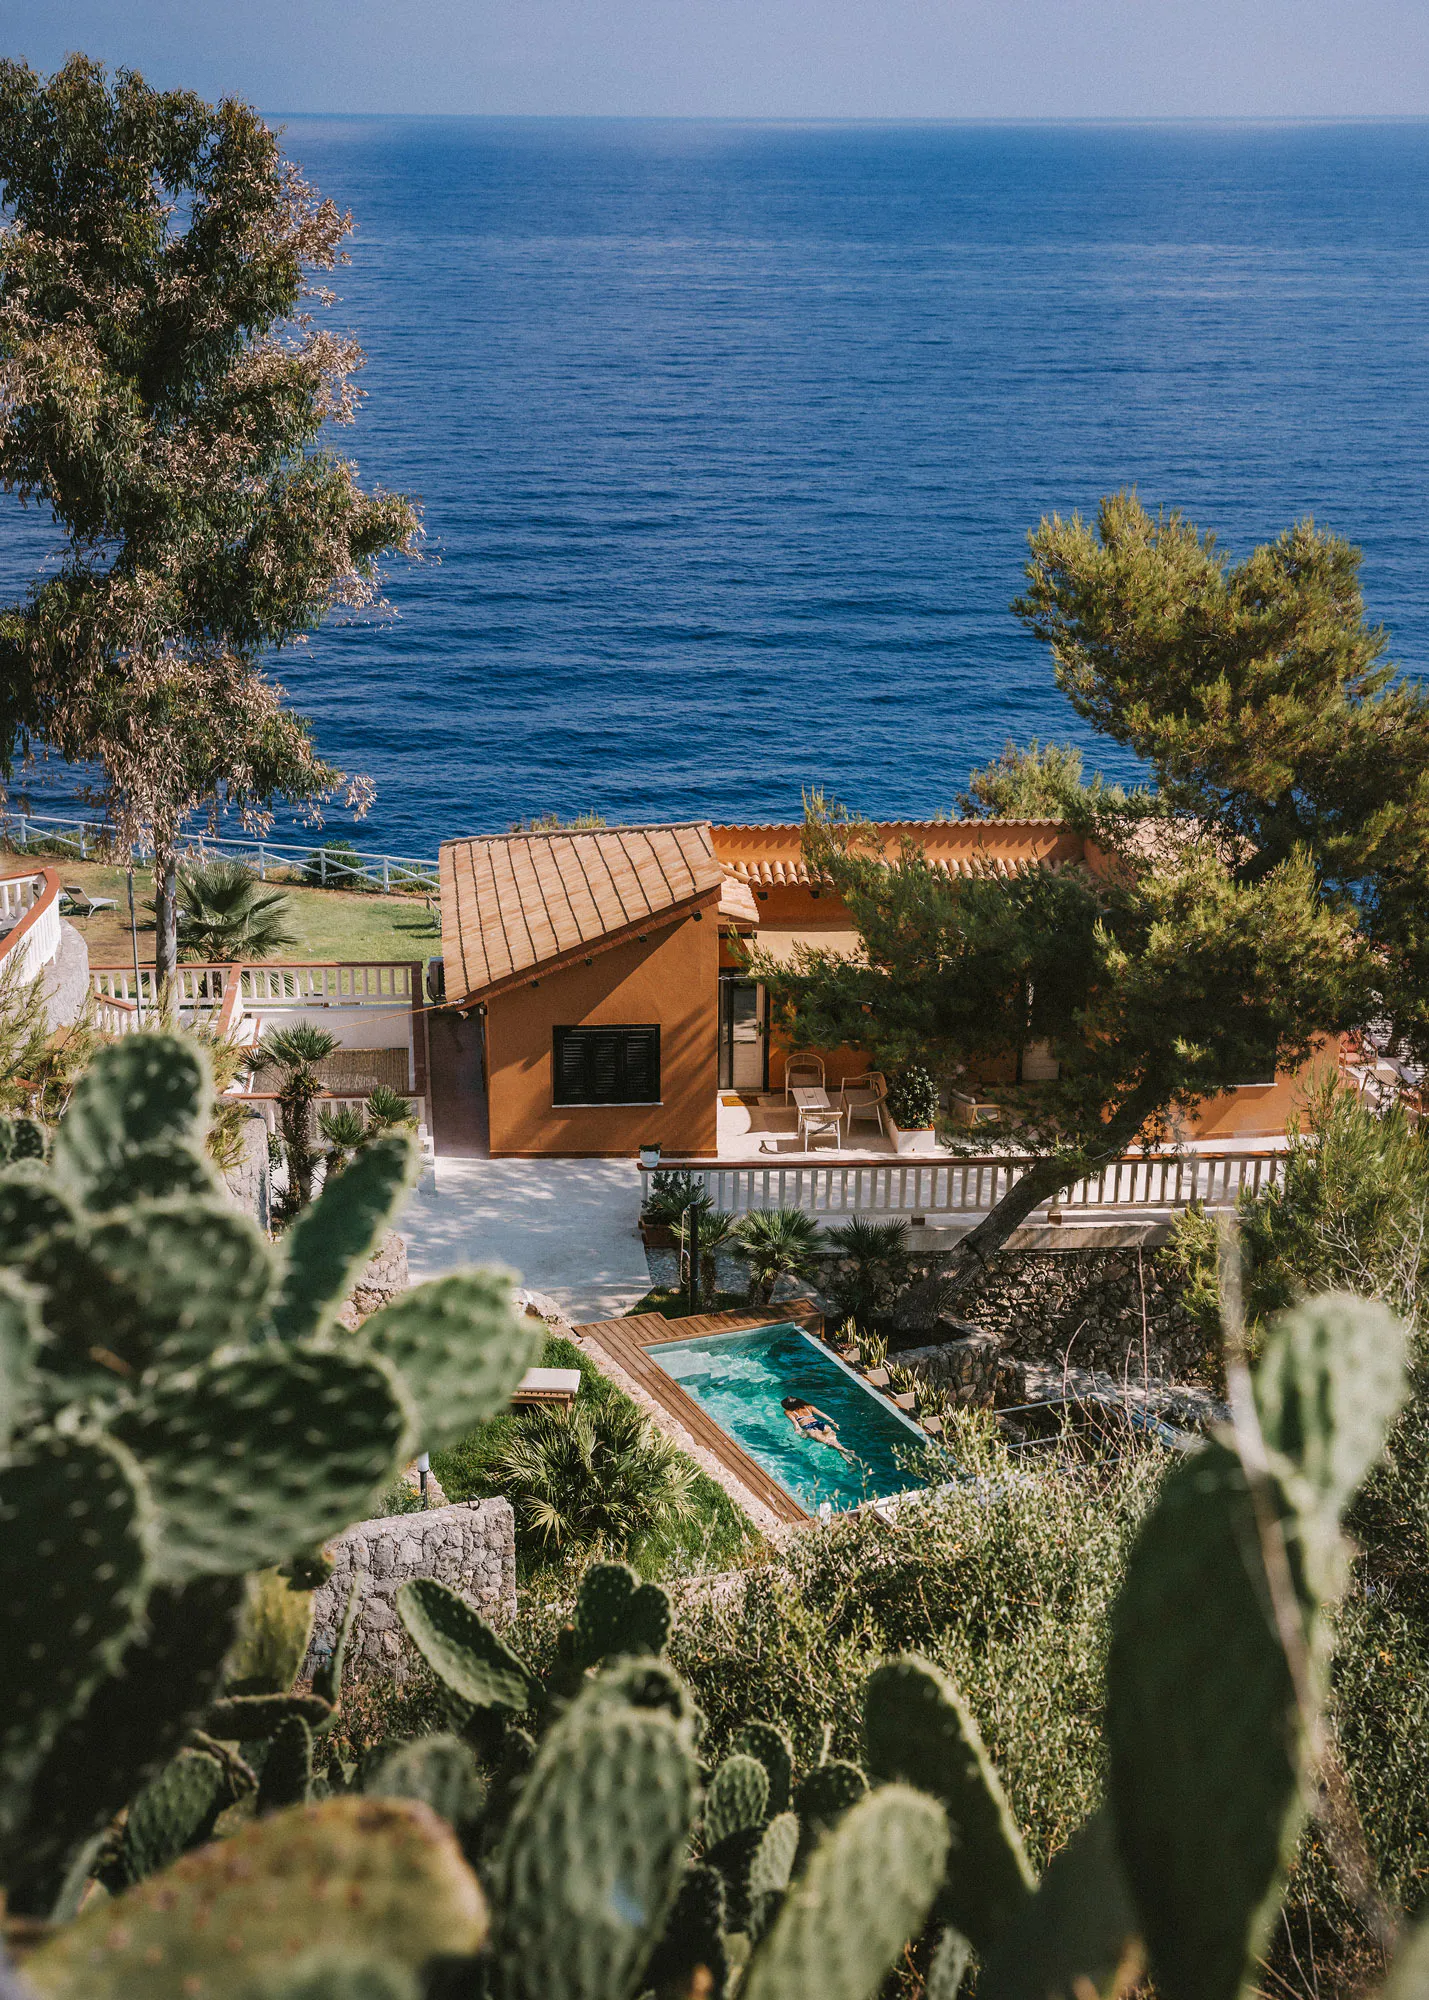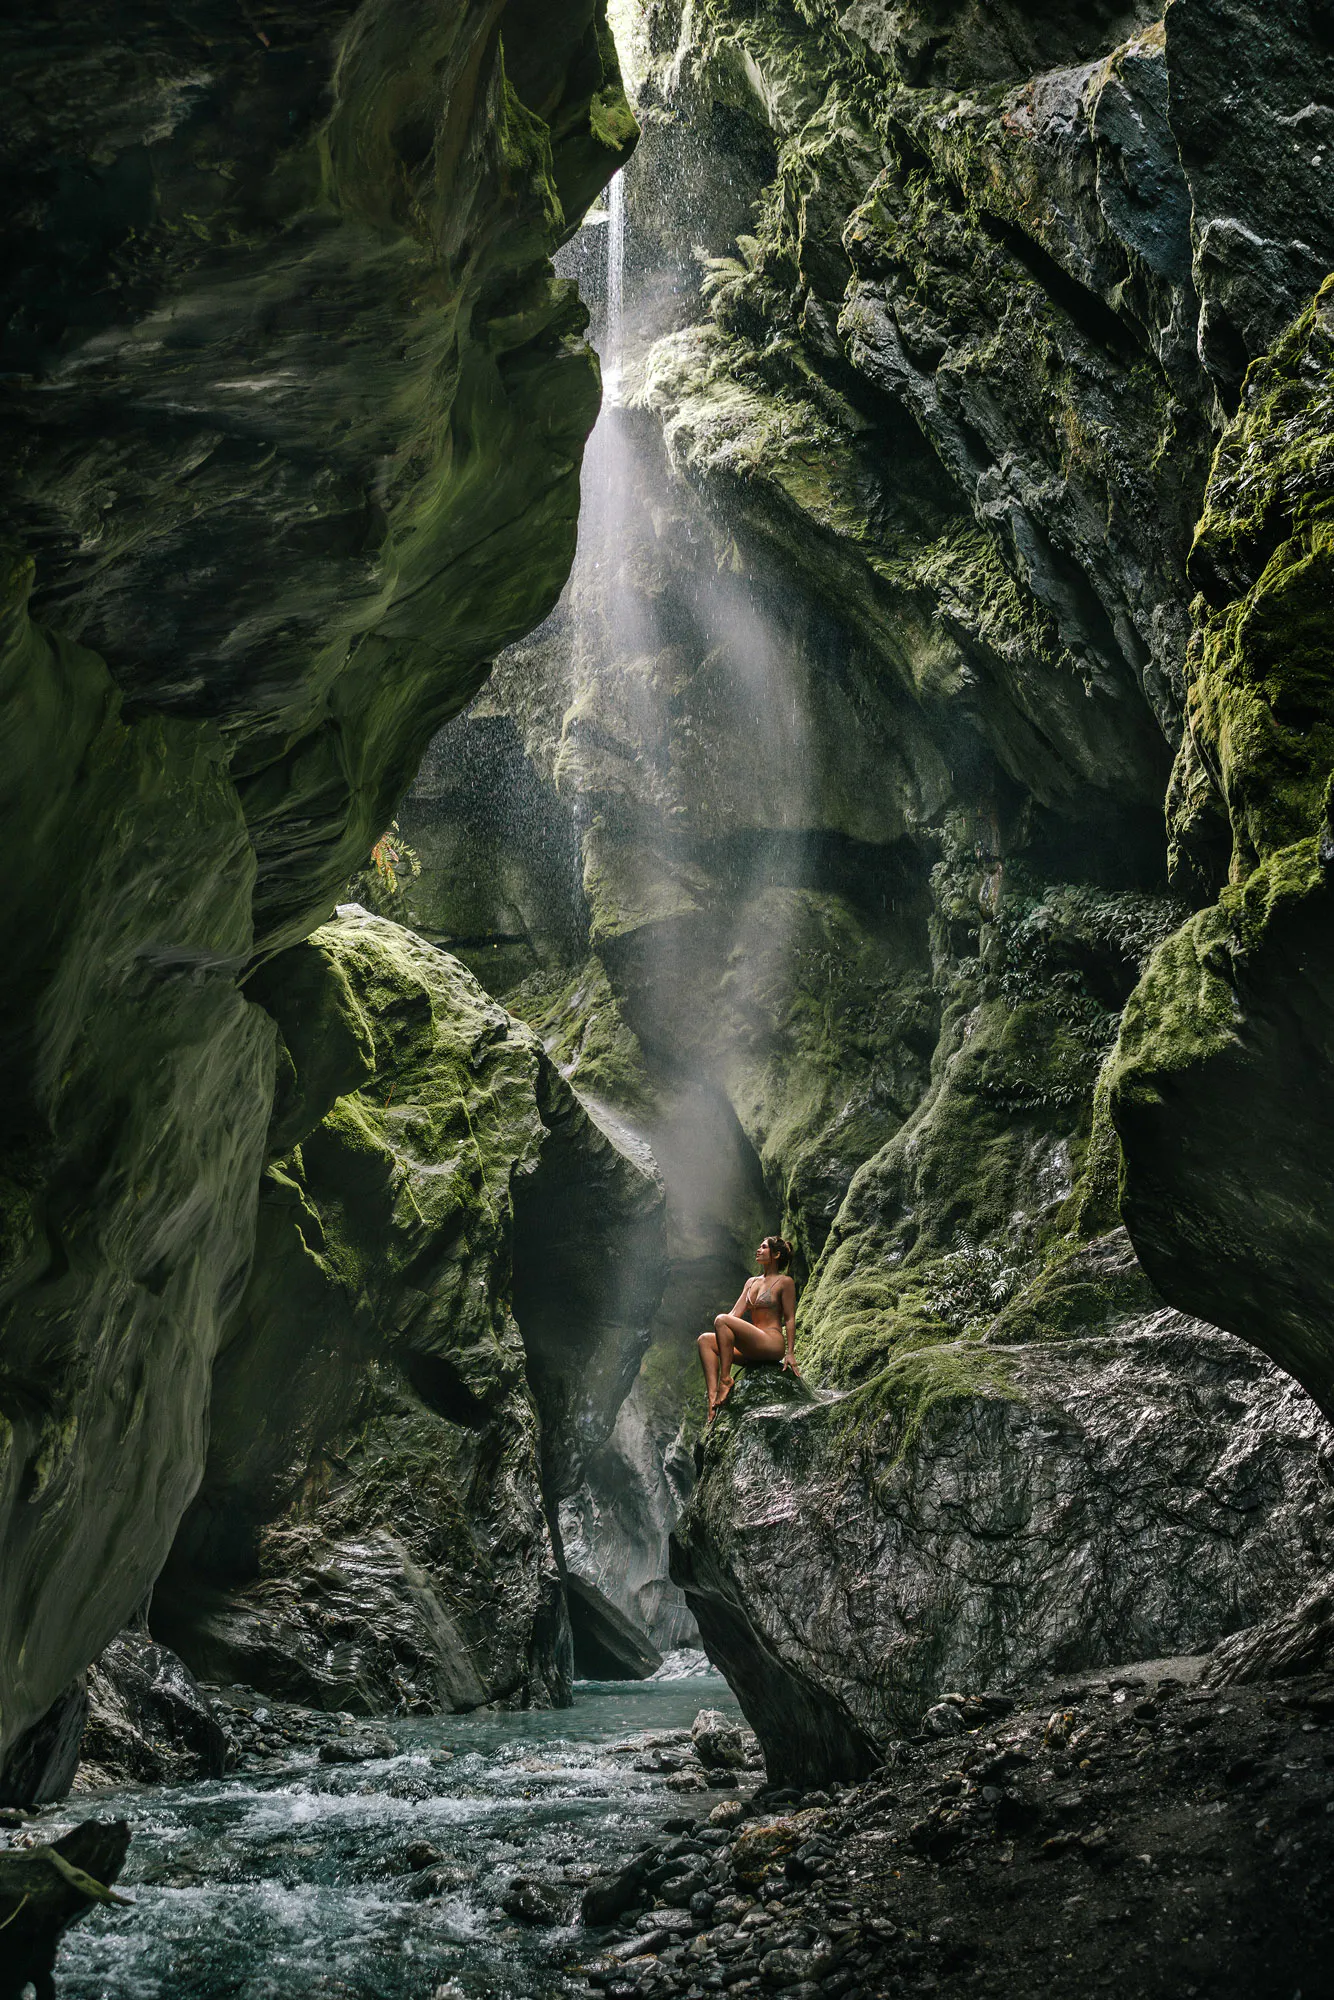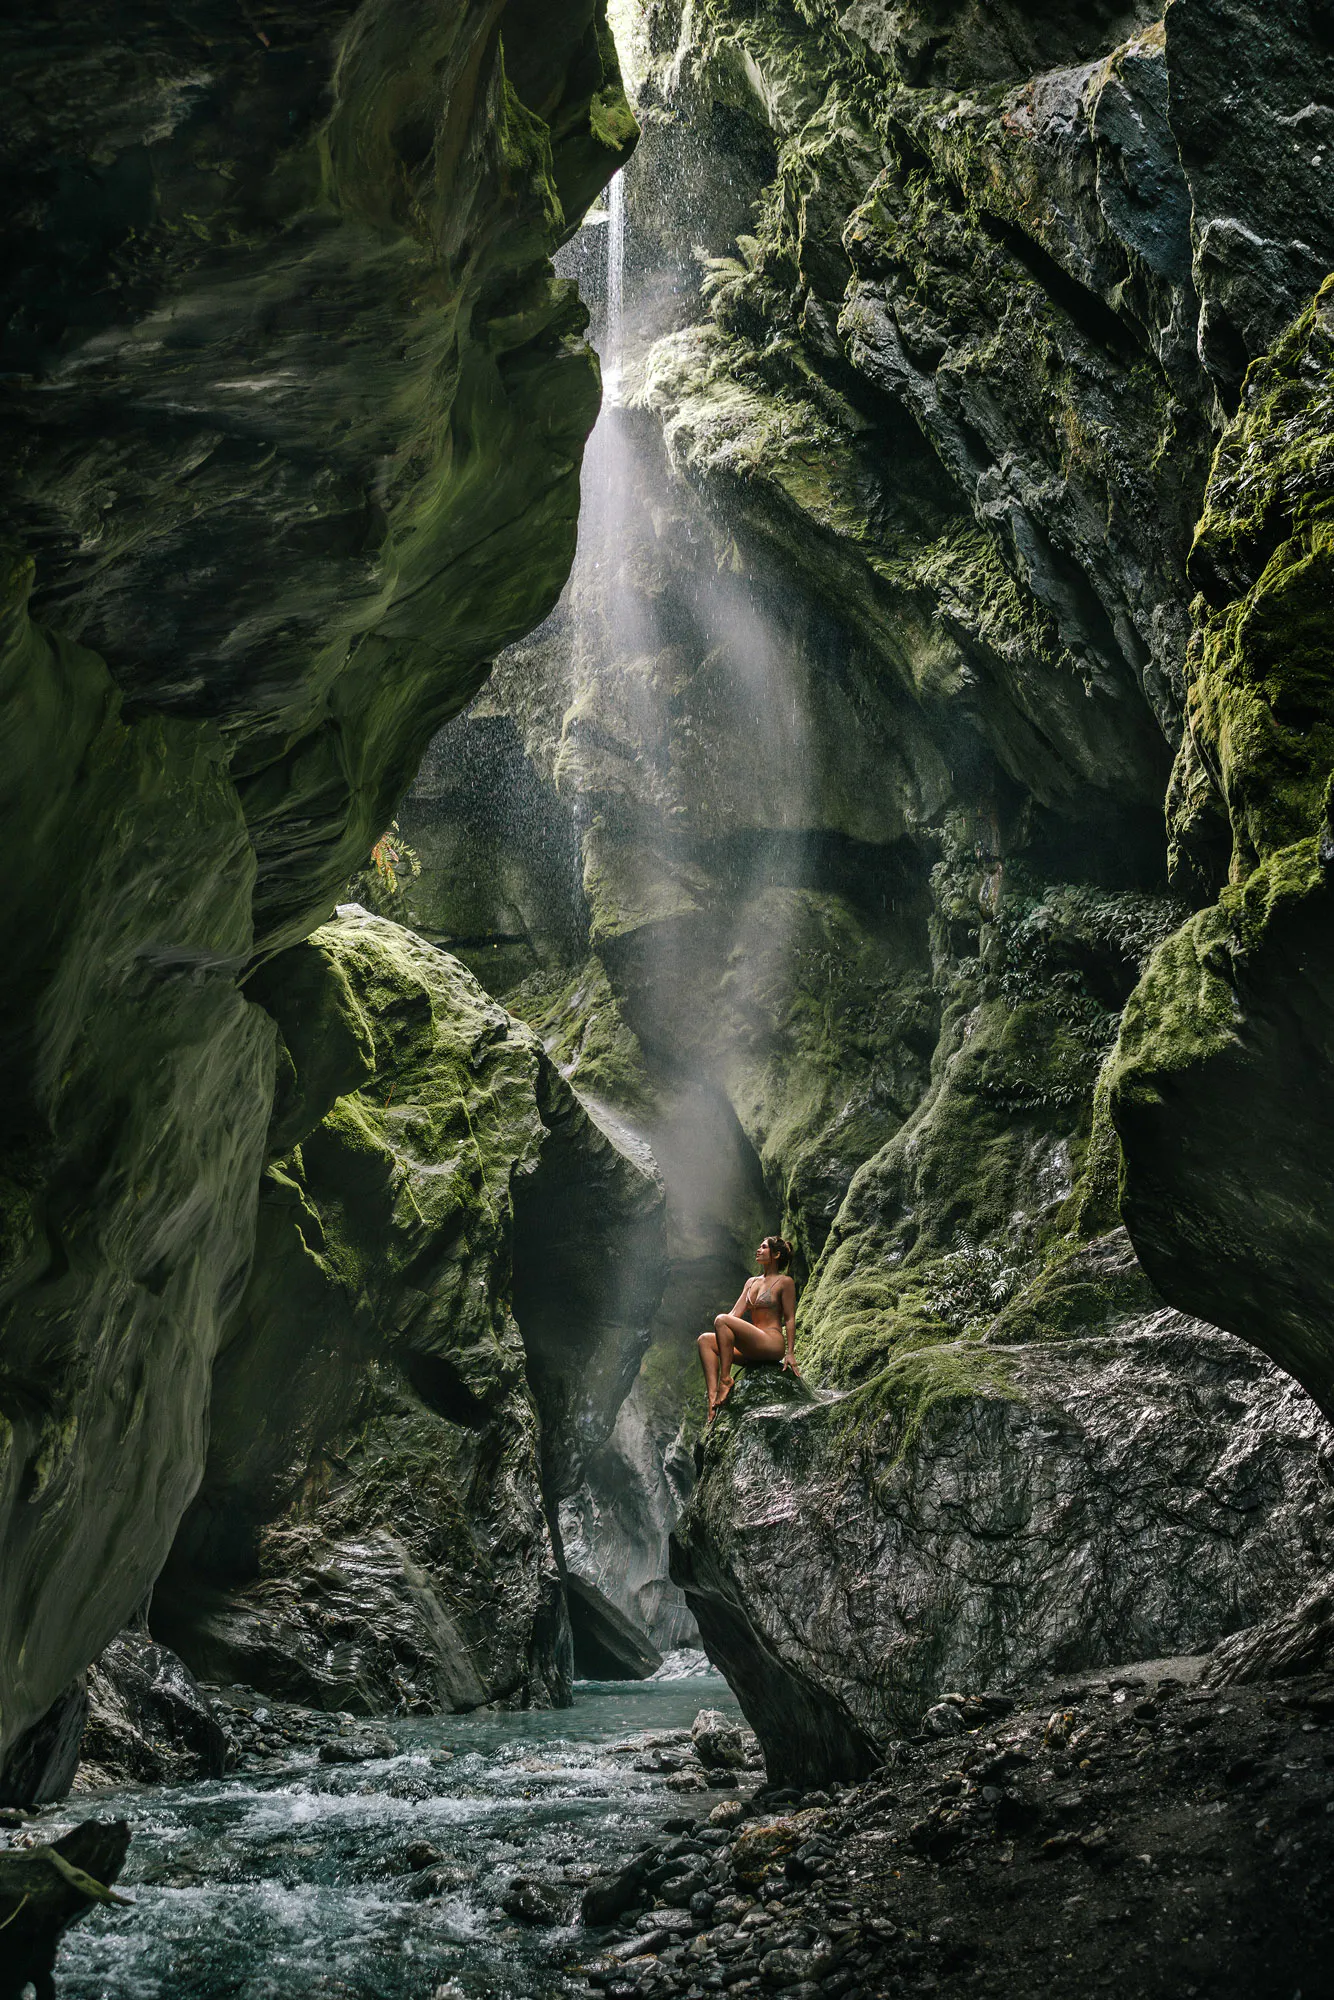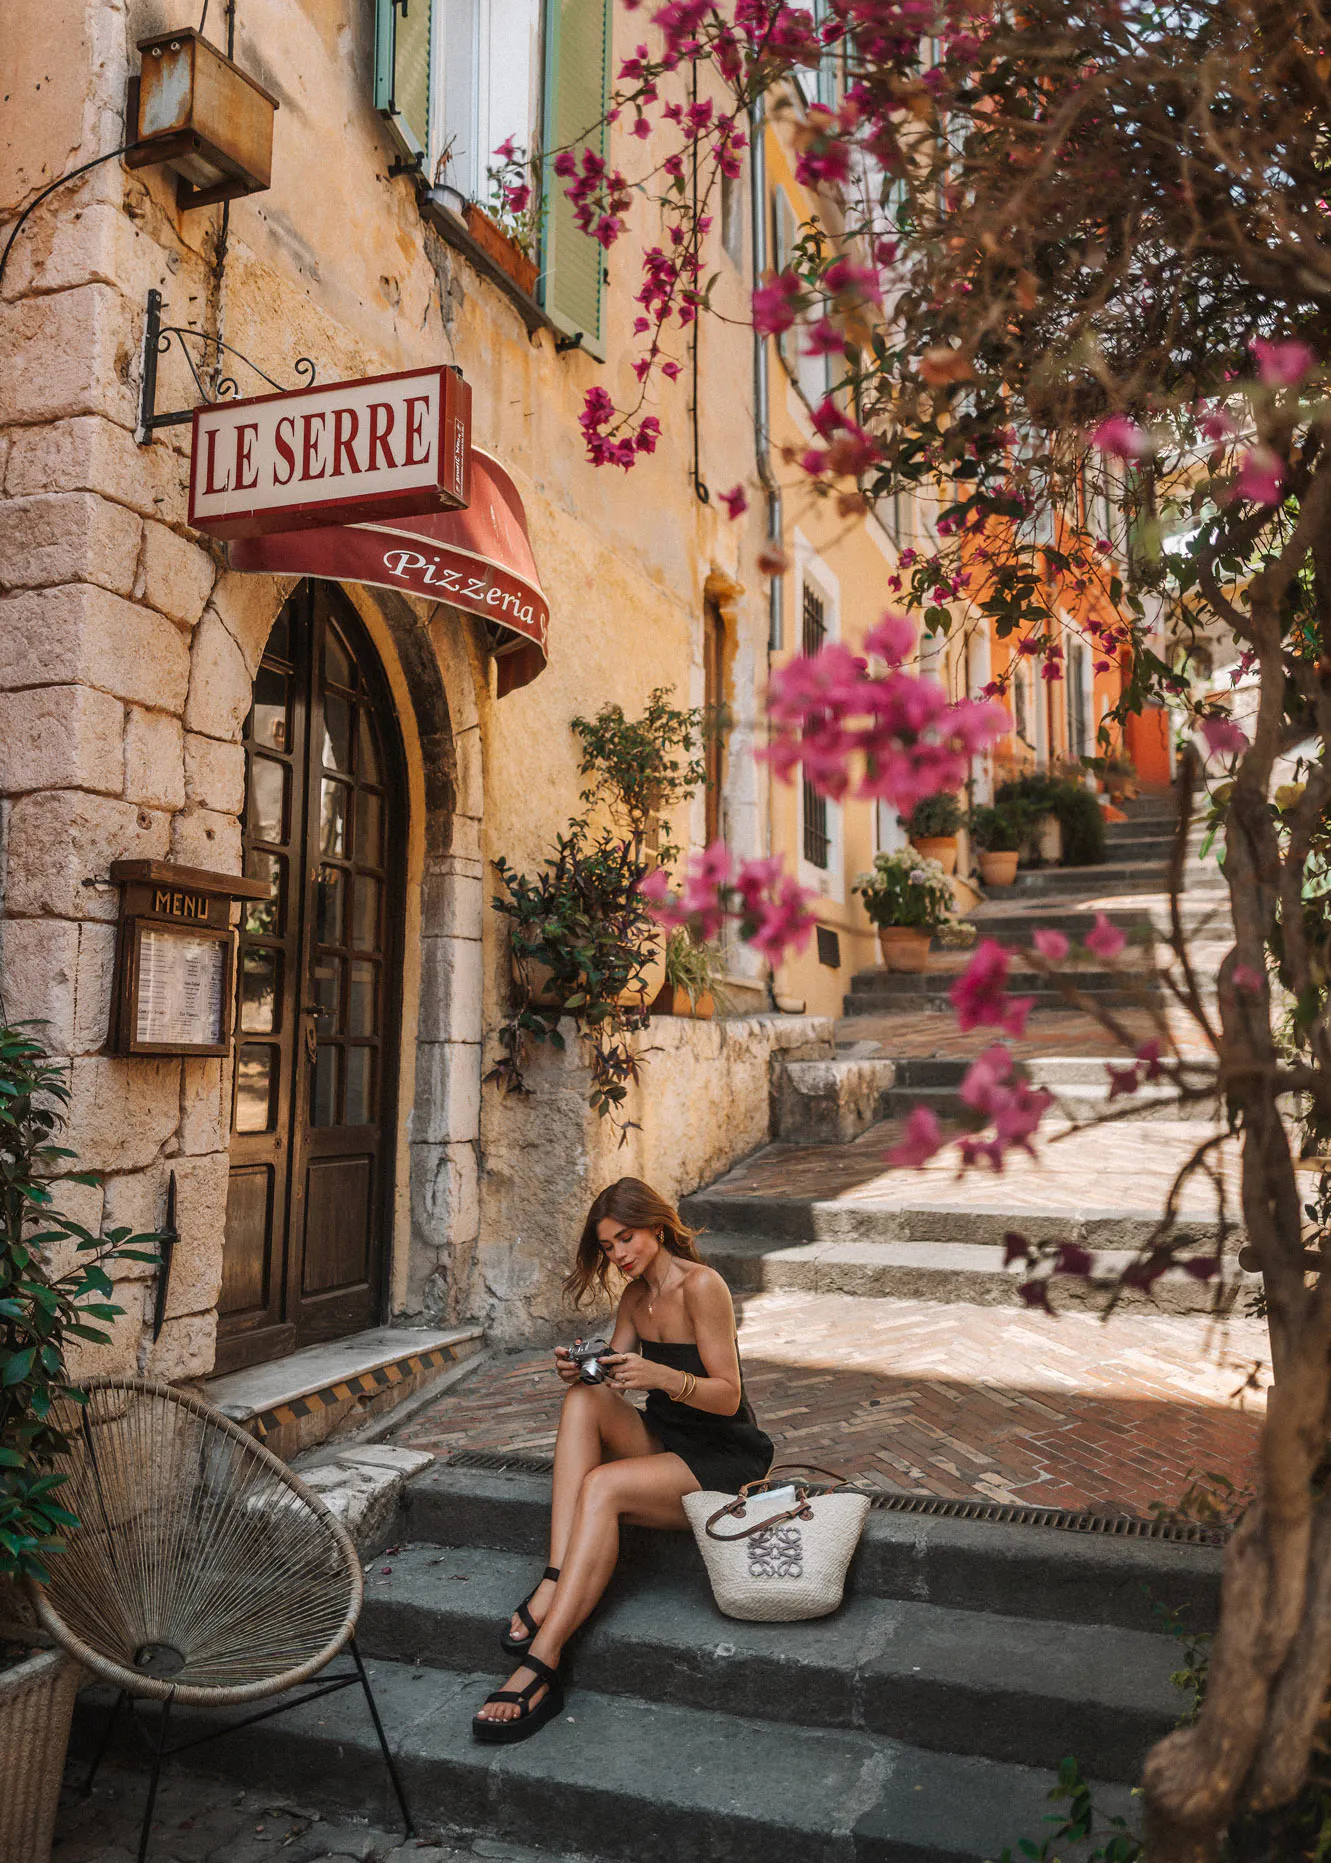
Having edited hundreds of videos from an airport terminal to a hostel lounge and even the backseat of a tuk-tuk, one thing is clear:
A "lightweight" editing workflow is a necessity… not a luxury. Especially when you're traveling, that's the only one that will remain intact.
Travel footage doesn't wait for ideal conditions. Internet connections might be poor. You might not have brought a laptop with you. One moment you're happily shooting under the bright sun … and the next you're hiding from the bad weather in a dark café. And your posting schedule? Well, it's not going to wait for you.
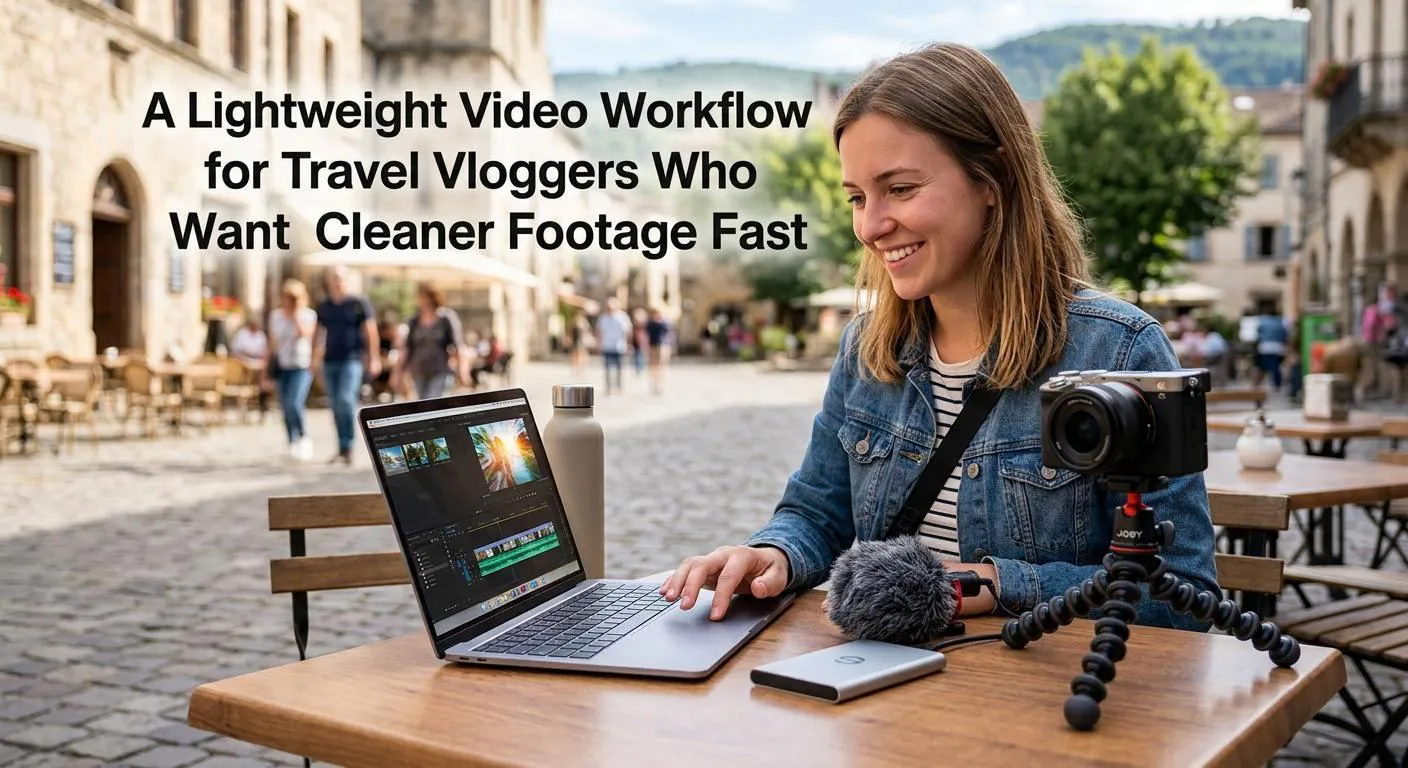
So, what works on the road? This lightweight workflow focuses on a few simple tools and steps that can clean up footage quickly.
Before You Even Touch an Edit - Shoot Smart
The less you have to fix later, the better. Simple, right? Well, travel rarely makes things that simple.
Shoot steady, pay attention to the light, and leave a second or two around each clip. These small details are a lot of extra editing work to fix otherwise. A good editing program can only do so much if the footage isn't solid in the first place.
But occasionally the shot is already shaky, dark, or a little unkempt…no worries! The footage exists, and it needs to be made to look great, quickly. That's where a lightweight editing workflow comes in.
The Problem Every Travel Vlogger Runs Into
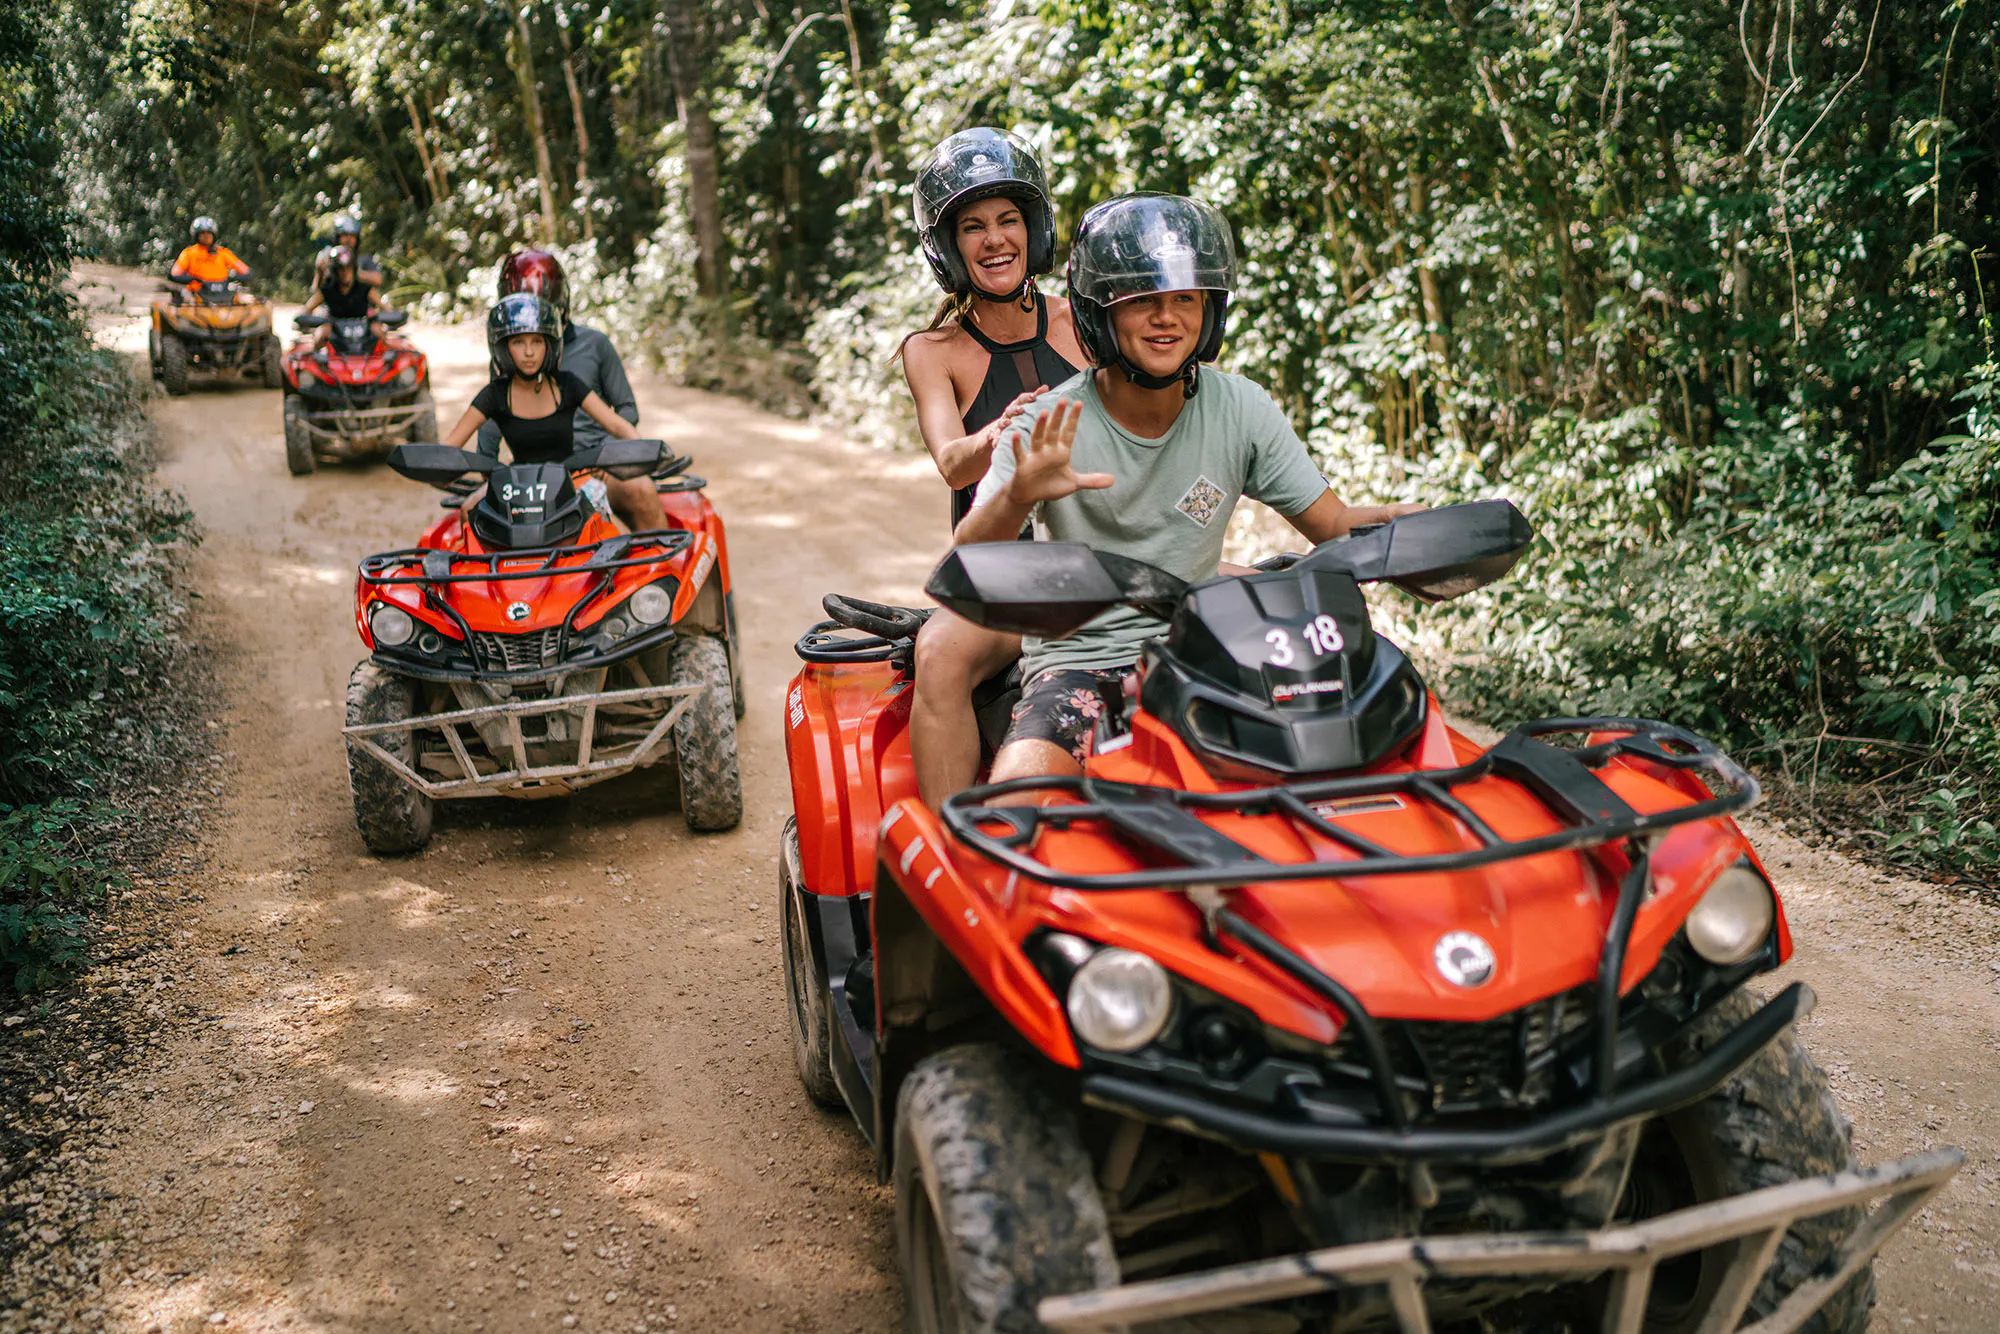
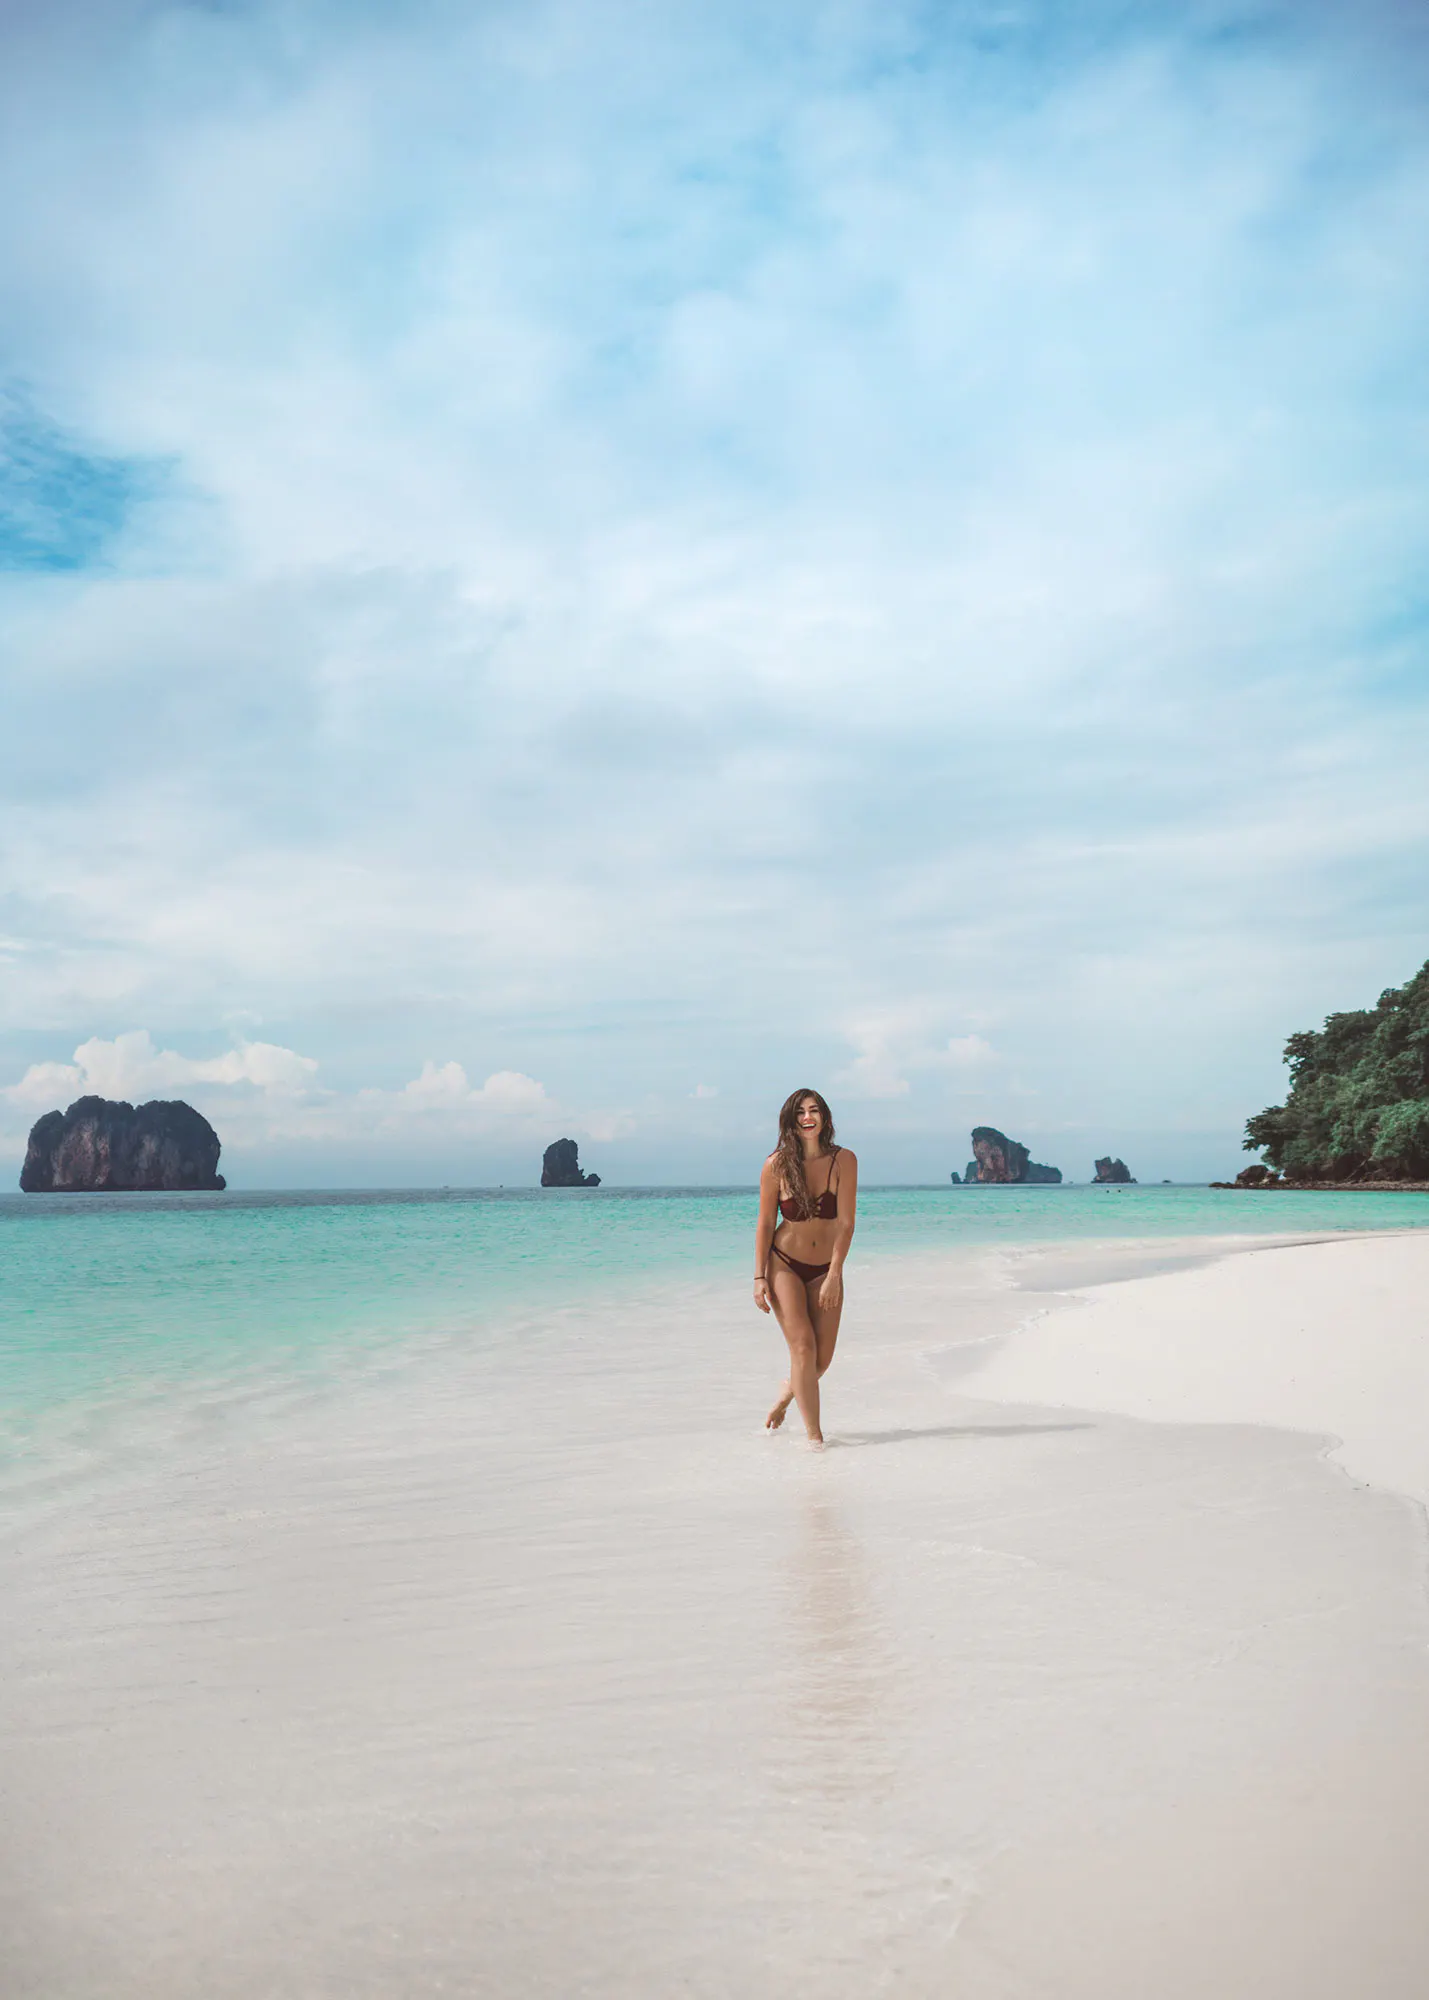
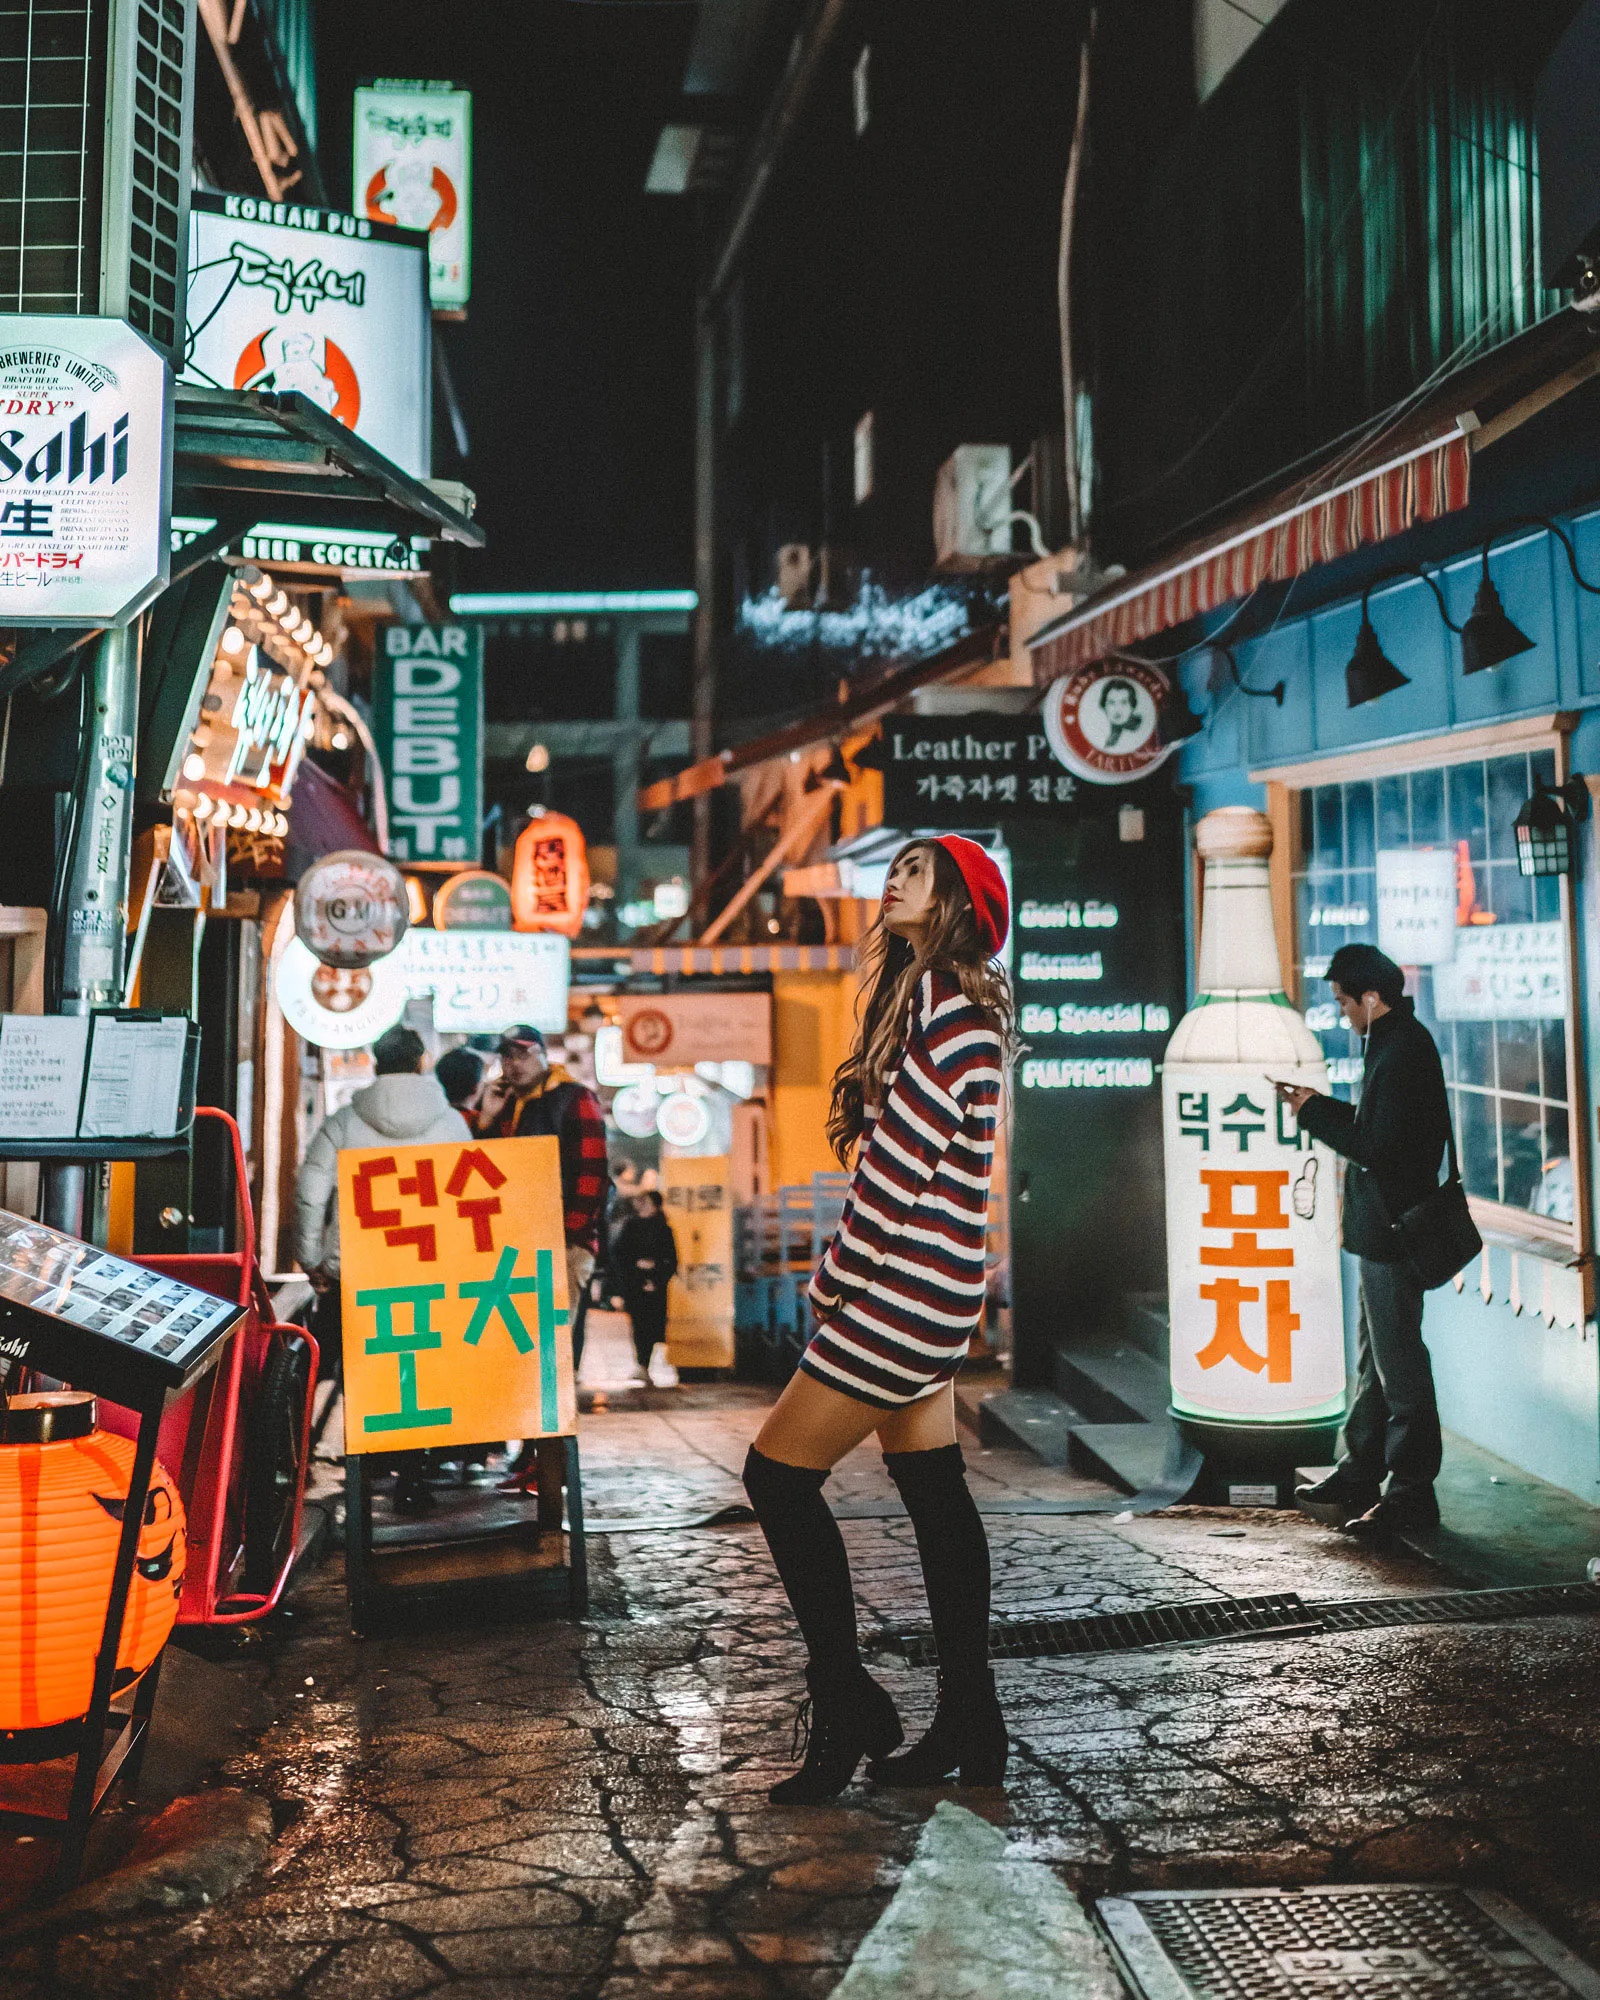
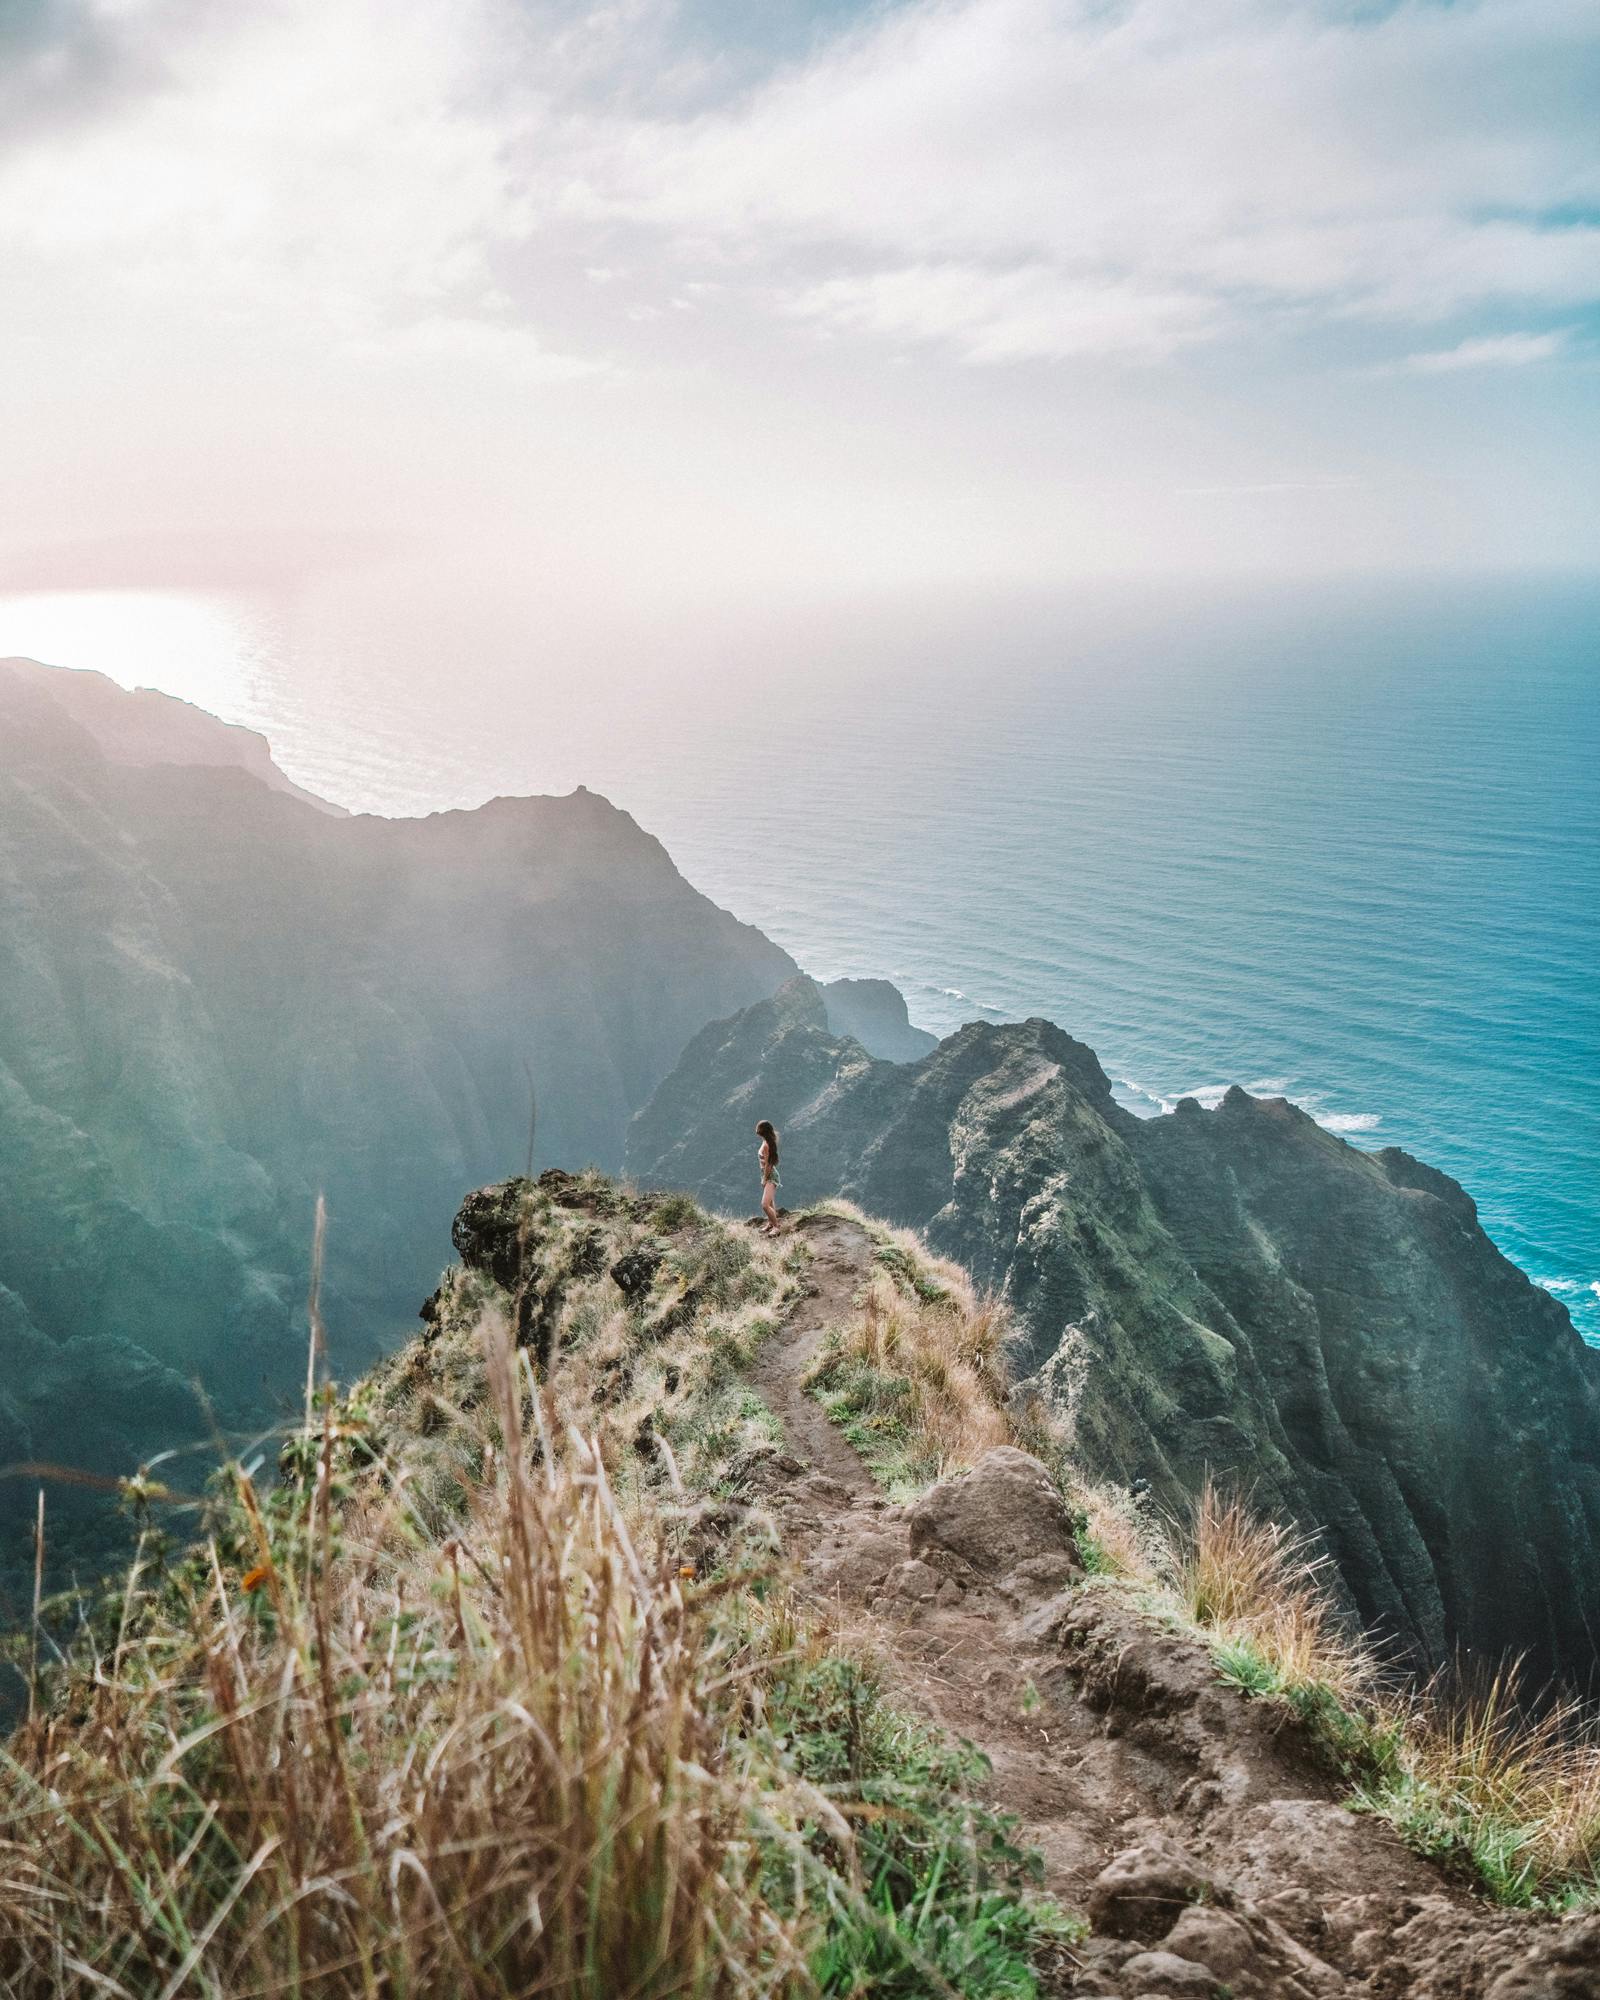
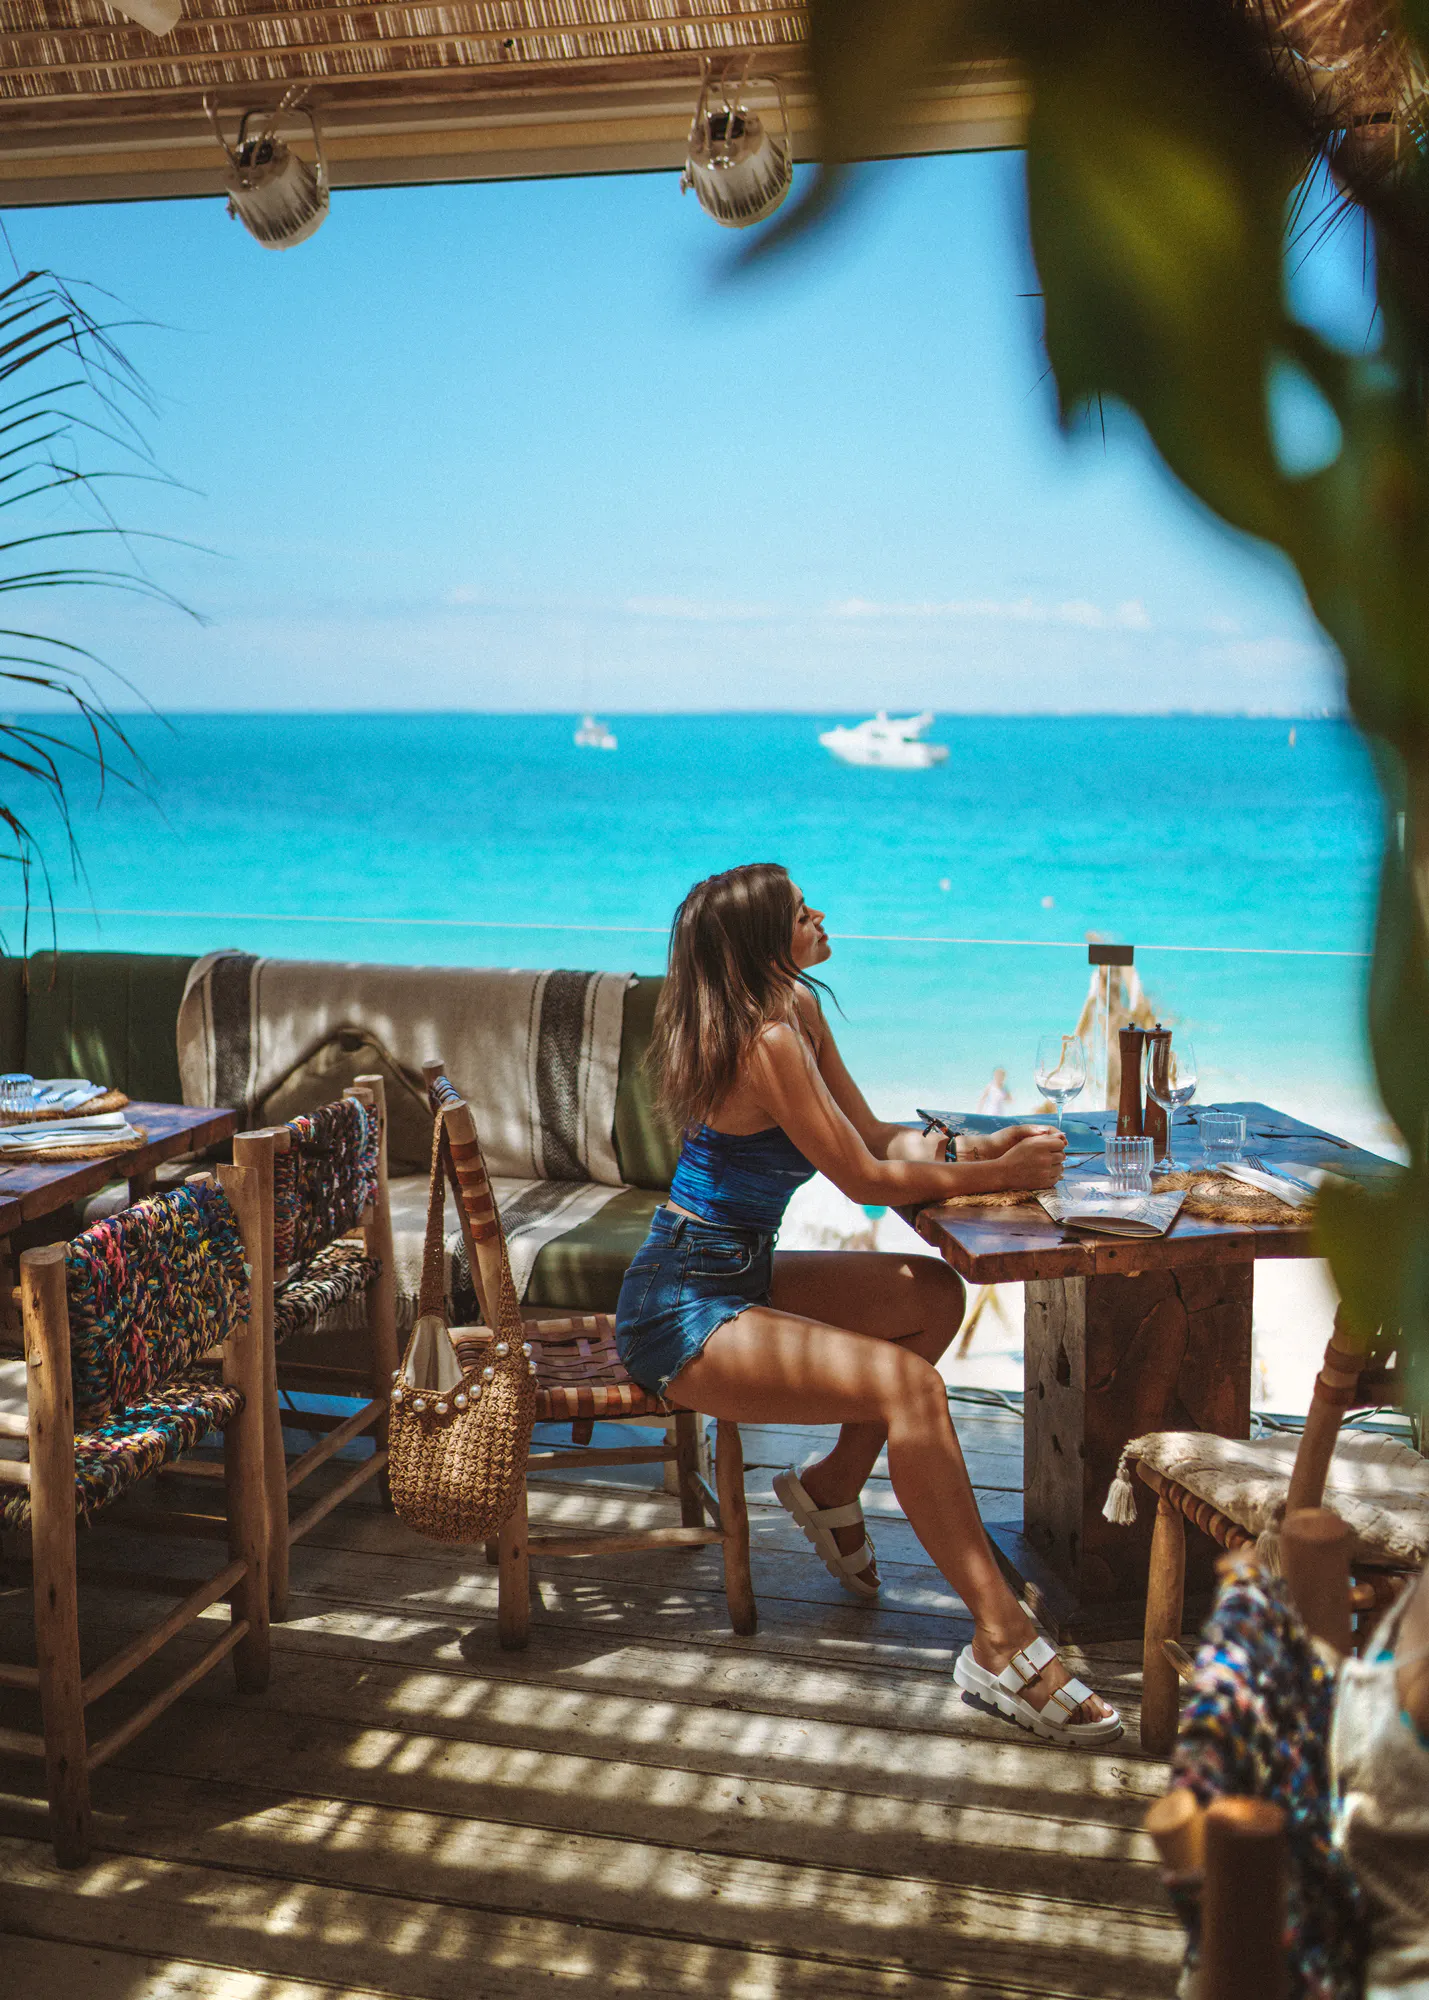
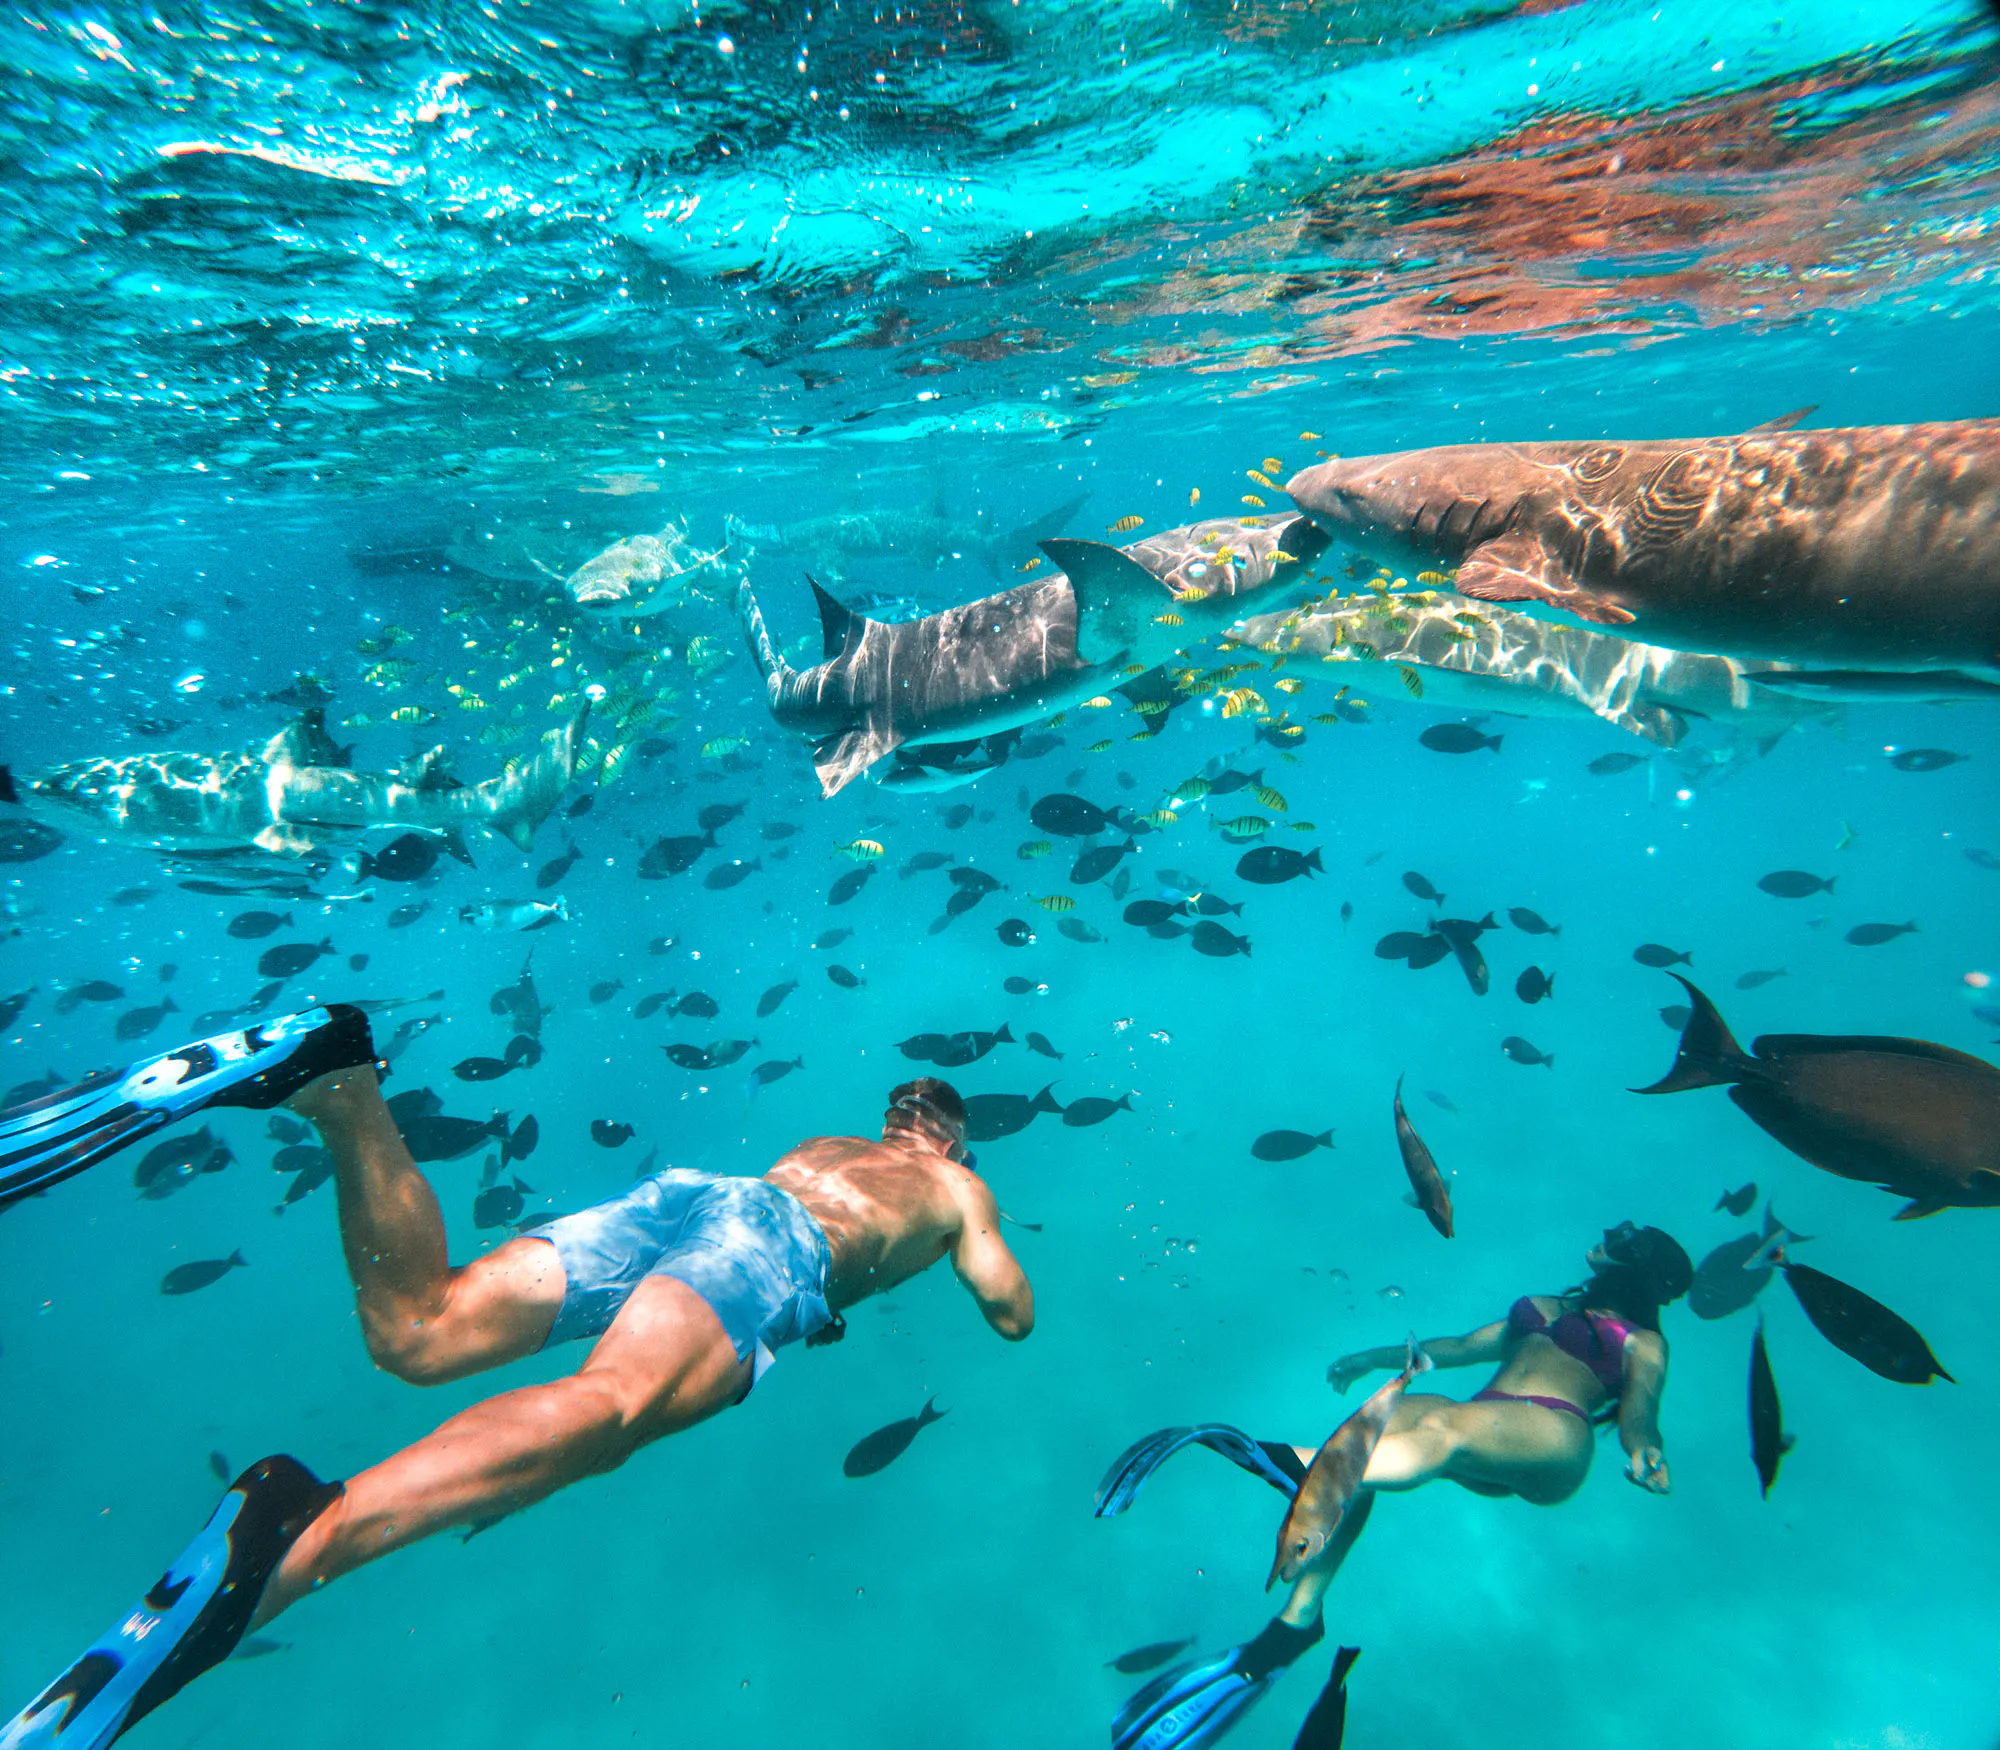
Travel footage often comes out all over the place. One clip is captured in a very dark temple. The next clip is of strong sunlight from the beach. And you have a very shaky moped POV which you managed to shoot while trying not to drop the phone.
Because, of course, the best moments never happen when the camera is ready.
And the clips just keep coming, one after another. There can be dozens of videos with different lighting, framing, and quality.
A full laptop setup, including detailed color grading, sounds great … But if you are going on a trip? Then not so much. There can be no laptop, weak Wi-Fi, or only 20 minutes before taking the flight.
The Lightweight Travel Video Workflow
A perfect travel routine doesn't require dozens of programs and a long vacation day. Most people don't enjoy spending an entire travel day just editing.
A simple five-stage process is enough. Keep the originals safe, find the clips that need work, clean them up, check the result, and then export what's ready to post.
1. Keep the Original Footage
Never edit the original copy of a clip. Always make sure original files remain untouched. In case of any issue during cleanup or export, you can always revert to the original source.
2. Identify the Clips That Actually Need Help
Not every clip needs fixing. Pick out the ones with:
- Soft or blurry details
- Lowlight problems
- Visible compression or artifacts
- Footage that needs a resolution boost
- Unwanted text, logos, or watermarks, when you have the right to remove them
3. Use Vmake Labs for the Repetitive Cleanup
Here is a small tool example: Vmake Labs performs simple cleaning tasks automatically so that there is no need to have the full editor desktop.
If you don't want to waste time going through every rough clip manually, simply use it where the footage really needs a little help.
Vmake Labs Can Clean Up Soft Travel Footage Without Turning It into a Big Editing Project
Travel clips don't always turn out the right way. Perhaps your quick street video is blurry. A scene of the night market could turn out with a lot of noise. Or maybe a clip that has passed through several applications ends up with very unattractive compression.
That doesn't always mean the clip needs a full edit. Sometimes it just needs a little cleanup.
Start With Vmake Labs' AI Video Enhancer
Vmake Labs' AI Video Enhancer does some quick fixes without you going through another long editing session. Just upload the clip and it can automatically pick out an enhancement model (Fast, Quality, & Master) for you. You can also choose from the Content category inducing Portrait, Portrait Pro, Studio, De-AI, Product, Low Light and more.
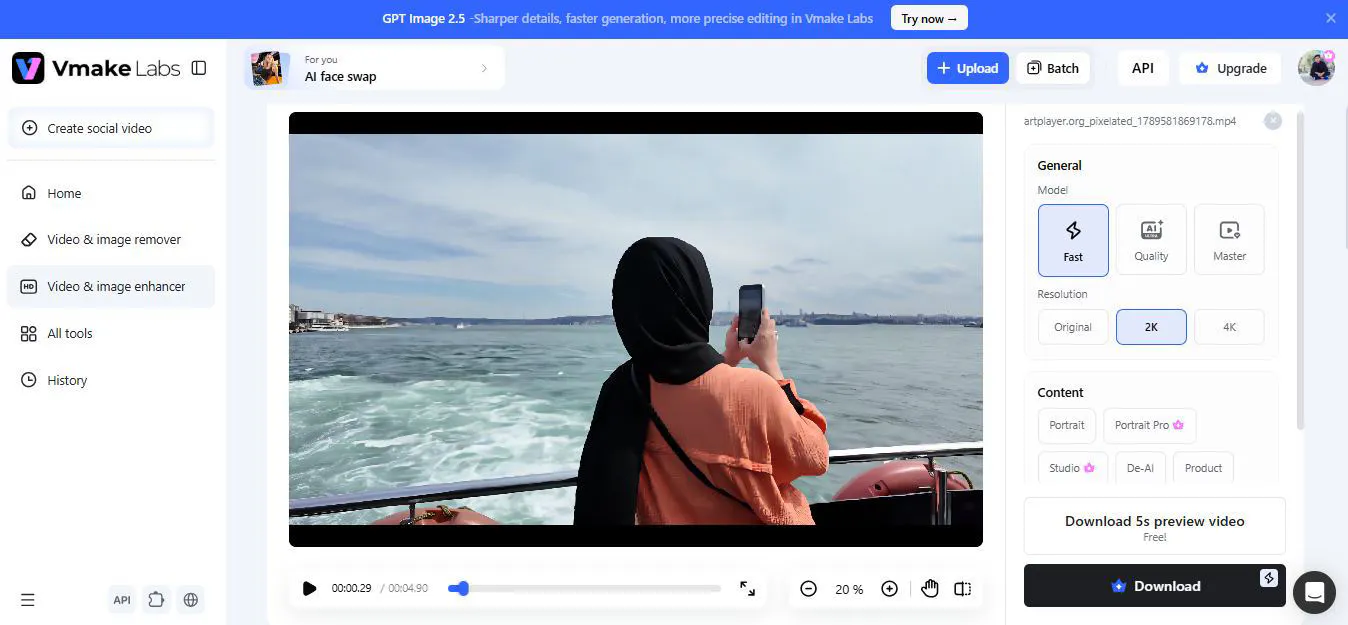
With travel footage, the nice bit is that the tool can do some basic clean up. It helps with blur reduction, noise, compression artifacts, and other signs of low-quality footage and brings out some fine details.
The idea isn't to make every clip look cinematic. It's to make the usable ones look clean enough to post without spending ages on them.
Remove Unwanted Marks Before You Publish
Sometimes the footage is fine apart from one thing that sits right over it is making it irritating … the watermark.
A sticker. Maybe an old logo from a repost. And of course, it has to land right where the good part of the shot is.
The solution is to remove watermark from videos!
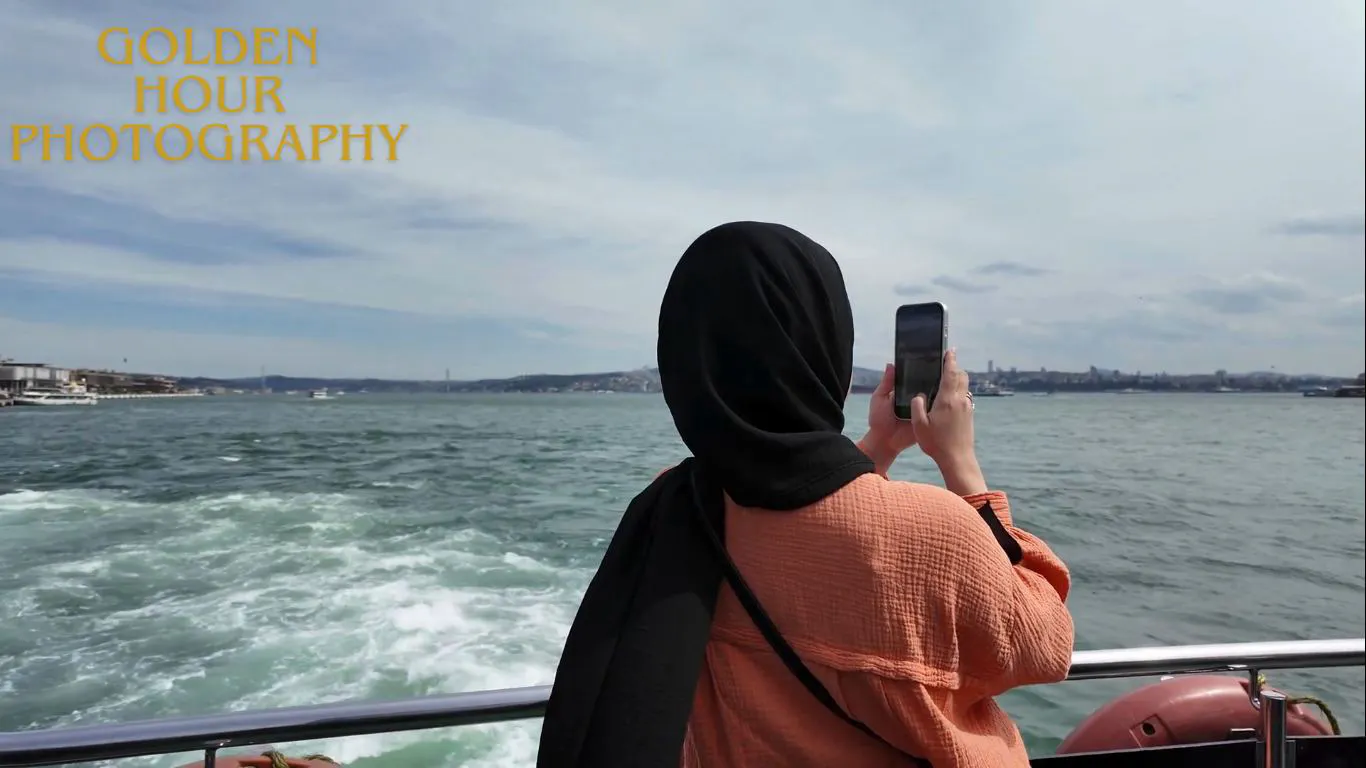
If you have the right to edit the clip, using Vmake Labs Video Watermark Remover would be the most effective way to remove the watermark without a full editing session.
It can handle both static and moving watermarks, which is especially useful for travel shots where the camera is constantly moving. If you have multiple clips to clean up, you can utilize the batch option available.
Vmake Labs Remover features Smart automatic removal, and there's Smart Pro for those who would benefit most from an enhanced cleanup. In addition, there are specialized Subtitle and Watermark options and Passerby for removing people who appear out of nowhere. If an automatic removal tool overlooks something, users will be able to manually select an area to remove.
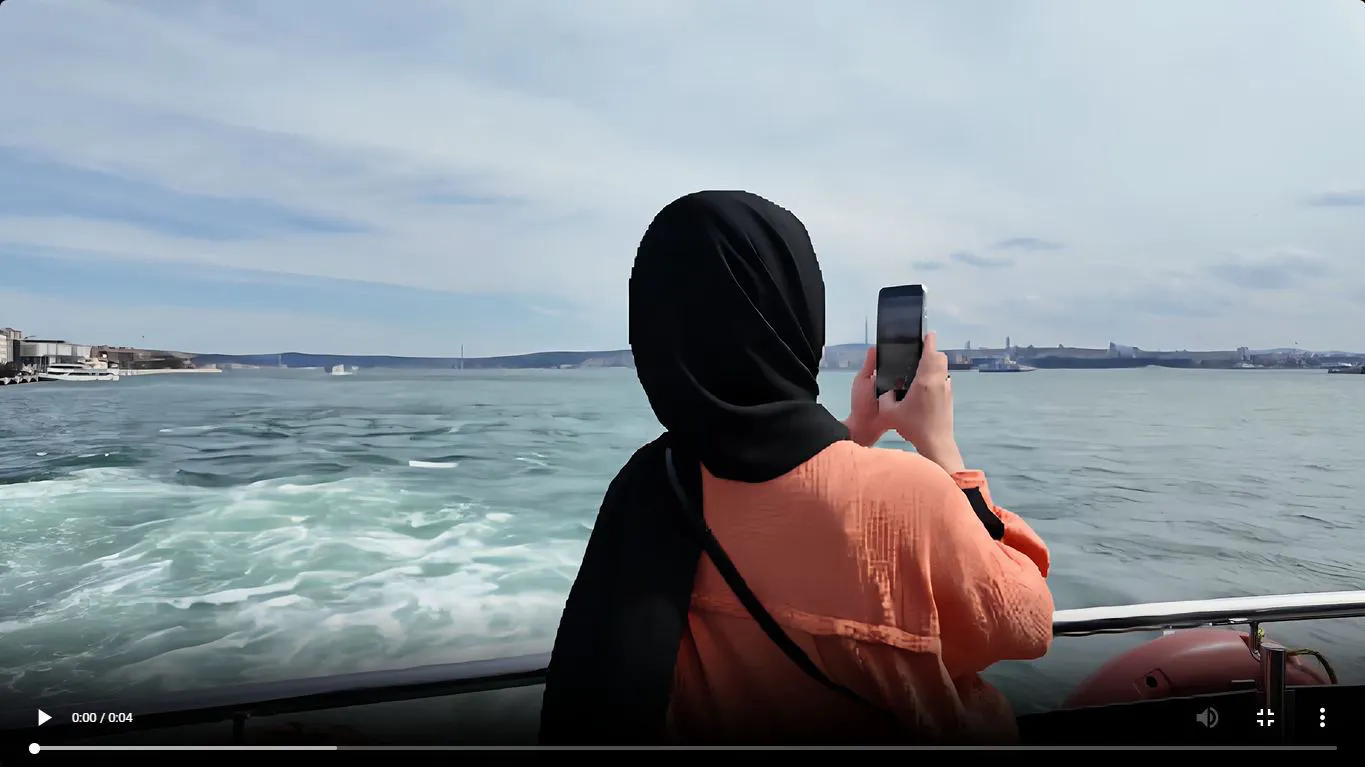
Keep the Rest of the Editing Simple
Once the rough footage is cleaned up, keep the rest simple. No need to turn a travel vlog into a Hollywood production.
Cut the Story Before You Polish It
Drop repeated walking shots. Keep useful establishing shots, wide scenes, and close details. Focus on moments that show what the place felt like.
Don't Overprocess Every Frame
Enhancement should help, not announce itself. Too much can make skin, trees, buildings, or water look oddly sharp.
Compare the result with the original before exporting. If it looks fake, dial it back.
Let Sound Do Some of the Storytelling
Keep natural sounds when they add something:
- Street noise
- Waves
- Restaurant chatter
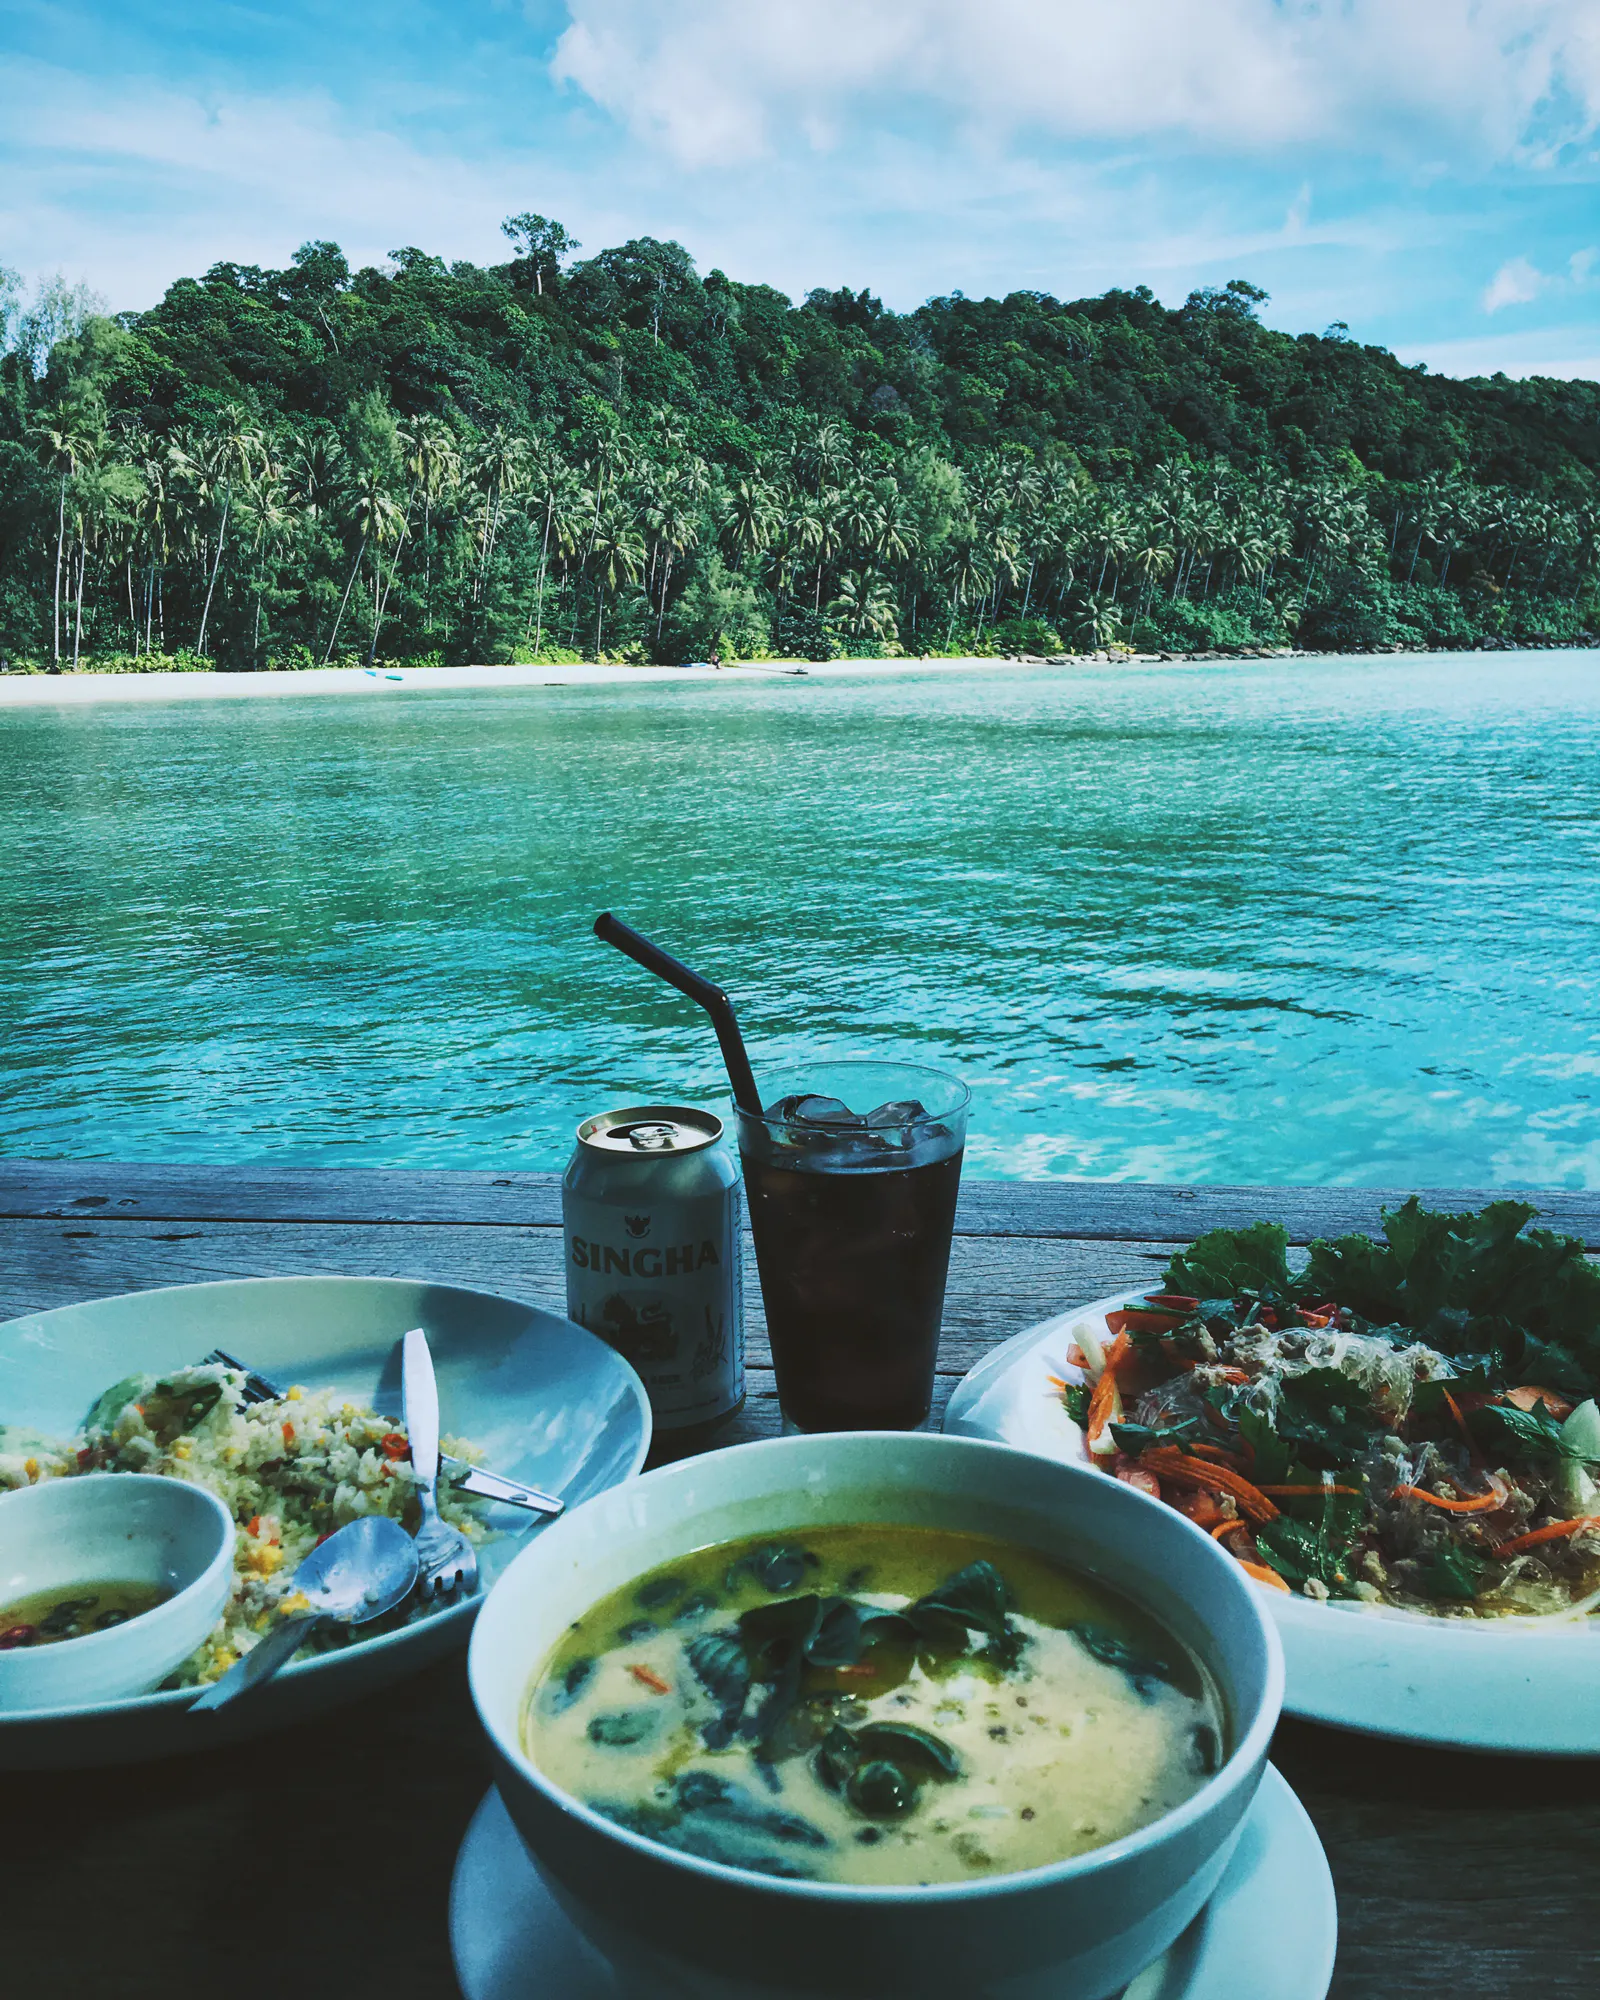
- Markets
- Local conversations
- Transport sounds
Sometimes a little real-world noise does more than another filter ever could.
The Goal Isn't Perfect Footage - It's More Time to Travel
Travel vlogs don't need a perfectly lit scene for every bit of the frame. Your viewers who are watching your food tour video won't be looking at every pixel anyway.
Achieving the main goal is quite simple: remove the pixels and grains that are out of order. Vmake Labs is great for small fixes, e.g., soft video, dark clips or blemishes; then the rest of it can go through a very minimalist editing style and even be published as is.
Fix what stands out, post the good stuff, and get back to the trip. After all, you came to see the place, not stare at an editing timeline.