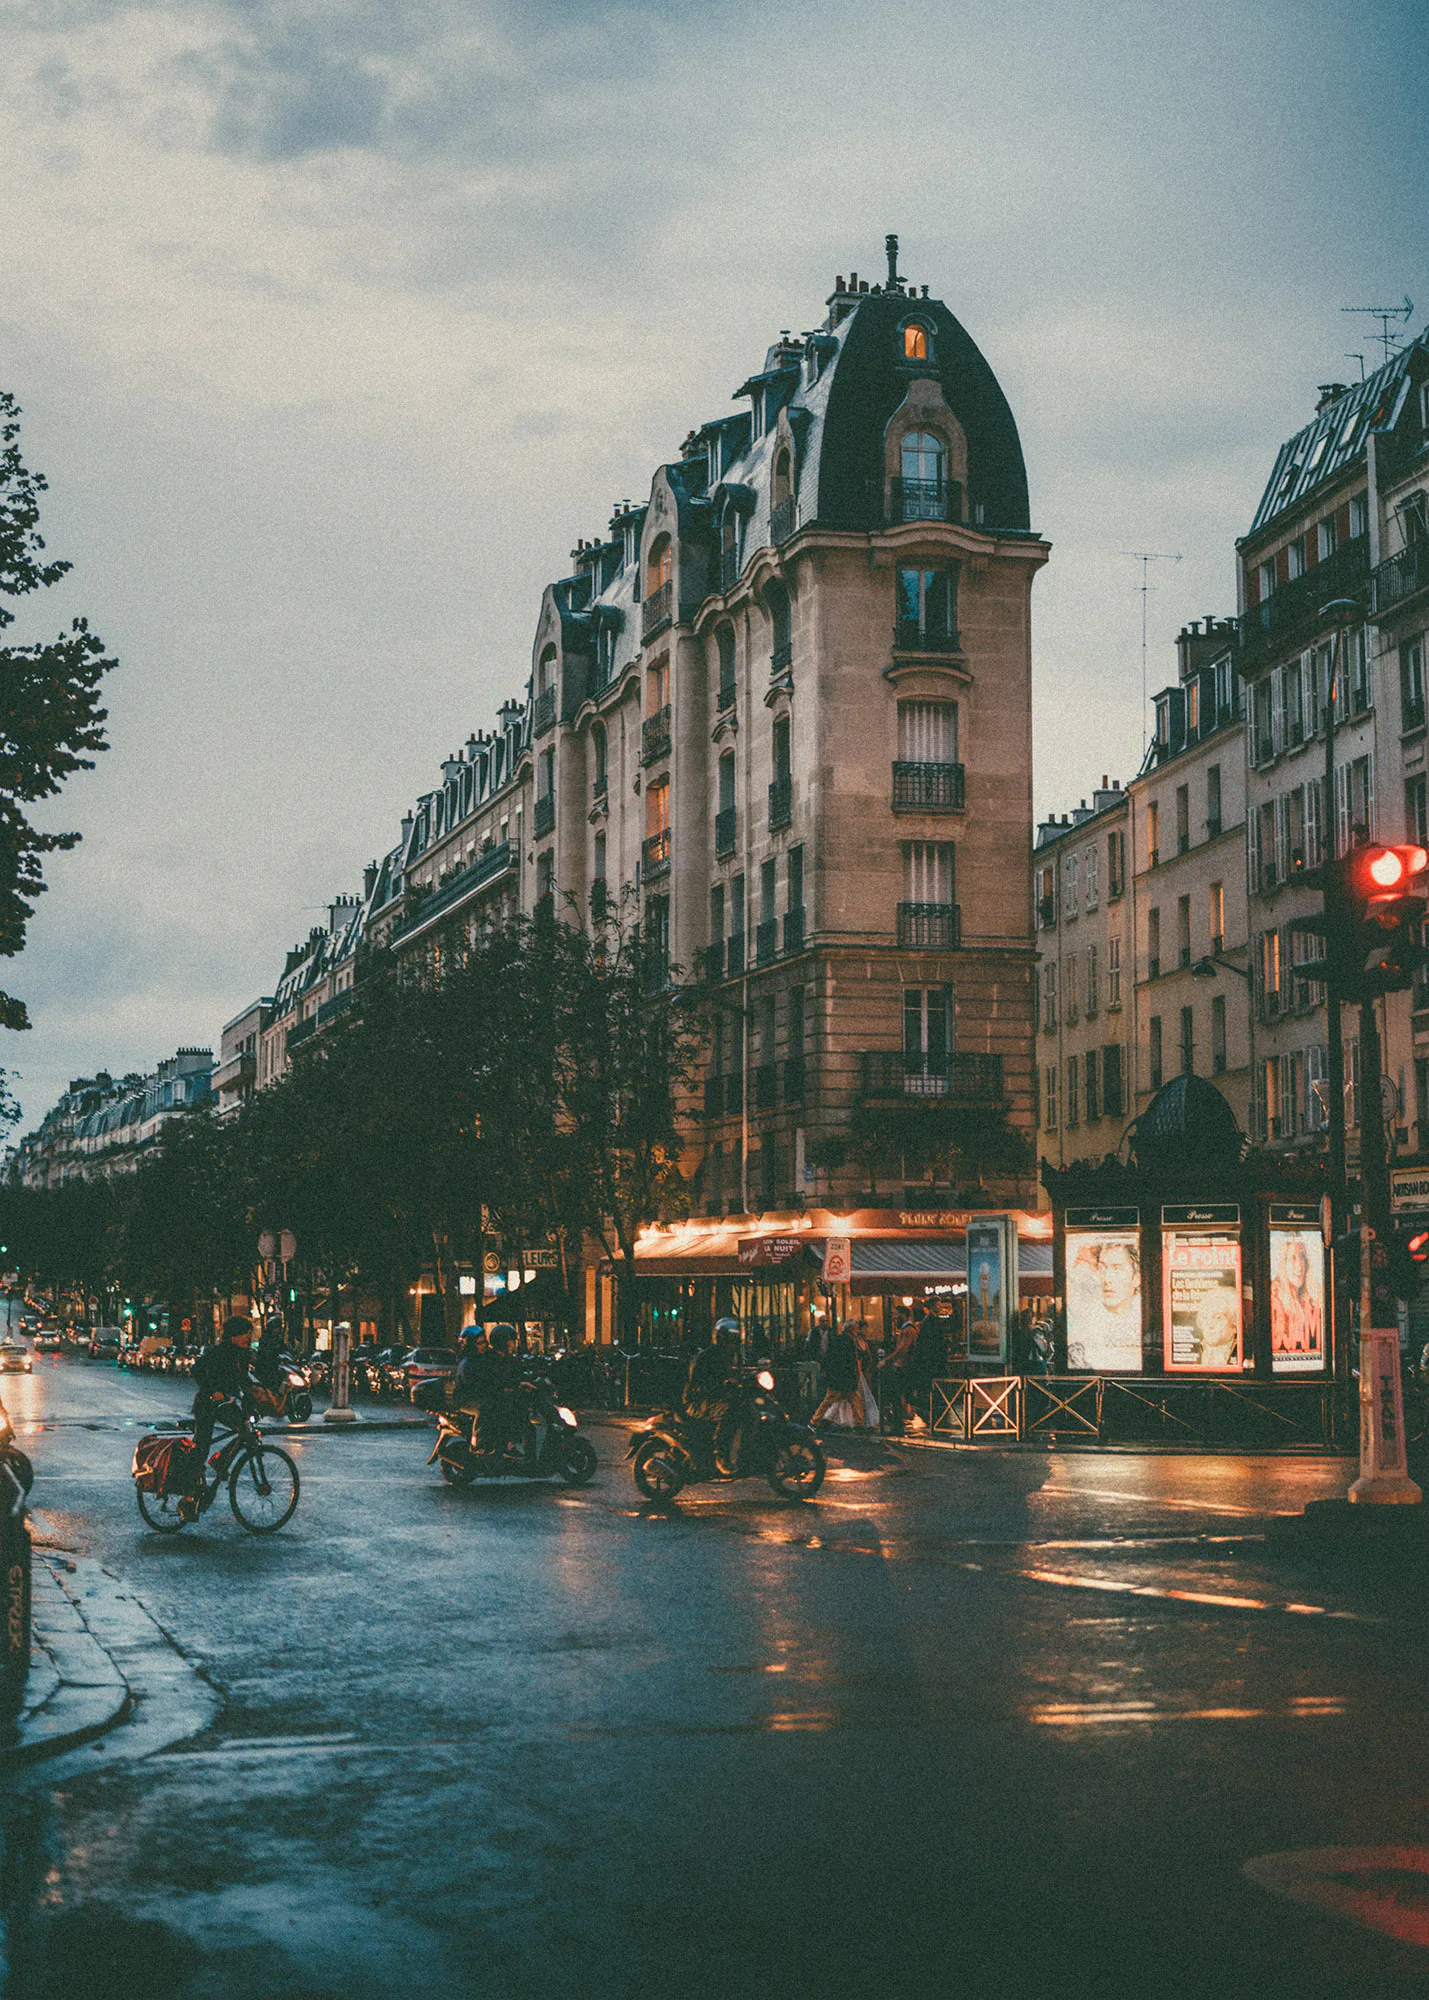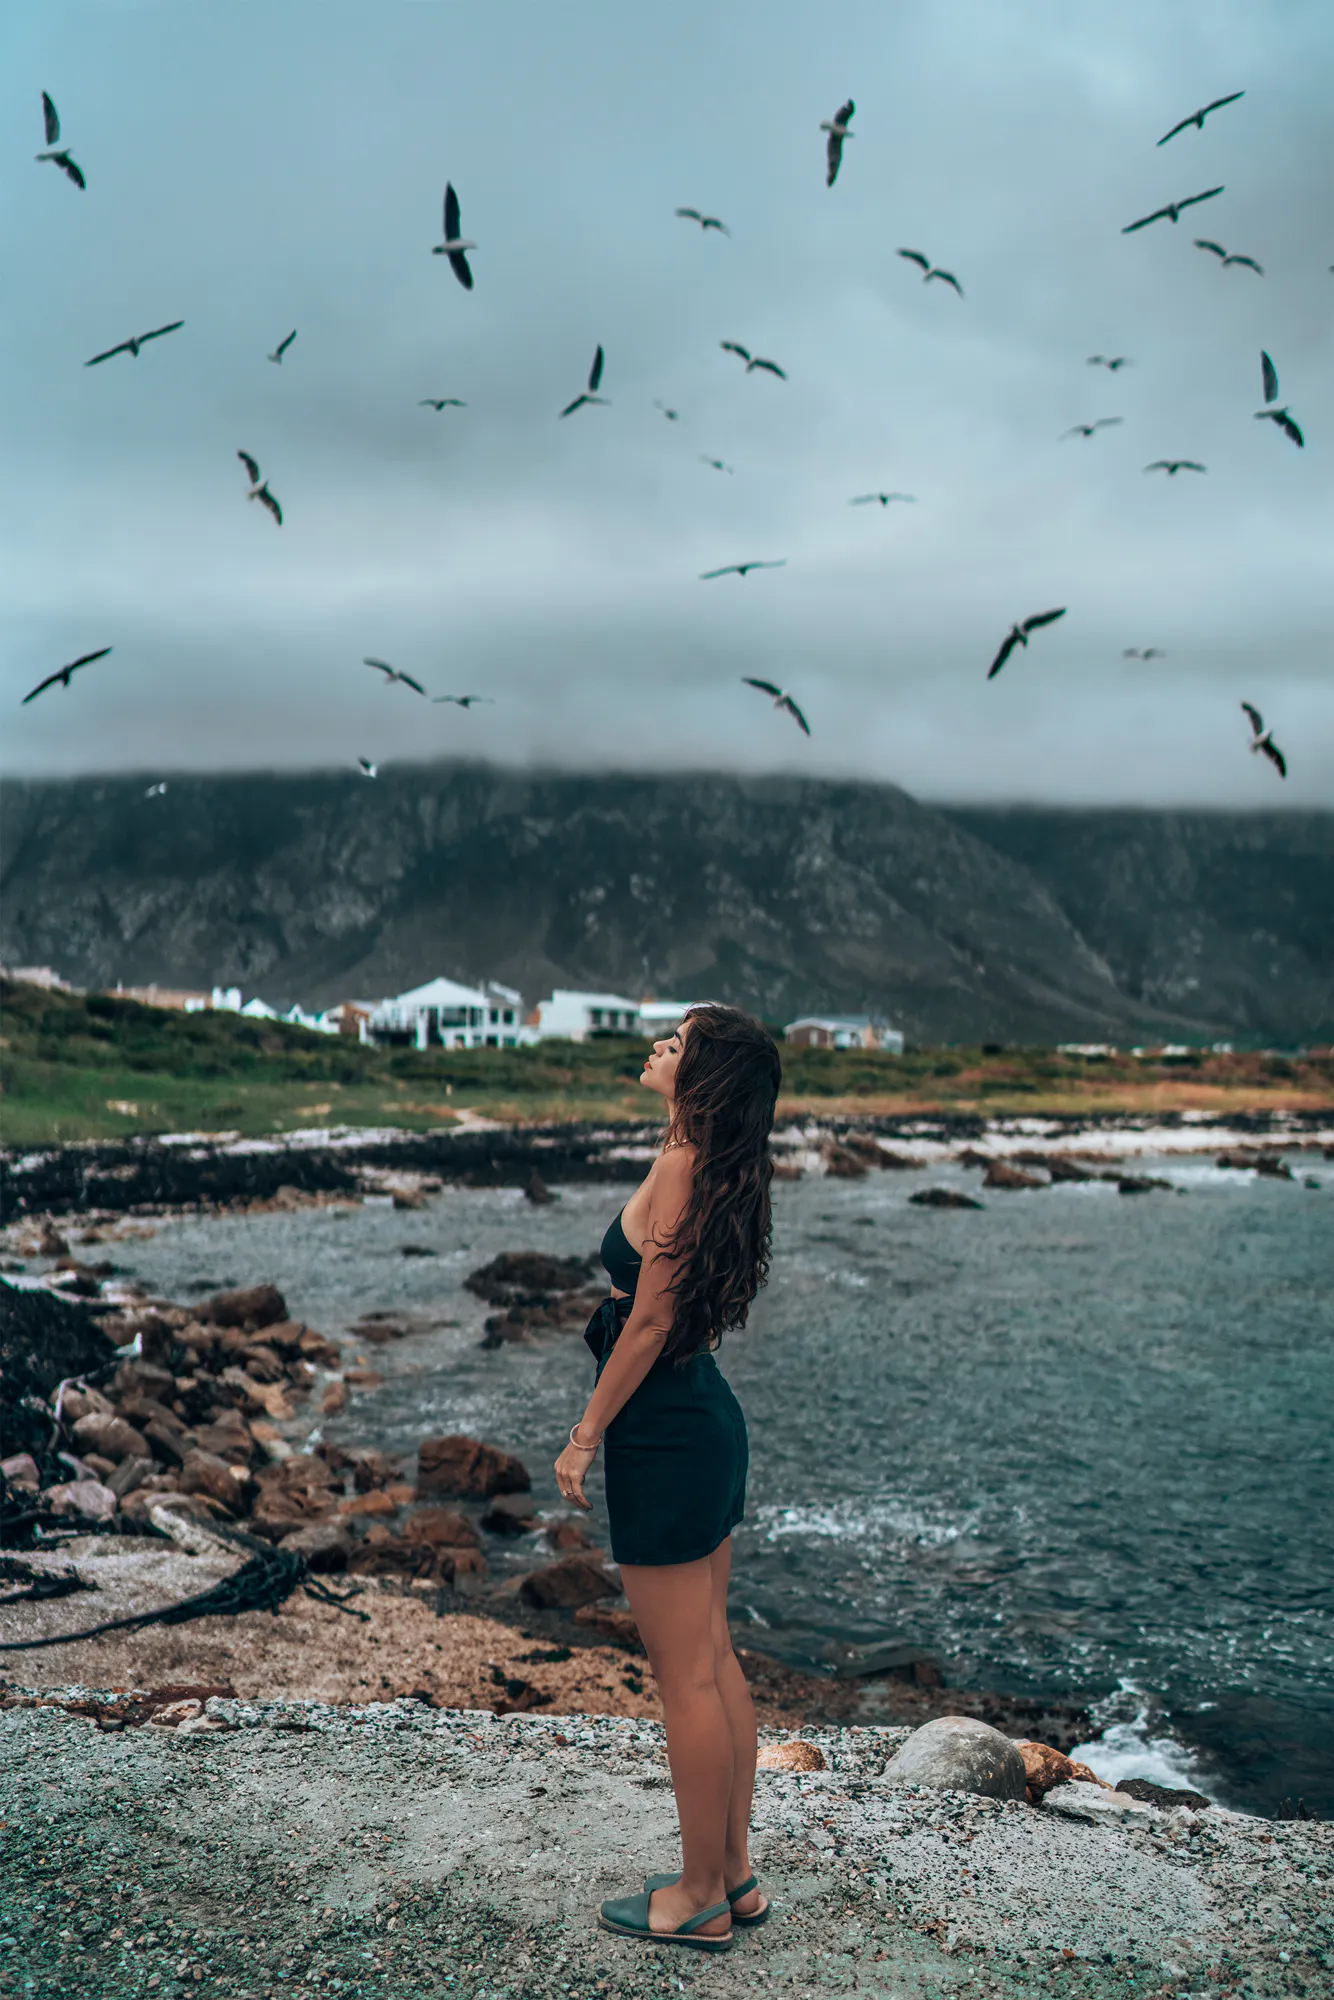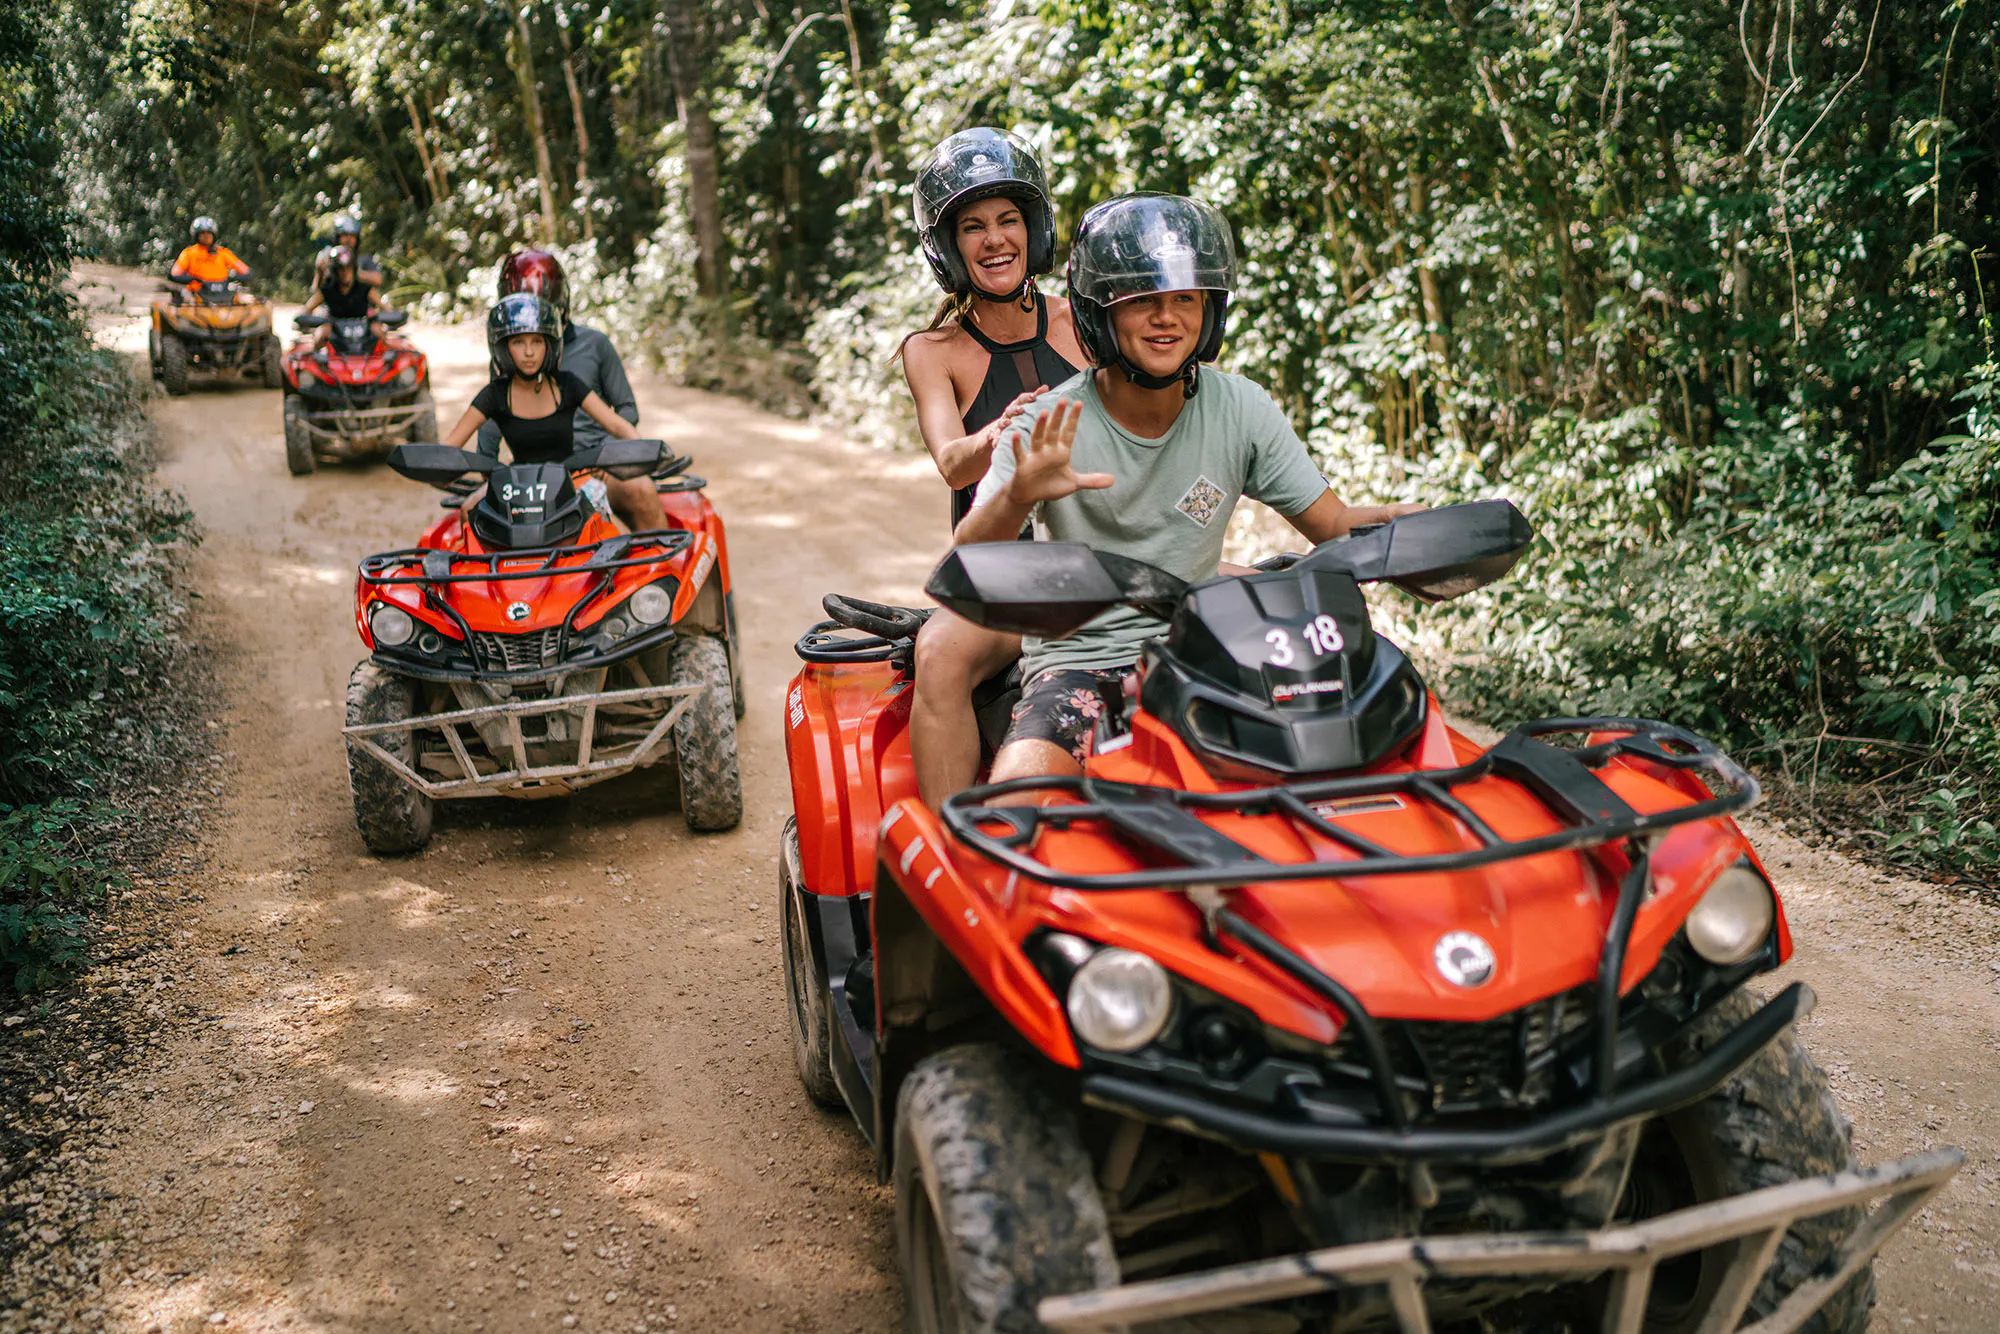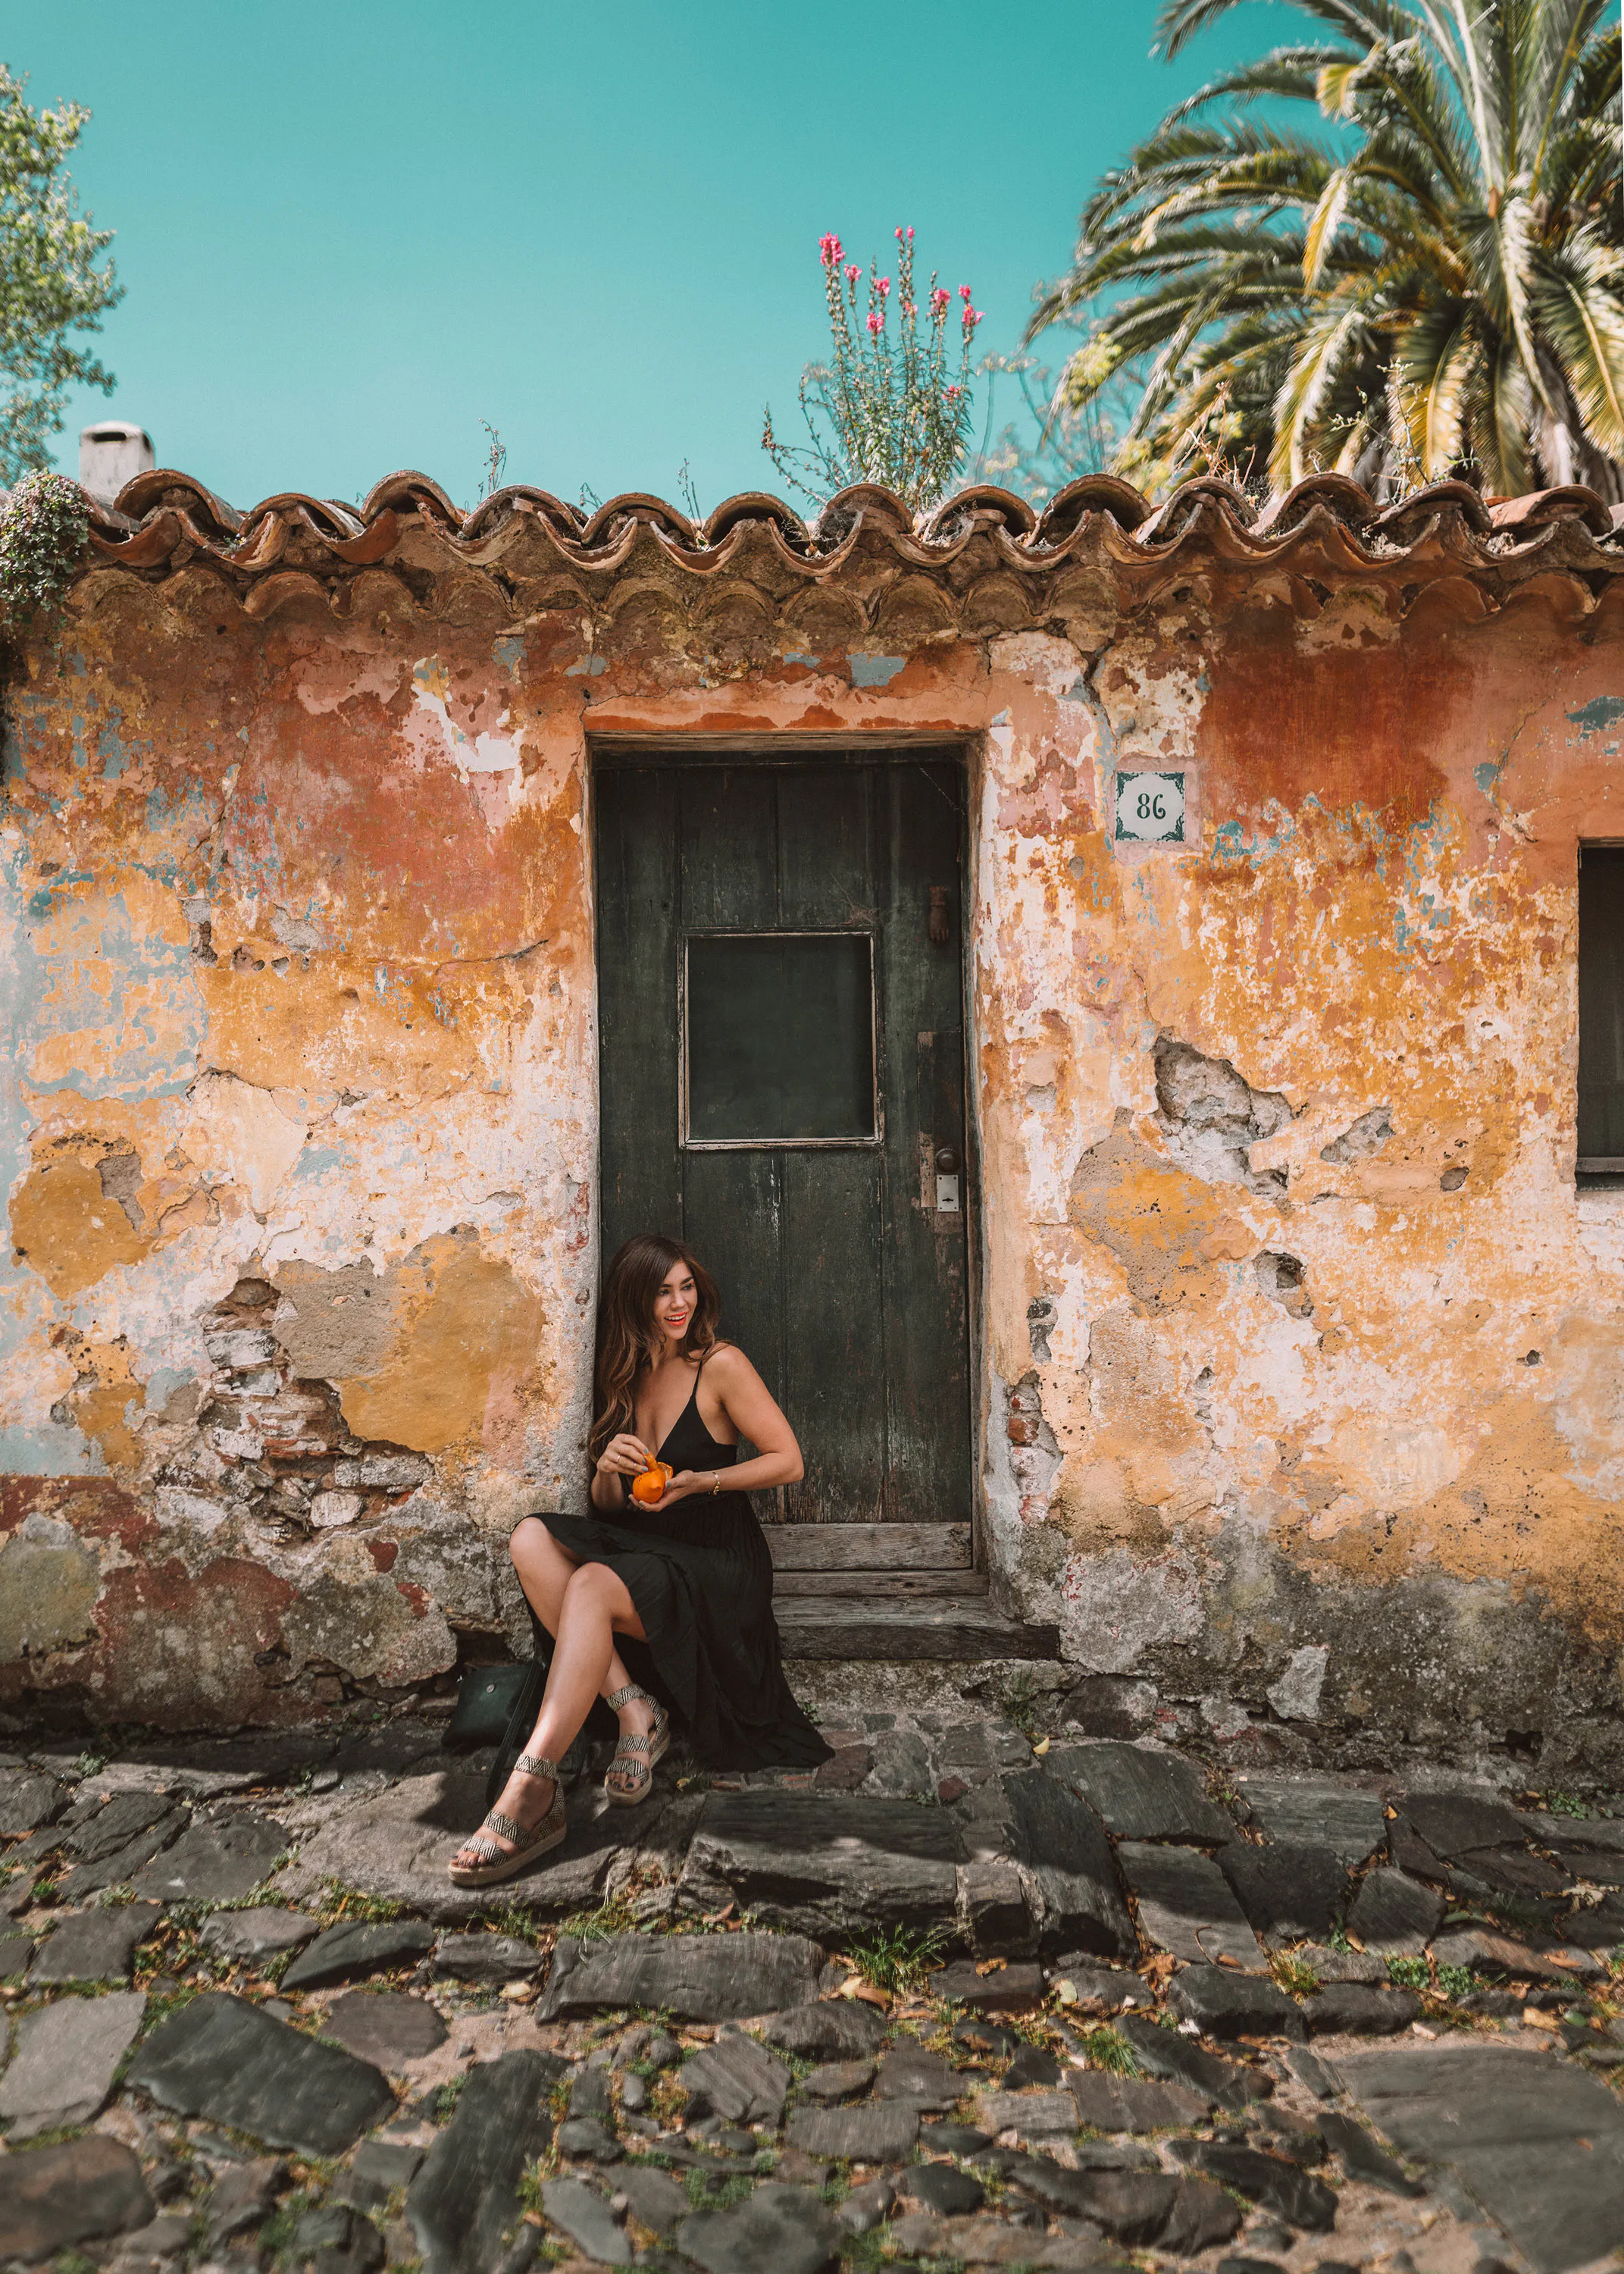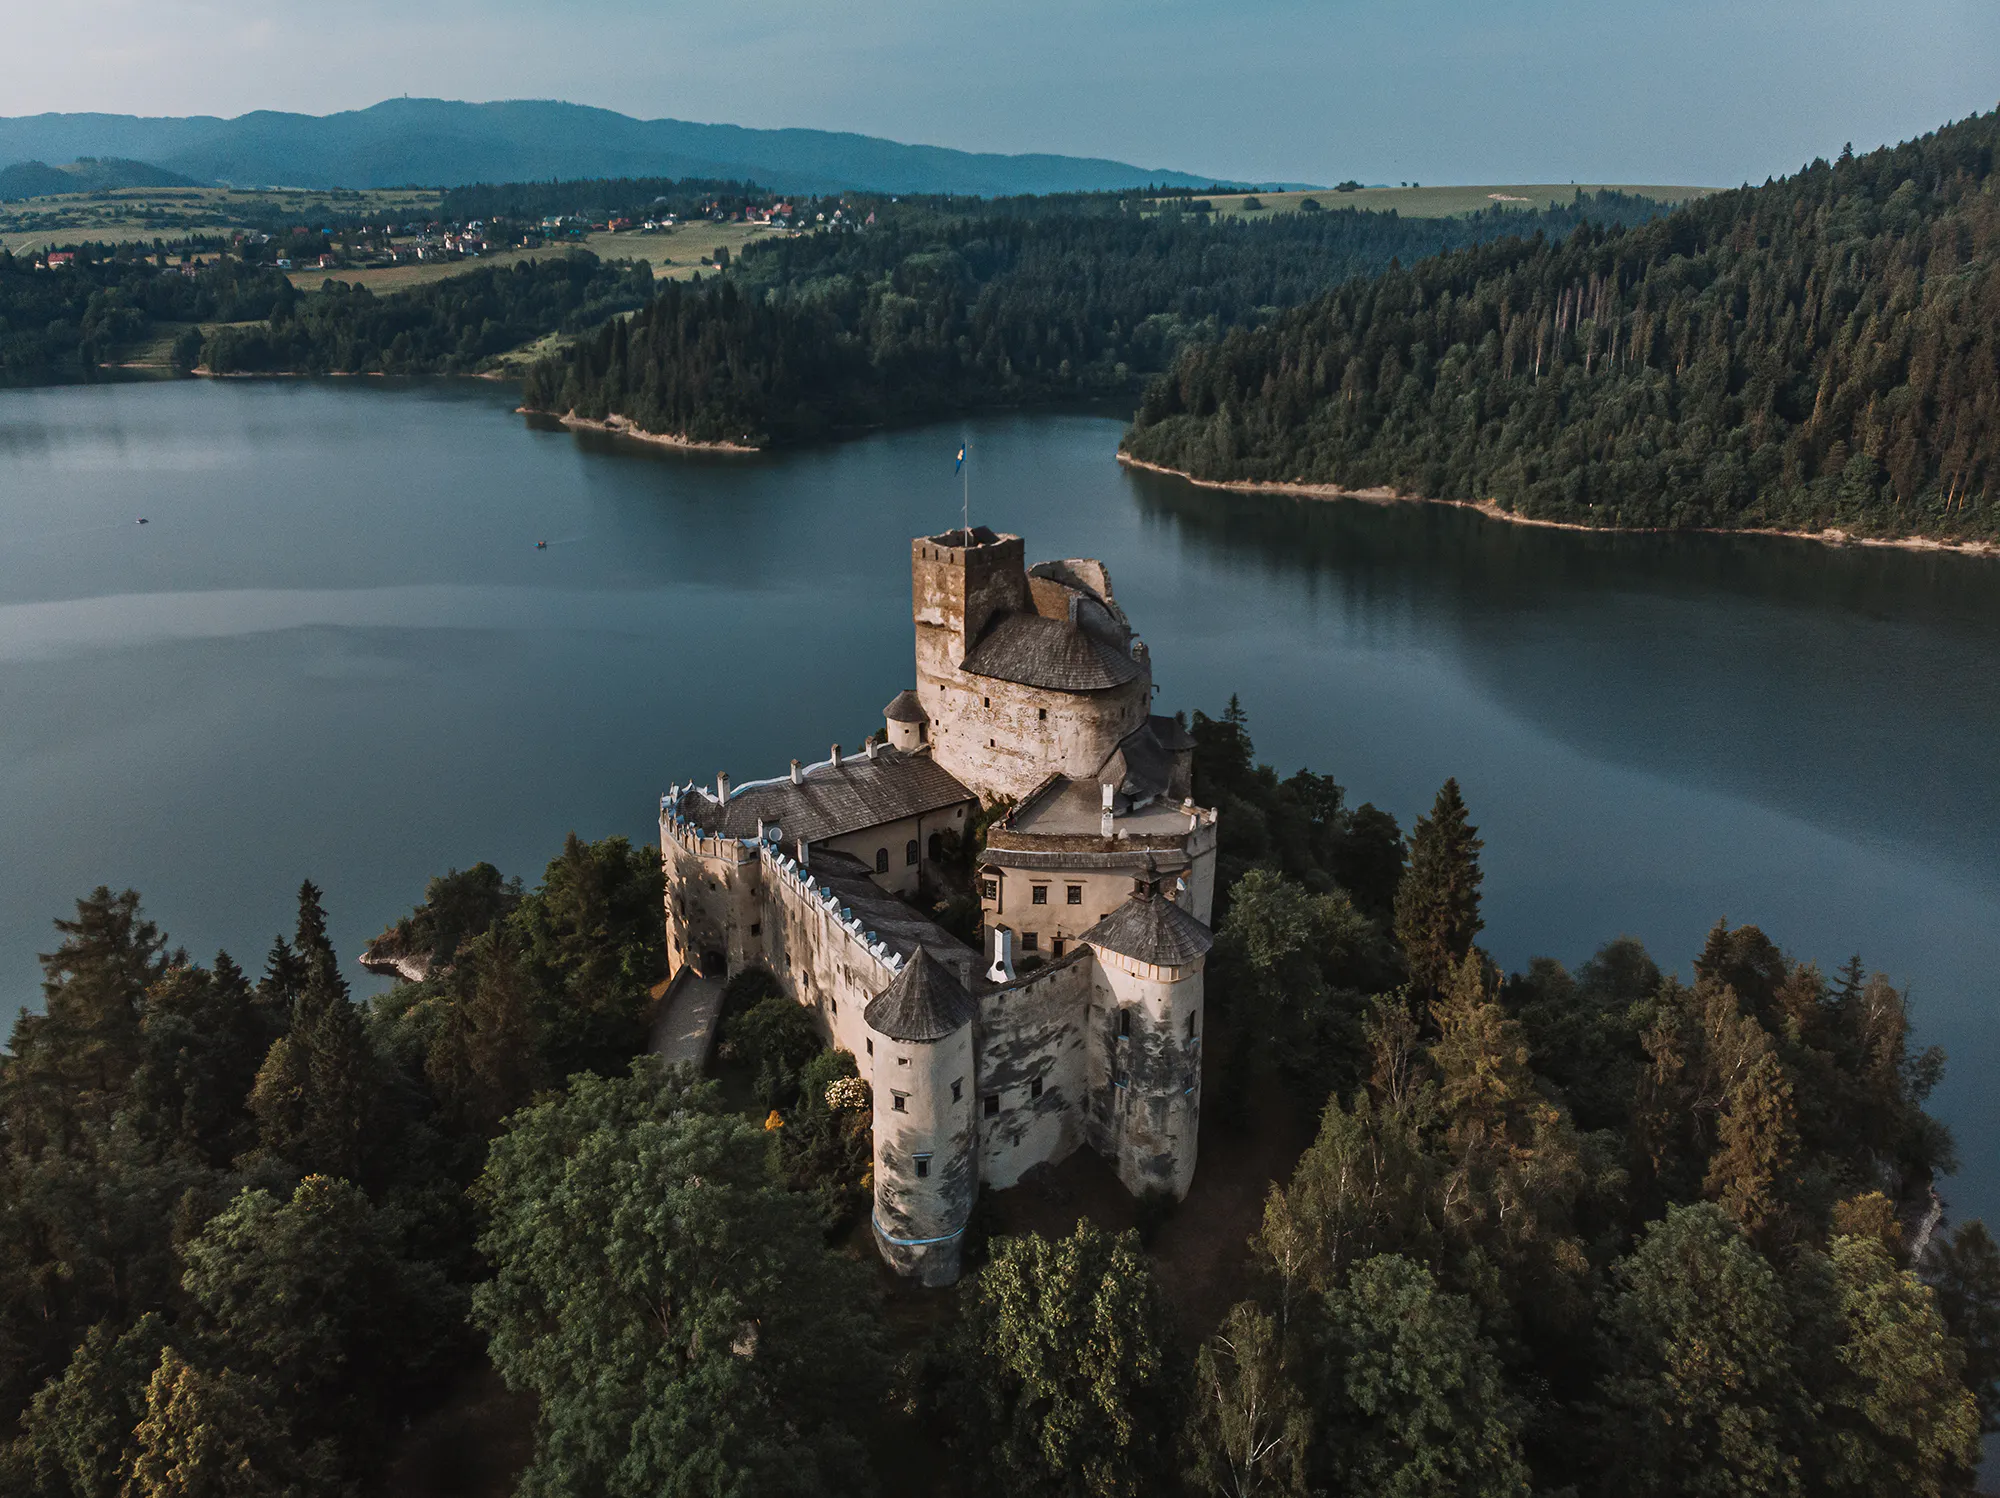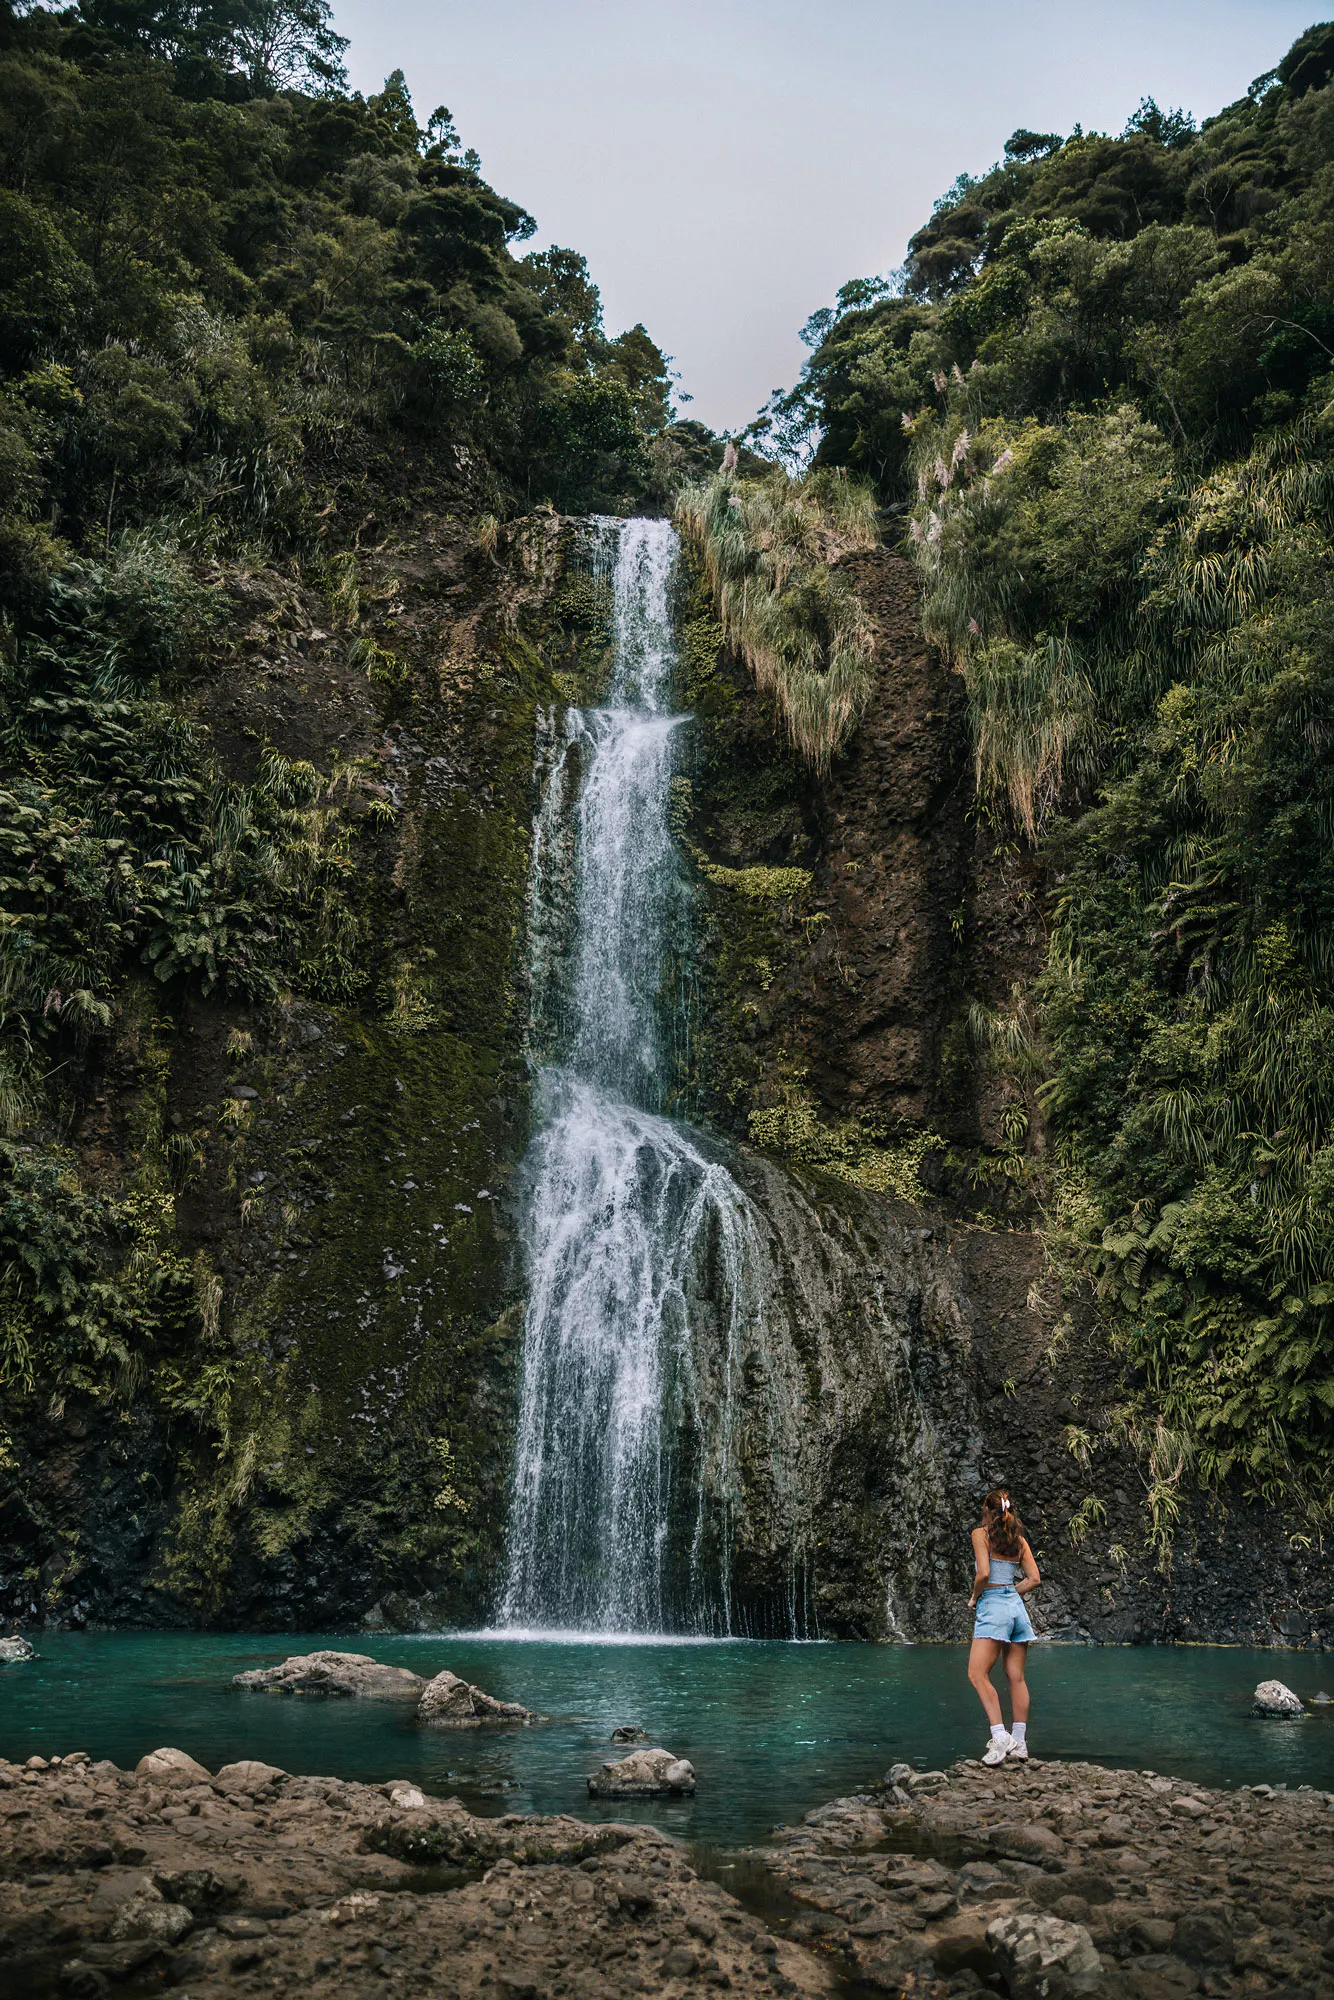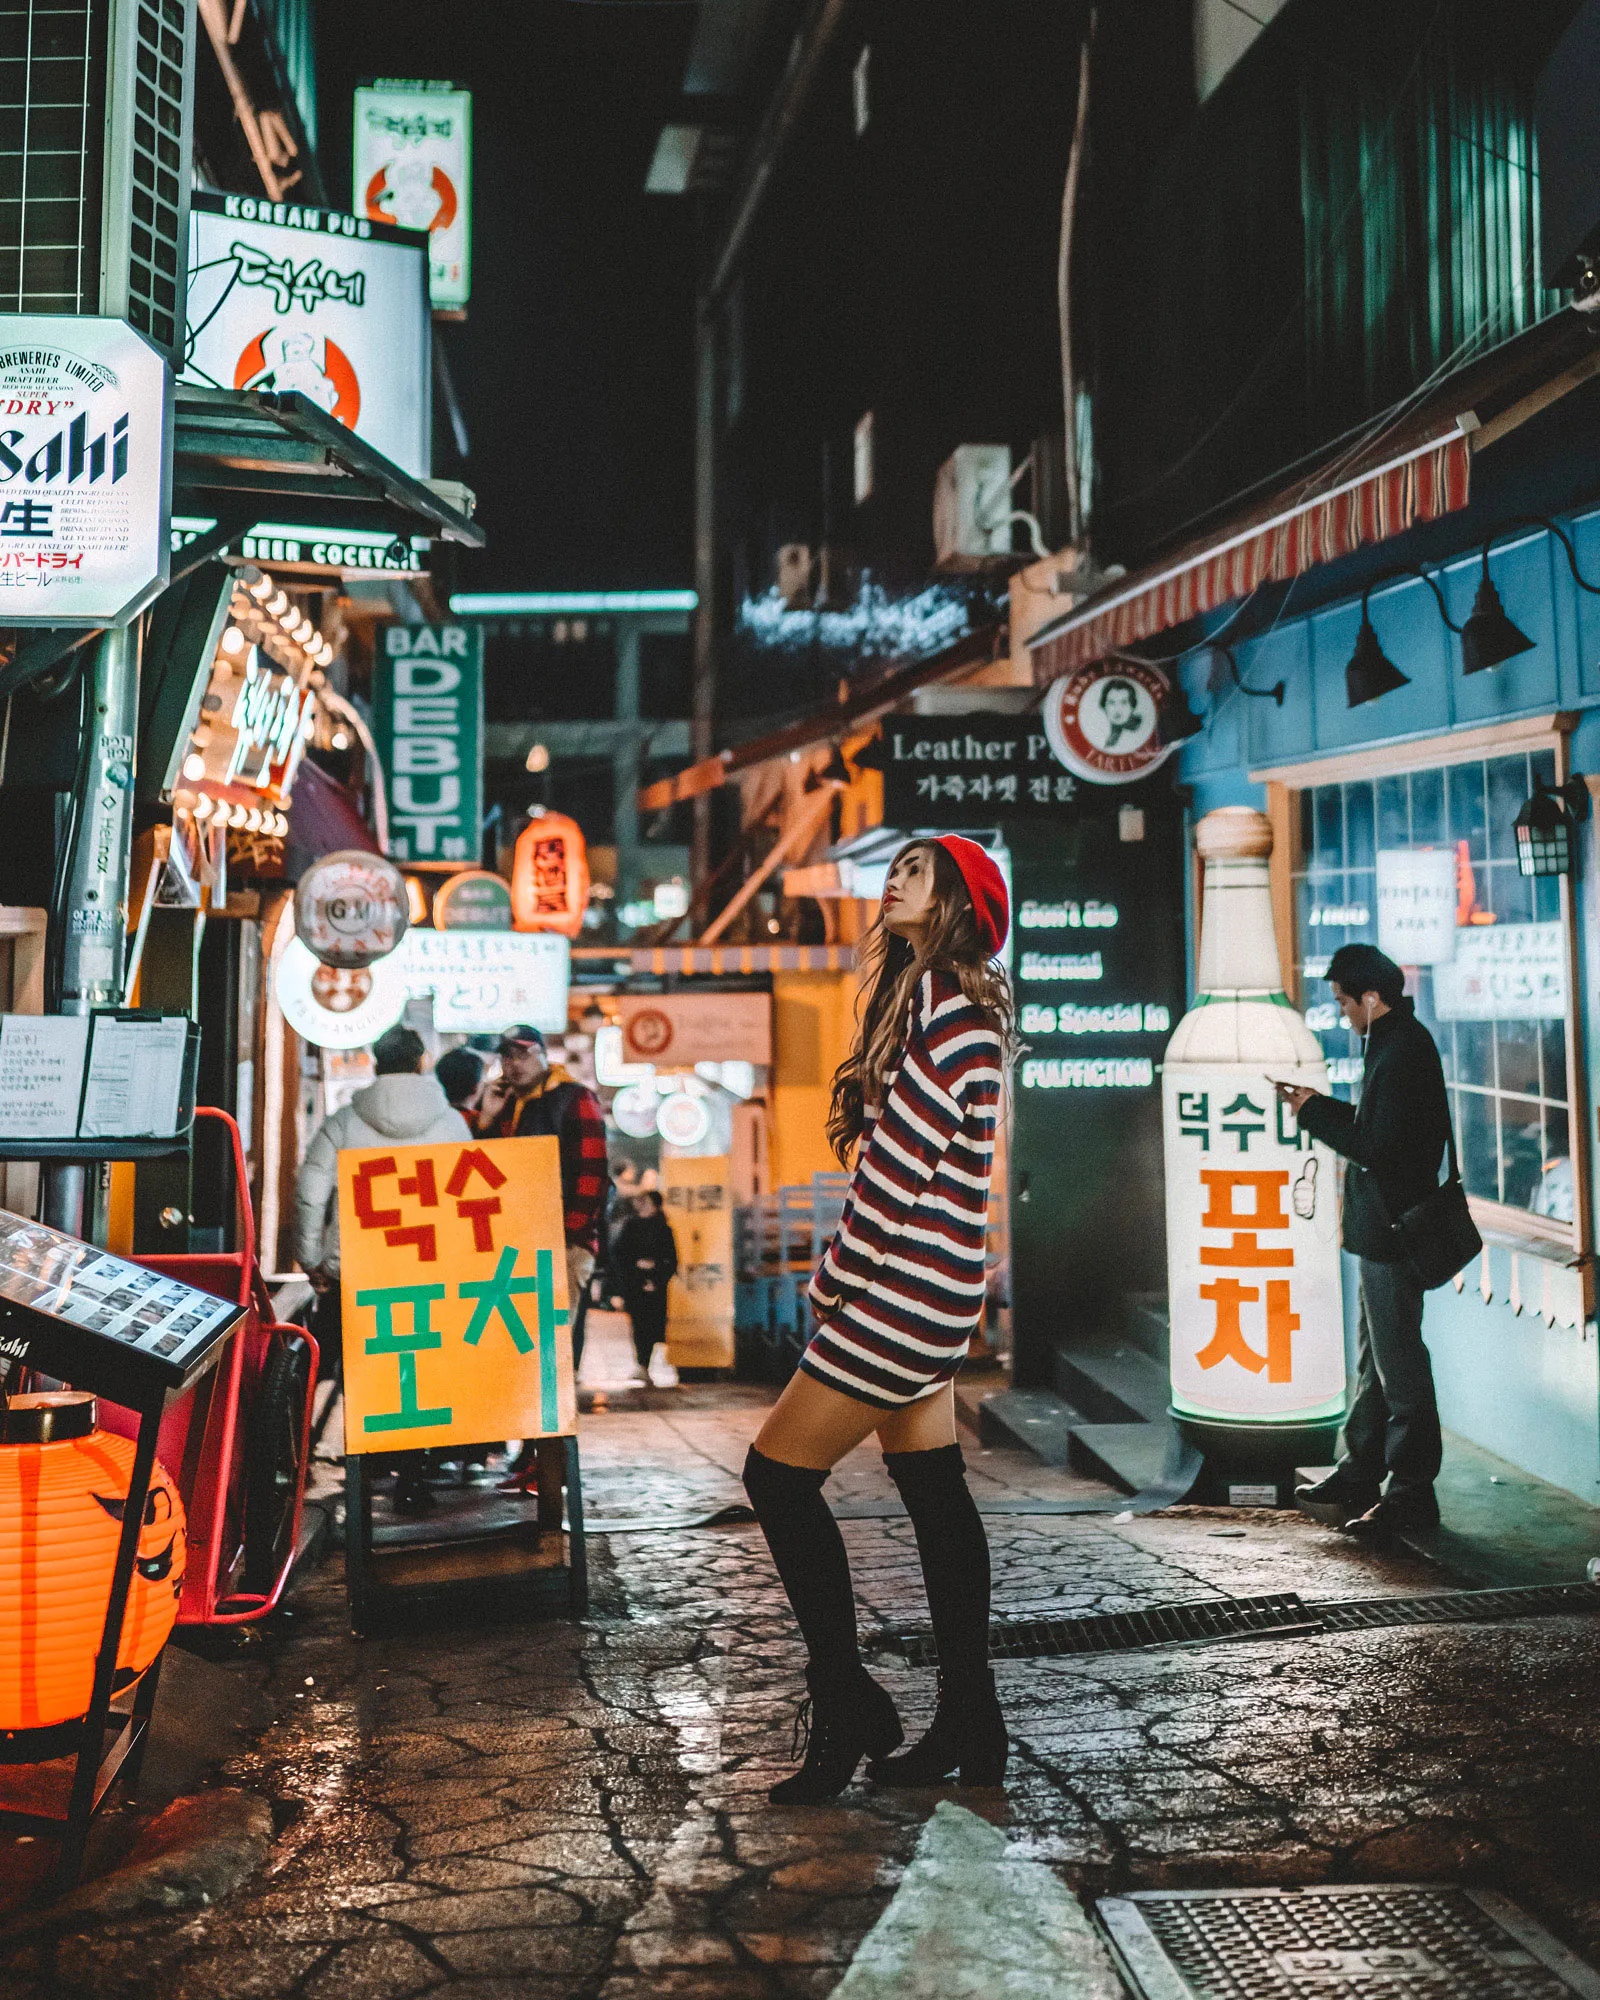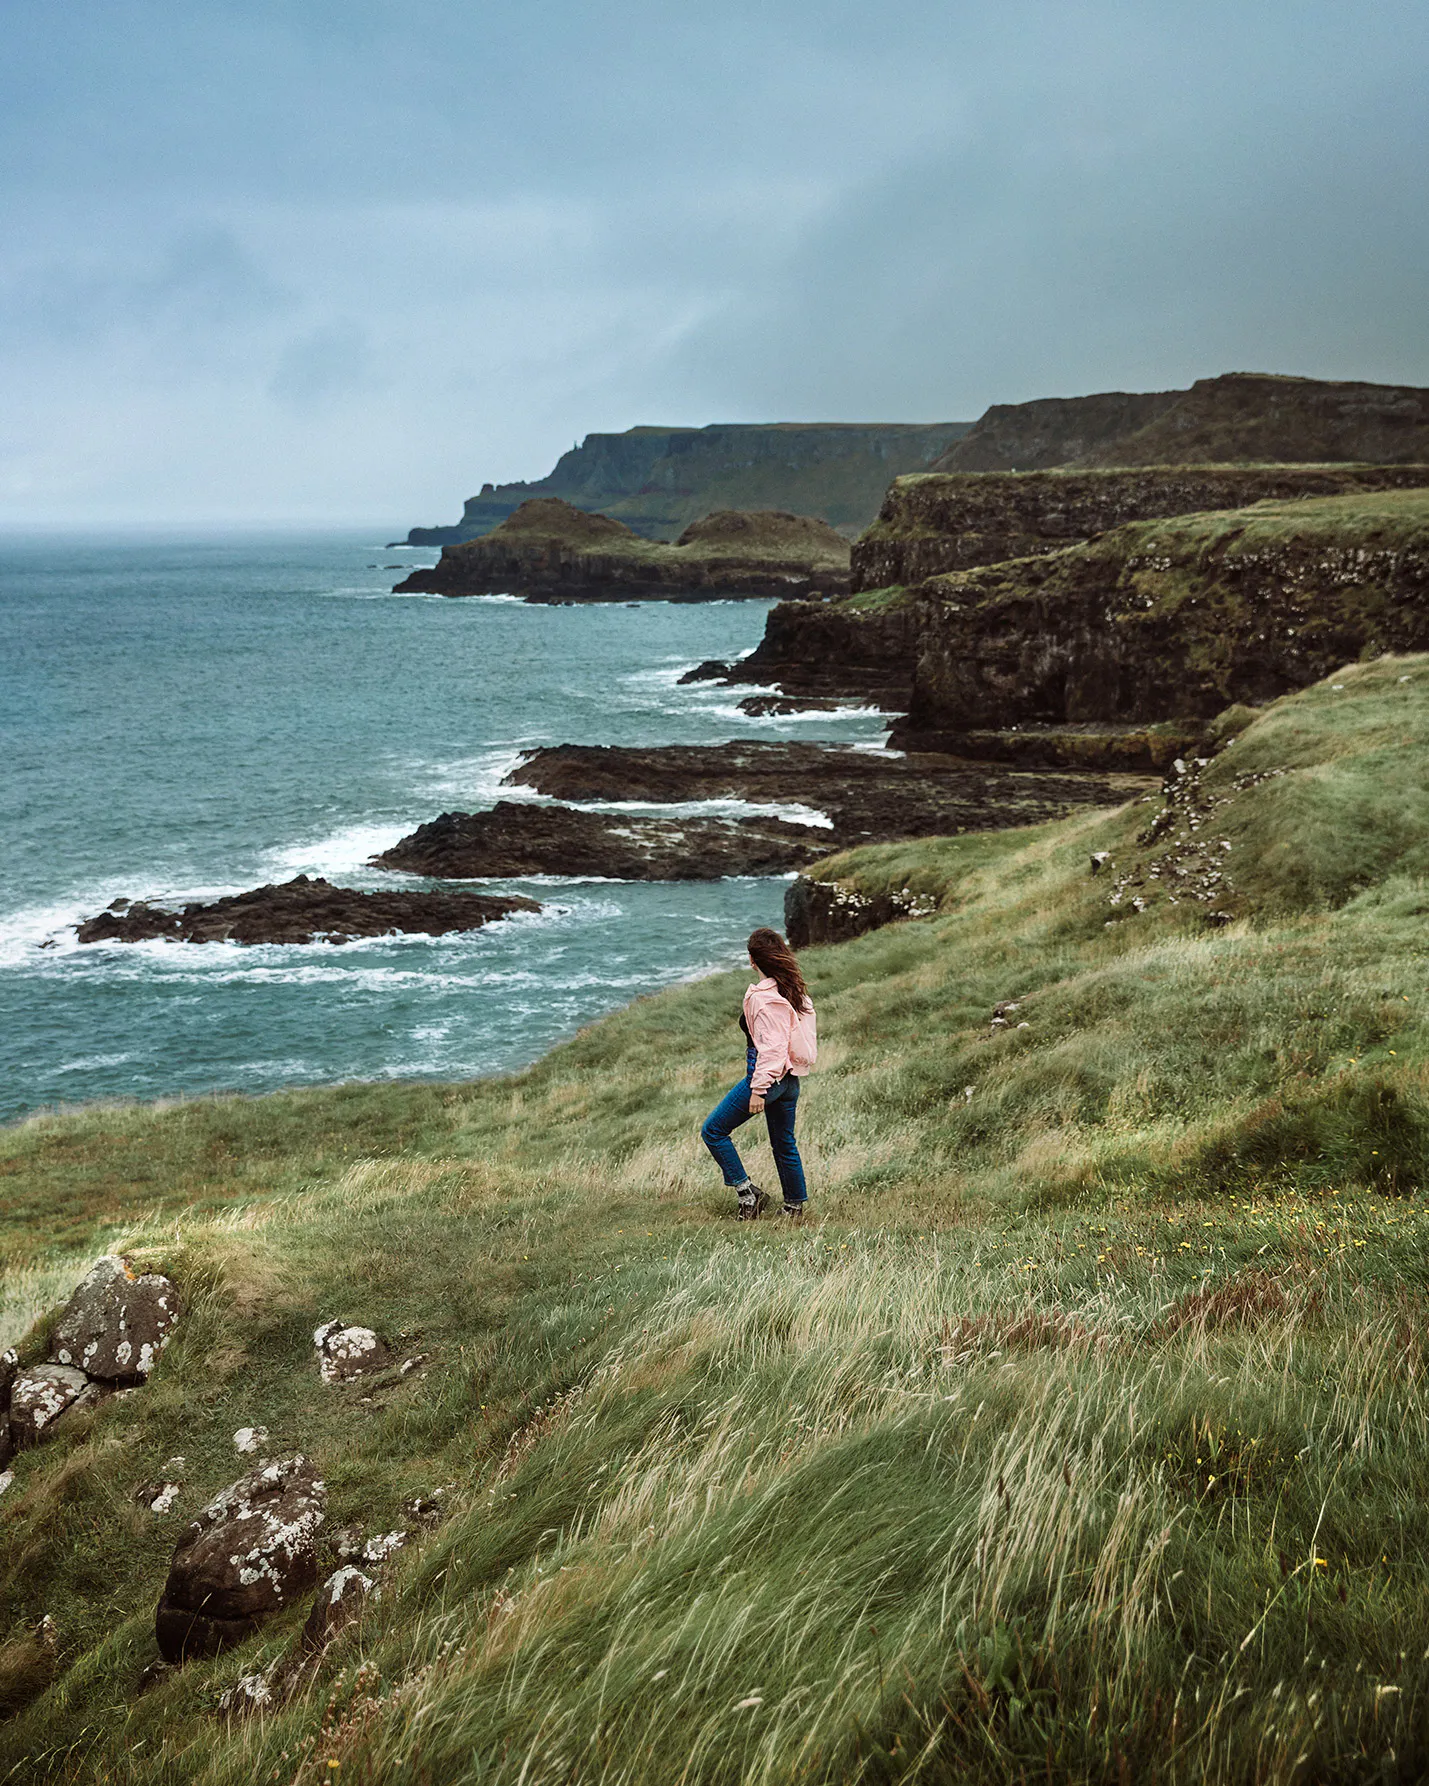
Travel rarely gives a photographer controlled conditions. The light changes while you are climbing a hill, a landmark is crowded when you finally reach it, and the clip you record from a moving boat comes home slightly shaky. Those imperfections are part of working outside a studio. They do not, however, have to decide which memories are worth keeping.
AI can now rescue many technically weak photographs and short videos. The useful question is not how far an image can be transformed. It is how to improve what the camera captured while keeping the place, weather, and people honest.
Begin With the Memory, Not the Defect
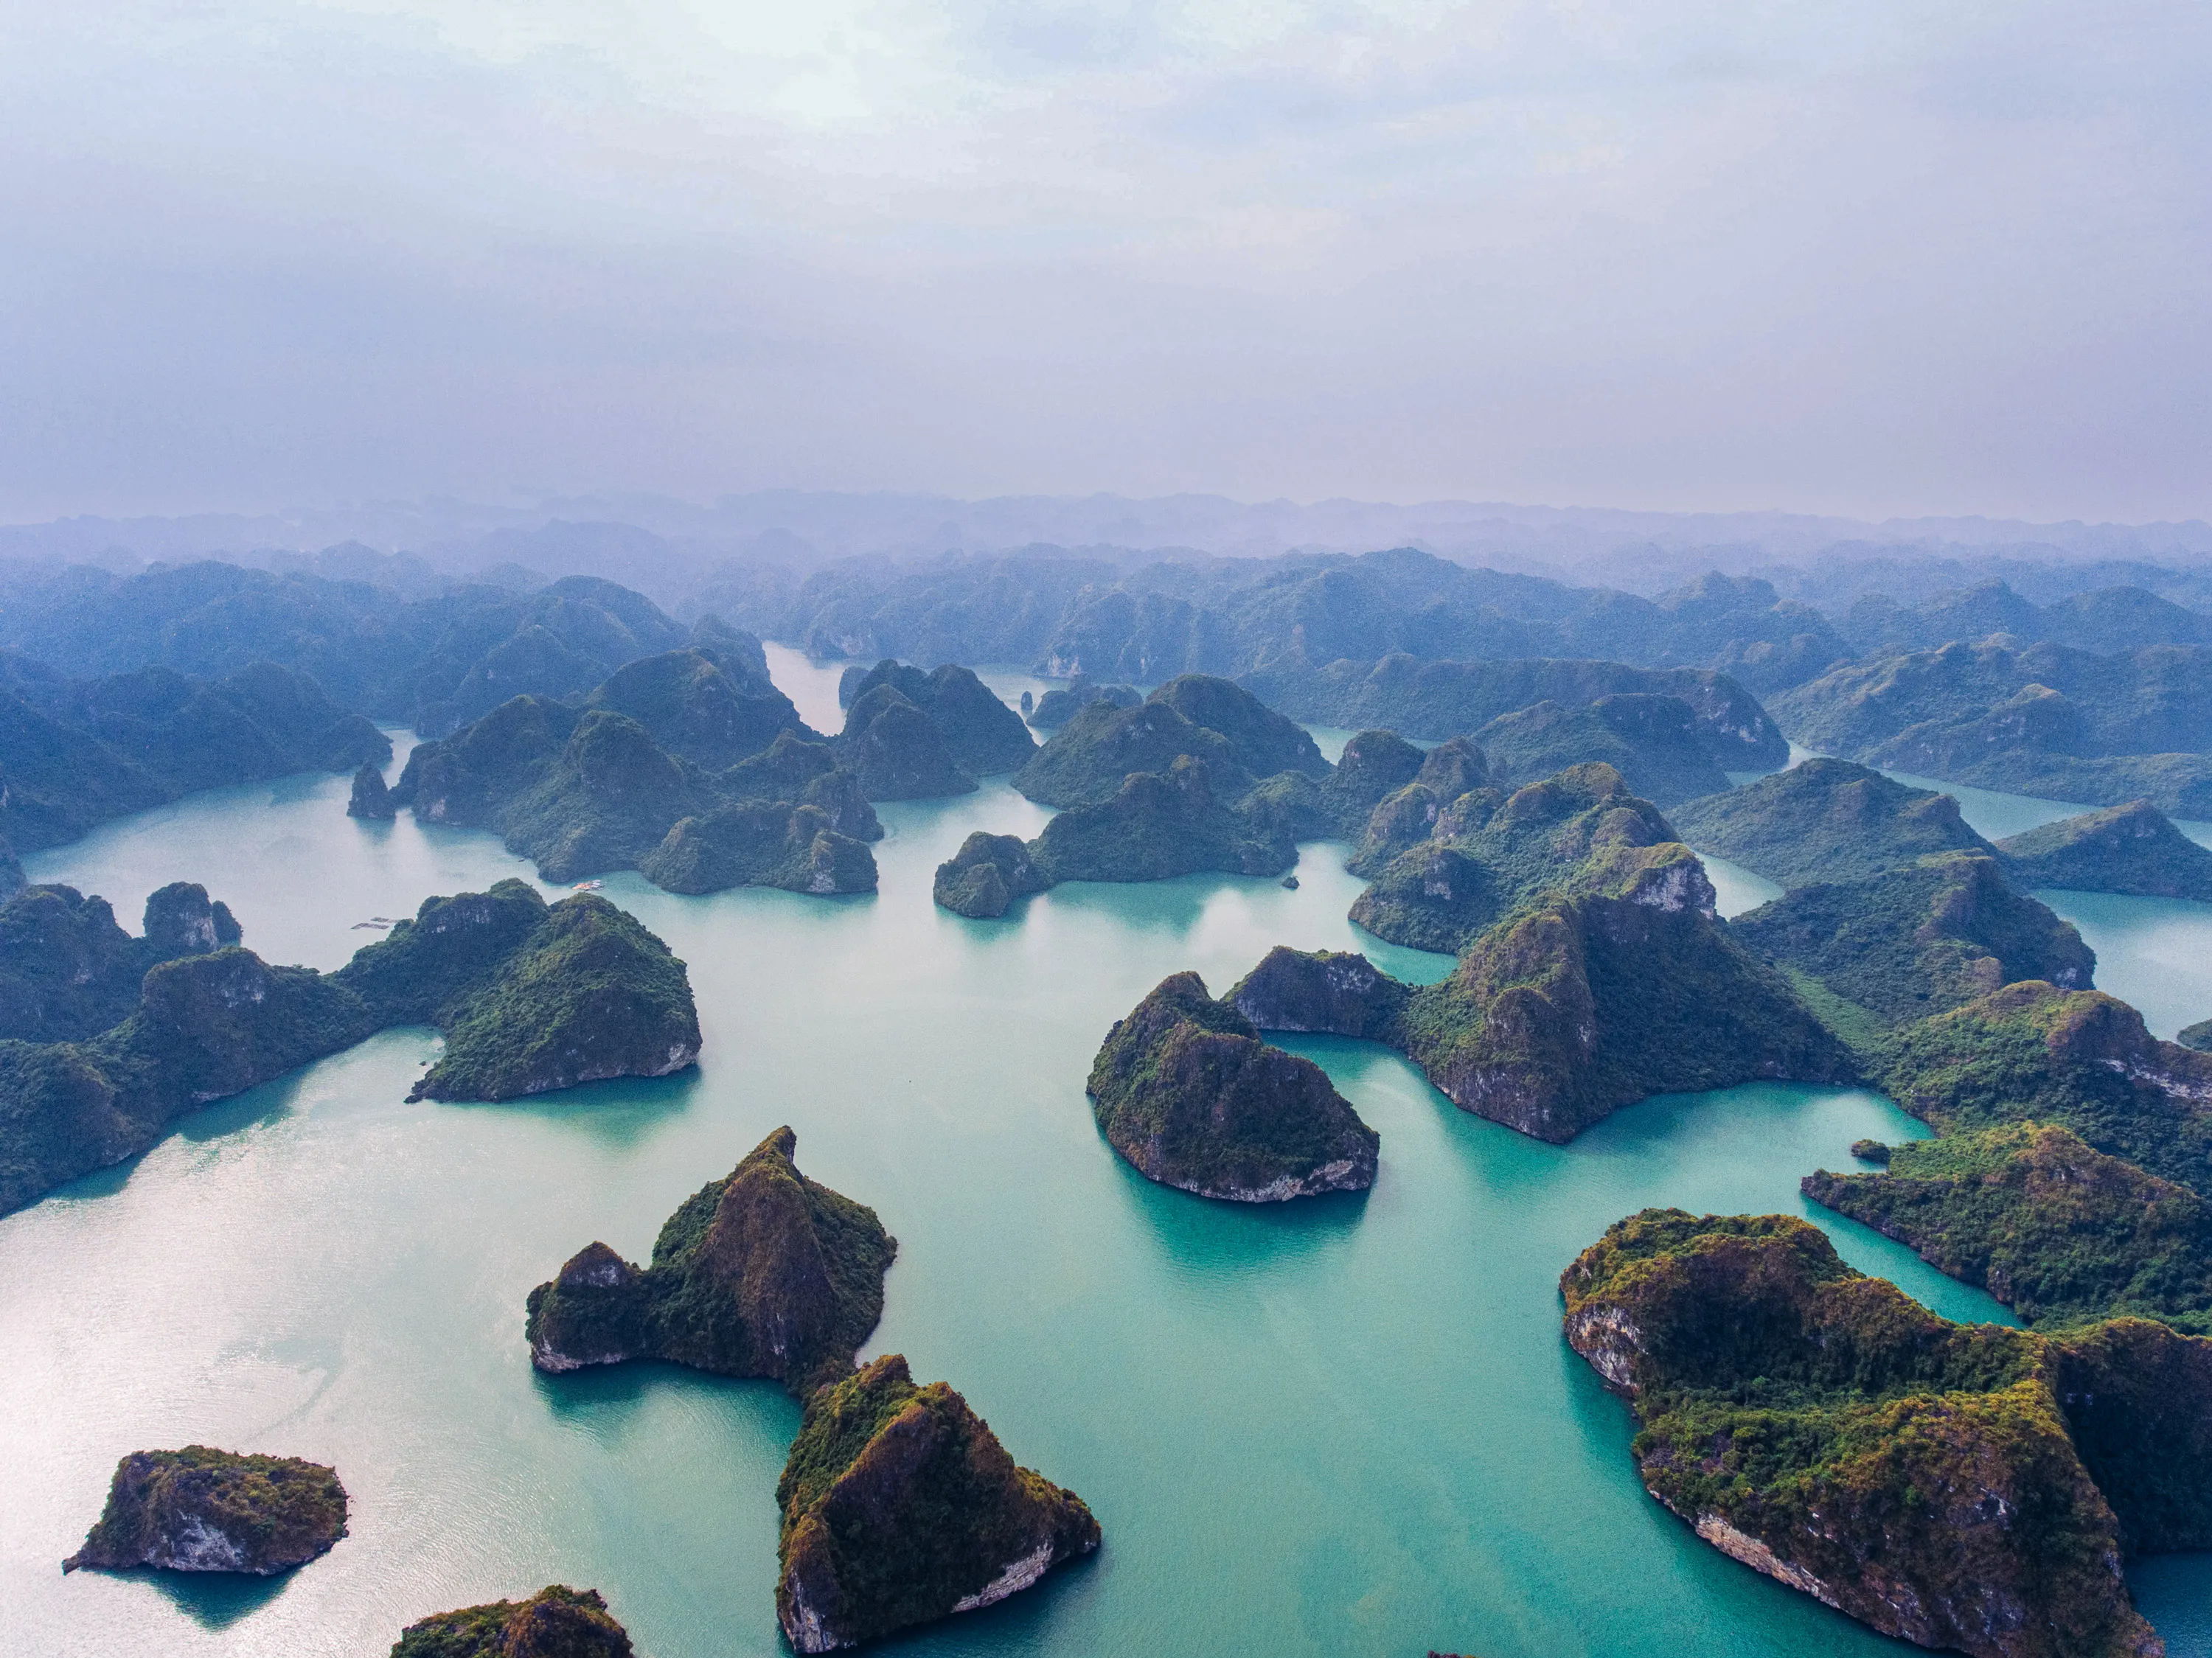
Before opening an editor, decide what matters in the frame. In a street portrait, it may be an expression. In a landscape, it may be the layers of mist that show distance. In a market video, it may be the movement and ambient energy rather than perfect sharpness.
That choice gives the edit a limit. If the mist is important, aggressive dehazing will weaken the story. If the clip is meant to feel spontaneous, smoothing every movement can make it oddly weightless. Enhancement works best when it supports a clear visual priority rather than treating every irregularity as a problem.
A quick first pass can sort files into three groups:
- images that only need ordinary exposure and color adjustments;
- promising files with blur, noise, or limited resolution that AI may recover;
- frames whose timing, focus, or composition cannot be repaired convincingly.
This is faster than sending an entire memory card through the same automated filter, and it reduces the risk of making a varied trip look like one preset.


Rescue Stills in the Right Order
Travel photographs often carry several small flaws at once. A phone shot at dusk may be noisy, a little soft, and too warm. Correcting everything at maximum strength usually produces waxy skin, brittle foliage, and text that looks invented.
Start with global corrections: crop, horizon, white balance, and basic exposure. These changes establish the image before an AI model begins interpreting detail. Then address the main technical problem. Denoise a night photograph before sharpening it, because sharpening first can turn sensor noise into a field of hard specks. If the file is too small for a print, upscale only after the composition is final.
A browser-based AI photo enhancer is useful on the road because it can provide a fast second version without adding a full desktop setup to a travel day. Compare that result with the original at normal viewing size, not only at 300 percent. The enhanced version should feel clearer immediately, but it should not call attention to the processing.
Faces, signs, railings, tree branches, and patterned fabric are good quality checks. They reveal duplicated edges and invented texture before a file reaches a blog or print album.
Treat Video as a Sequence, Not a Stack of Photos
The same principle applies to travel video, but temporal consistency matters as much as individual frames. A tool may make one paused frame look impressively sharp while producing flicker when the clip plays. Hair, water, foliage, and small architectural details are common trouble areas because they change from frame to frame.
Work on selected clips rather than every recording. Trim dead time first, choose the final orientation, and keep the source frame rate unless there is a clear reason to change it. Stabilization can help a handheld pan, but it also crops the edges; check that it has not cut off a person or landmark. Noise reduction is valuable for evening footage, although too much can erase the texture that makes a scene feel real.
For an important clip, export a short test section before processing the full video. Watch it at normal speed, with sound, on the type of screen where it will be seen. A reel viewed on a phone and a film projected at an event need different levels of detail and compression.
Build a Travel-Friendly Editing Workflow
A reliable workflow matters more than collecting applications. The following sequence works for both a weekend city break and a longer assignment:
- Back up the original files before editing.
- Cull for story and emotion, not only technical perfection.
- Apply crop, exposure, and color corrections.
- Use AI only on files with a specific recoverable problem.
- Compare before and after at full view and at detail level.
- Export separate versions for social media, web galleries, and print.
- Keep the original and note any substantial generative changes.
Connection speed also matters when traveling. Large videos and high-resolution raw files may be impractical on hotel Wi-Fi. Queue smaller tests, avoid repeatedly uploading the same source, and leave demanding video work for a stable connection. A lighter process is not only more convenient; it makes deliberate editing easier.


Know the Difference Between Repair and Invention
AI restoration estimates detail that is missing. Most of the time, that estimate is plausible. It is not documentary proof. This distinction matters when photographs record artworks, historical sites, wildlife, public events, or local communities.
Removing a sensor spot from the sky is a repair. Replacing a closed storefront with a more picturesque façade changes the place. Cleaning wind noise from an interview improves access to what was said. Generating new words on an unreadable sign creates information that was never captured.
Travel imagery carries an added responsibility because viewers may use it to understand somewhere they have never visited. If an edit changes the factual content of a scene, label it. If a person is central to an image, consider whether the altered version respects the context in which the photograph was made. Technical convenience does not remove the need for consent or judgment.
Aim for Continuity Across the Story
The strongest travel set is not necessarily the collection with the sharpest individual frames. It is the one that moves coherently from wide views to details, people, food, transit, and quiet moments. AI should help more of those frames survive the edit, not make every image look identical.
Review the final sequence together. If one enhanced sunset is much more saturated than everything around it, pull it back. If a restored night shot has a different texture from the rest of the series, add a little grain or reduce the effect. Continuity is often what makes a travel story feel considered.
Used carefully, AI gives travelers another chance at images made under imperfect conditions. It cannot choose which moment mattered, and it should not rewrite the destination. That is precisely why it is most effective as a restrained finishing tool: the journey remains recognizable, only easier to see.